Laying QPR Asphalt Patch: Best Compaction and Application Techniques
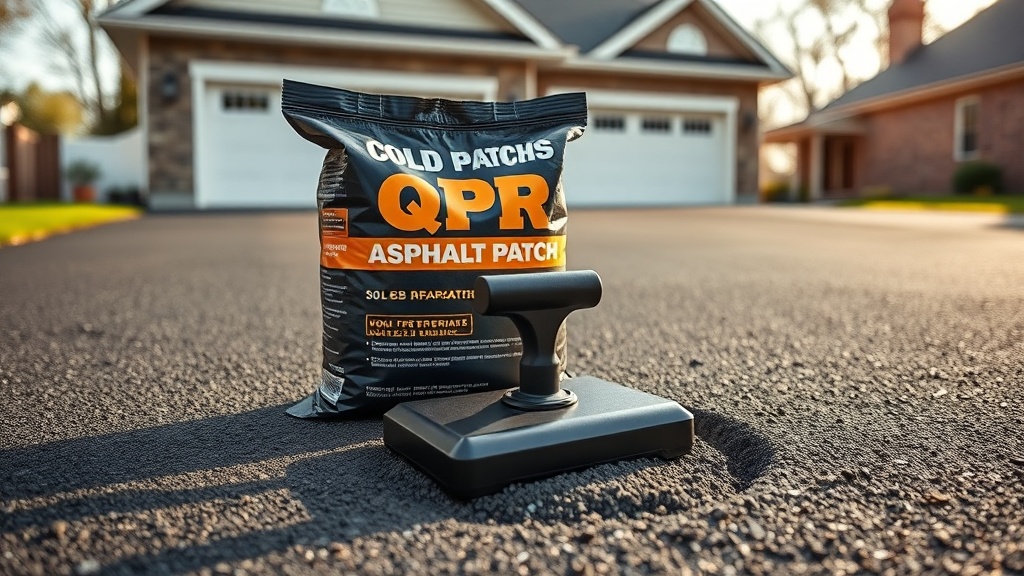
Getting a QPR 50-lb asphalt patch to last more than a season depends entirely on how you compact it and apply it—not on the mix itself. Mike Turner has watched contractors and homeowners alike skip the most critical steps, ending up with patches that rut, ravel, or simply fall apart within weeks. This guide breaks down the specific compaction pressures, lift thicknesses, and edge preparation that turn a bag of cold patch into a permanent repair.
What is the ideal lift thickness for a QPR 50-lb patch?
The manufacturer recommends a compacted lift thickness of 1 to 1.5 inches per layer. If your pothole is 3 inches deep, you must place and compact the QPR in two separate lifts, not one thick one. Compacting a 3-inch lift of cold patch will leave you with a spongy surface that never locks up. Each bag of QPR 50-lb patch covers approximately 0.5 square feet at a 1.5-inch depth. For a 2-inch deep hole measuring 12 by 12 inches, you will need roughly 1.5 bags. Always overfill by about ½ inch to allow for final compaction.
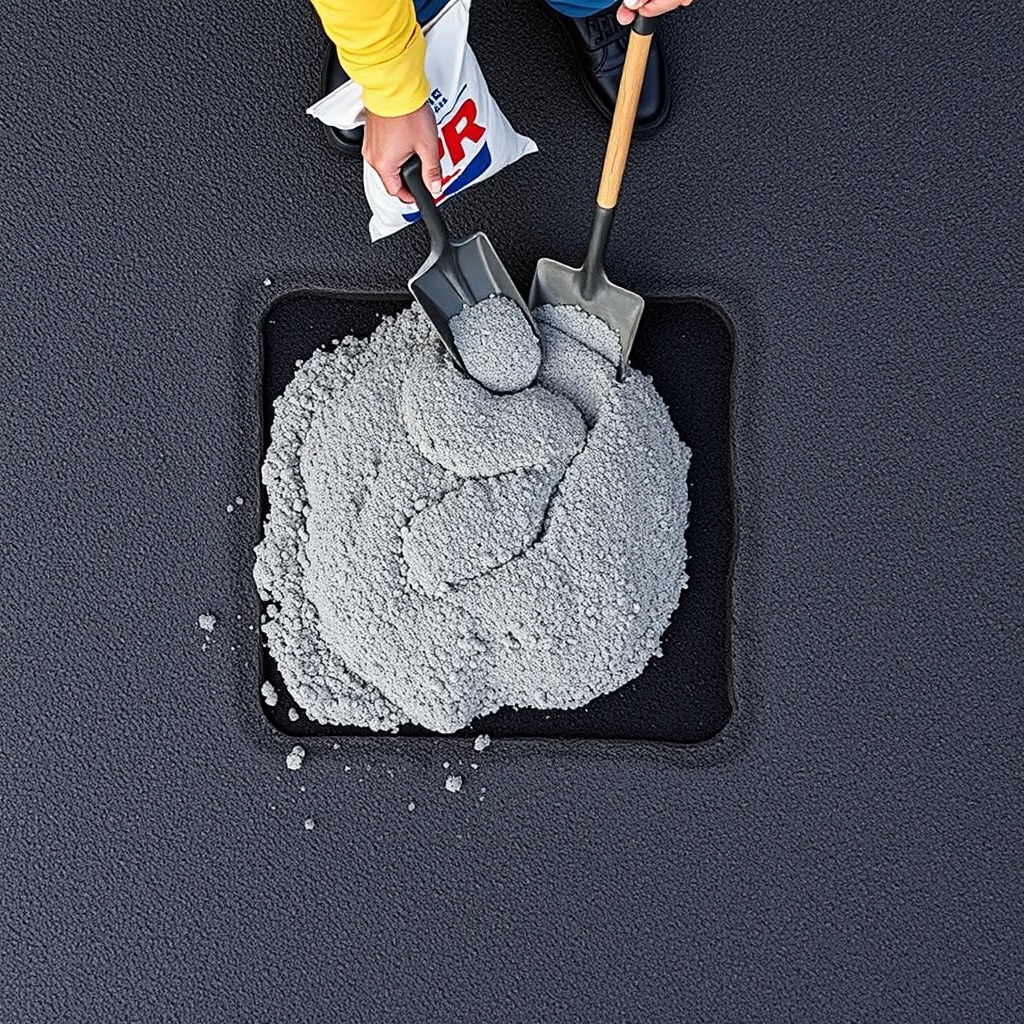
When placing the material, dump the bag into the hole and use a shovel or rake to spread it evenly. Do not pour it all in a pile and then try to flatten it—this creates density inconsistencies. The cold patch should be slightly mounded above the surrounding pavement before any compaction begins. This mound compensates for the material’s natural settlement and ensures a dense, level repair after tamping.
What compaction equipment works best for QPR cold patch on driveways?
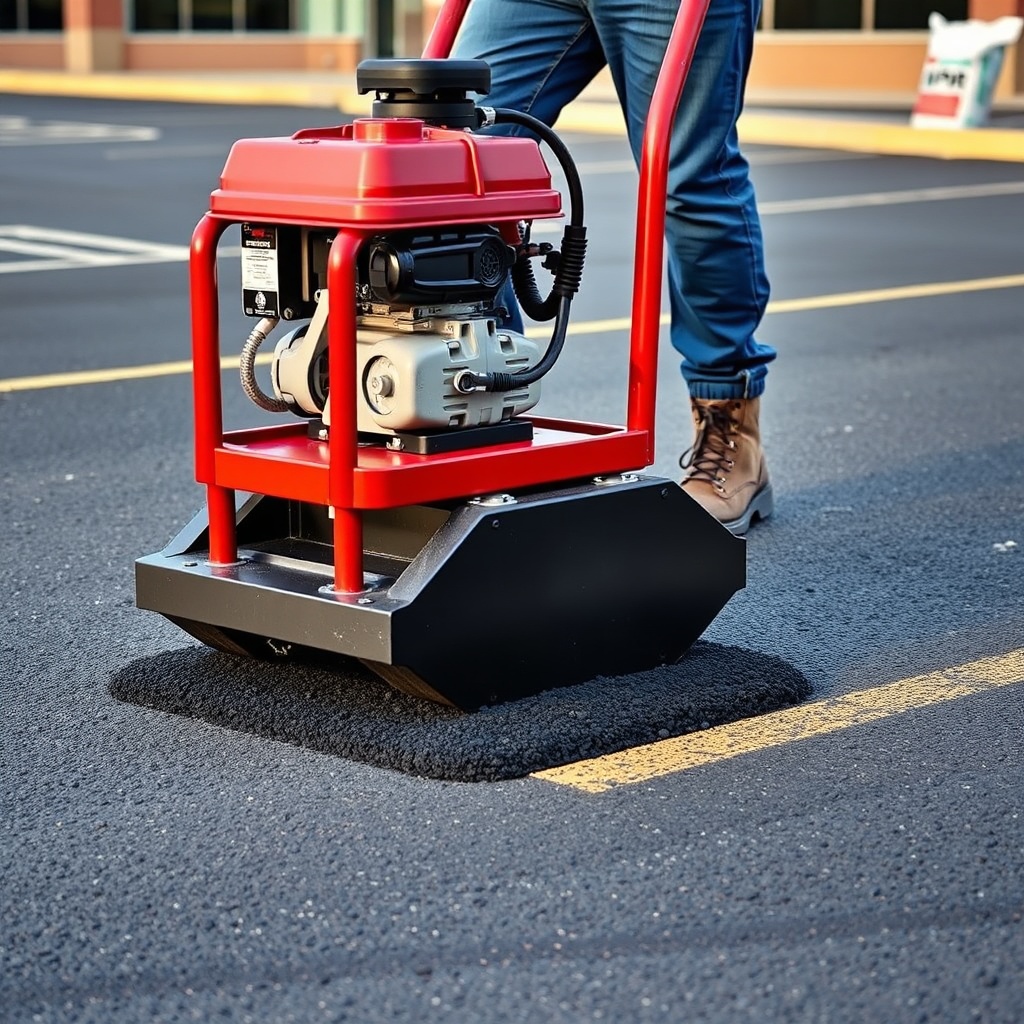
For residential driveways and small parking areas, a hand tamper or a 55-lb vibrating plate compactor is the optimal choice. A hand tamper works for patches under 3 square feet, but it requires at least 60 firm strikes per square foot to reach adequate density. For larger patches—anything over 3 square feet—rent a vibrating plate compactor with a minimum centrifugal force of 2,500 lbs.
Never use the weight of your vehicle to compact QPR cold patch. A car or truck tires apply pressure only to the wheel path, leaving the center and edges of the patch loose. The result is a patch that dips in the middle and spalls at the edges within a month. A plate compactor applies uniform pressure across the entire surface, forcing the polymer-modified binder to coat the aggregate grains and lock them together.
Work the compactor in a grid pattern, overlapping each pass by at least 2 inches. Start at the edges of the patch and move toward the center. This sequence prevents material from being pushed sideways and creating voids against the hole walls. You should see a slight sheen of binder rising to the surface when compaction is correct—this indicates the material has reached full density.
| Condition | Severity & Recommended Action |
|---|---|
| Patch settled ¼ inch below pavement surface after first rain | Usually not urgent. This is normal settling. Add a thin overlay of QPR (½ inch loose, then compact) to bring it flush with surrounding pavement. |
| Patch has cracks wider than ⅛ inch appearing within two weeks | Needs attention soon. Insufficient compaction likely. Remove patch, cut clean edges, reapply in lifts with proper tamping. Consider troubleshooting guide for persistent failures. |
| Patch exhibits raveling—loose stones on surface after one month | Needs attention soon. Compaction pressure was too low or material was applied too thick. Remove loose aggregate, apply tack coat, and recompact a fresh layer at correct lift height. |
| Patch edge lifted or is crumbling against original asphalt | Usually not urgent if only ¼ inch. Can be sealed with cold-applied asphalt crack filler. If more than ½ inch, cut back to sound material, apply tack, and patch again in lifts. |
How should you prepare the edges and bottom of a pothole for QPR patch?
Edge preparation is where most DIY repairs fail. The hole must have vertical, square sides—not sloping walls. Use a cold chisel or a pavement saw to cut back any loose or feathered asphalt until you hit sound material. Loose edges will not bond to the QPR patch, and that interface becomes the failure point. The hole bottom should be clean, dry, and free of dust. Sweep out all debris, then use compressed air or a leaf blower to remove fine particles. Any dust on the bottom acts as a release agent, preventing the cold patch from adhering.
For holes wider than 12 inches, score the bottom in a crosshatch pattern with a pick or chisel before placing the QPR. This creates a mechanical key for the patch material. Do not pour water or use any liquid tack coat on the bottom of the hole for a cold patch—the polymer binder in QPR needs dry contact to bond. Water will trigger premature curing and weaken the bond. Instead, apply a thin mist of water only to the vertical walls if they are dusty, then let them dry for ten minutes before filling.
What is the correct compaction technique for QPR on high-traffic areas?
High-traffic areas—such as commercial driveways, alley entrances, or parking lot aisles—require a different approach. Use a vibratory roller or a dual-drum plate compactor that delivers at least 3,500 lbs of centrifugal force. The QPR material should be placed in 1-inch lifts and compacted until the surface is firm enough that a heel print barely registers when you step on it. A 50-lb bag will yield about 0.4 square feet at a 1-inch compacted depth in heavy traffic zones where extra density is warranted.
After the initial compaction, let the patch sit for 24 hours under traffic if possible. The constant rolling action from tires helps the binder further interlock the aggregate. Do not seal the patch during this period—allow the material to breathe and cure naturally. For the first week after installation, inspect the patch weekly for any settling. If you notice a dip of more than ¼ inch, add a thin layer and recompact before the hole deepens.
Traction concerns are valid for high-traffic patches. QPR contains a high friction aggregate that matches asphalt skid resistance. No additional top dressing is needed. If the surface appears glossy after compaction, sprinkle a light dusting of dry sand over it to restore texture.
How does weather affect the application and compaction of QPR 50-lb patch?
QPR cold patch performs best when air and surface temperatures are above 40°F (4°C) and rising. At lower temperatures, the polymer binder becomes stiff and does not coat aggregate particles fully, leading to poor compaction and early failure. If you must patch during winter—temperatures between 20°F and 40°F—warm the bag of QPR by storing it indoors overnight (at least 60°F) for 12 hours before use. Do not heat the material with a torch; this can degrade the binder.
Rain is a showstopper. Do not apply QPR onto a wet surface or into a puddle of standing water. The binder is water-based and will not bond to a saturated substrate. If rain begins during compaction, stop work and cover the patch with plastic sheeting until the weather clears. The material can be reworked within 30 minutes of initial placement. Once compacted and left to cure for 4 hours in dry conditions (above 50°F), the patch is rain-resistant and can handle light traffic.
Humidity is less of a concern than temperature or surface moisture. High humidity may slow curing slightly but will not prevent proper bonding if the hole is dry. For best results, plan repairs when the forecast calls for at least 6 hours of dry weather and temperatures above 45°F.
What are the most common compaction mistakes with QPR 50-lb patch?
The most frequent error is under-compaction. Many homeowners use a hand tamper for only 20 or 30 strikes per square foot and stop when the material looks level. In reality, cold patch requires 60 to 80 firm, full-stroke tamping blows per square foot to reach acceptable density. Signs of under-compaction include a patch that feels spongy underfoot or that leaves tire tracks after one pass of a car.
Another mistake is compacting the QPR while the material is too cold. If the patch material feels stiff and crumbly when you scoop it, run it through your hands to break up clumps, or mix small amounts in a wheelbarrow to warm it before placing. Cold lumps in the hole will never compact properly and will leave soft spots that ravel out later.
Overfilling is a problem too. A mound higher than ½ inch above the surrounding pavement will not compact flush—it leaves a bump that attracts water and promotes freeze-thaw damage. Stick to a ¼ to ½ inch overfill, compact, then add a thin cap layer if needed after settlement.
For a deeper dive into why patches fail and how to fix them, see our complete guide to pothole repair with QPR 50-lb patch.
What owners say about compacting QPR 50-lb patch
Long-time homeowner and DIYer Tom R. from Ohio reports: “I used QPR three times on the same pothole before I learned about lift thickness. First time I filled it with one 3-inch lift and it sank a full inch after a week. Now I do two lifts—each 1.5 inches—with a hand tamper and it’s been solid for two years.”
Parking lot maintenance supervisor Carla M. from Texas adds: “We cover 15 acres of asphalt and use QPR for all cold patch work. The main thing we learned is to use a plate compactor on anything bigger than a foot square. Hand tampers just don’t put enough force into cold patch for it to lock up right. We also quit applying in the rain after losing an entire pallet of repairs in one storm.”
To understand the aggregate gradation that makes QPR compaction-friendly, read our analysis of QPR 50-lb Asphalt Patch Gradation.
Frequently Asked Questions
Can I drive on a QPR patch immediately after compacting it?
For light vehicles (cars, SUVs), you can drive on the patch after 30 minutes of curing in dry weather above 50°F. Heavy trucks should wait 4 hours. Immediate traffic before the binder sets can cause rutting or displacement.
How many bags of QPR do I need for a 2-foot by 2-foot pothole that is 3 inches deep?
For a 4-square-foot hole at 3 inches deep, you need 12 square feet-inches of material. At 0.15 cubic feet per bag (50 lbs), that equals about 4.5 bags. Always buy one extra bag for overfill and future touch-ups.
Does QPR cold patch require a tack coat or primer on the hole bottom?
No. QPR has a polymer binder that bonds directly to dry, clean asphalt and concrete. A liquid tack coat can actually weaken the bond if it is not fully cured. Only use tack if the hole bottom is excessively dusty and you cannot sweep it clean—then use a cold-applied asphalt tack and let it cure 30 minutes.
Can I store an opened bag of QPR for later use?
Yes, if you keep it dry. Tightly roll or clip the bag closed and store it in a cool, dry place (ideally 50-80°F). Opened bags that are exposed to moisture will harden and become unusable within 2-3 months. Unopened bags have a shelf life of about 12 months if stored properly.
Why does my QPR patch look darker than the surrounding asphalt?
QPR contains a high-volume binder that gives it a darker color when fresh. The patch will typically lighten to match existing pavement after about 2-4 months of UV exposure and traffic wear. This color change does not affect performance.
Is it okay to apply QPR over an existing failed patch?
Only if you break out and remove the old patch completely to sound pavement. Laying fresh QPR over a loose or cracked patch will trap moisture and lead to failure again within weeks. Always cut back to solid edges and remove all debris before starting fresh. For more on this, see our troubleshooting guide for persistent patch failure.