How to Properly Compact Sakrete Blacktop for a Smooth Driveway
Getting a smooth, long-lasting driveway with Sakrete Blacktop isn’t just about dumping and spreading the mix—it’s about compaction. Proper compaction locks the aggregate together, eliminates air voids, and creates a dense surface that resists rutting, cracking, and water damage. This guide walks you through the specific techniques and tools needed to compact Sakrete Blacktop effectively, ensuring your driveway stands up to traffic and weather for years.
Why Is Compaction Critical for Sakrete Blacktop Driveways?
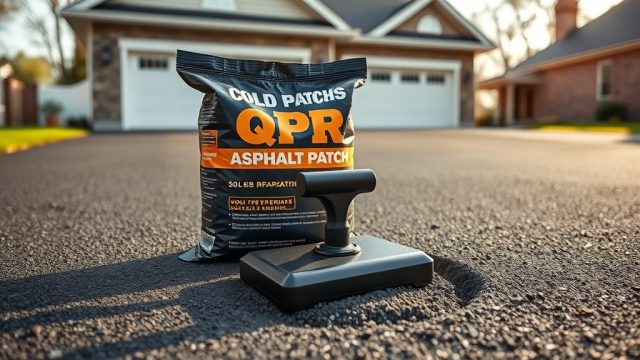
Sakrete Blacktop is a cold-applied asphalt mix designed for DIY projects, but it behaves differently from hot-mix asphalt. Without sufficient compaction, the binder (asphalt cement) won’t fully coat the aggregate, leaving weak points that lead to premature failure. Proper compaction achieves a target density of 92–96% of the mix’s theoretical maximum—typically around 140–145 pounds per cubic foot for Sakrete Blacktop. At this density, the driveway can support passenger vehicles (up to 4,000 lbs per axle) without deforming.
Compaction also seals the surface against moisture intrusion. A poorly compacted driveway lets water seep into the base, leading to frost heave in colder climates. In warmer regions, trapped water accelerates oxidation of the binder, making the surface brittle. By spending extra time on compaction, you extend the life of your investment—typically from 5–7 years to 10–12 years with proper technique.
For a deeper look at what’s inside the bag, check out our Sakrete Blacktop Mix Composition: What’s Inside the Bag? article.
What Tools Do You Need to Compact Sakrete Blacktop Properly?
Choosing the right compaction tool depends on the size of your project and the thickness of the lift. Here are the three most common options:
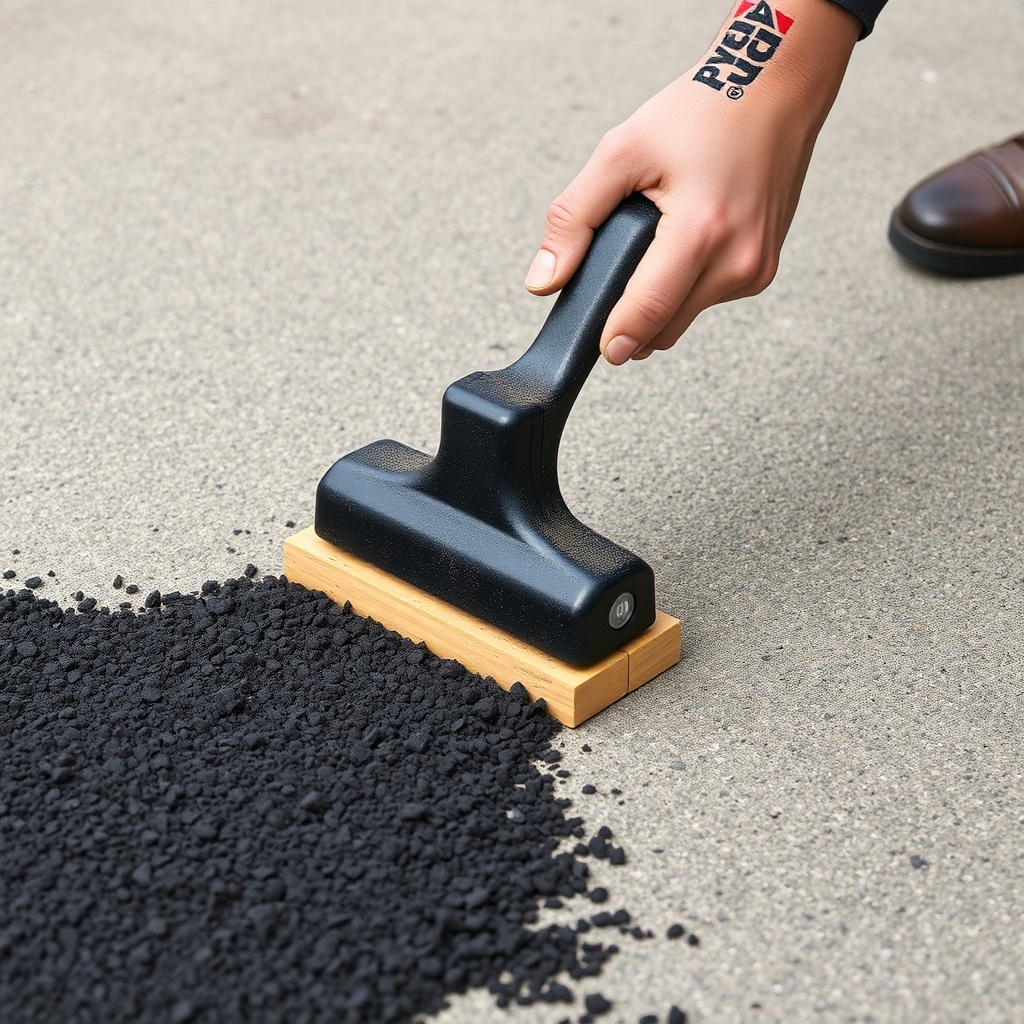
- Hand Tamper (2.5–4 sq. ft. base): Best for small patches, edges, and tight corners. Use a 15–20 lb tamper with a flat steel plate. Apply 60–80 pounds of force per strike, overlapping each pass by 2–3 inches. A hand tamper is ideal for lifts up to 1.5 inches thick.
- Plate Compactor (vibratory plate): The go-to for driveways wider than 4 feet. Choose a model with a centrifugal force of at least 3,500 lbs and a frequency of 5,500–6,000 vibrations per minute. The plate should be at least 18 by 24 inches to distribute force evenly. Plate compactors work best on lifts of 1.5–2.5 inches.
- Lawn Roller (water-filled, 200–300 lbs): Suitable only for final passes on thin overlays less than 1 inch thick. The roller’s weight is too low for initial compaction of thick lifts—use it only to smooth the surface after plate compaction.
Additionally, you’ll need a straightedge (6-foot level or aluminum screed), a tape measure, and a spray bottle with water (to keep the tamper plate from sticking). Rental costs for a plate compactor average $45–$75 per day from local equipment suppliers in the U.S.
For a complete step-by-step installation guide, see Installing a Driveway with Sakrete Blacktop: Step-by-Step Guide.
How Thick Should Each Layer (Lift) of Sakrete Blacktop Be?
Sakrete Blacktop is typically applied in multiple lifts to achieve a final thickness of 2–3 inches for residential driveways. Each lift should be no more than 2 inches thick after compaction. Here’s a practical lift schedule for a standard 10-by-40-foot driveway with a base of 4 inches of compacted gravel:
| Lift Number | Uncompacted Thickness | Compacted Thickness | Compression Ratio |
|---|---|---|---|
| Lift 1 (base course) | 2.5–3.0 inches | 1.75–2.0 inches | 30–35% reduction |
| Lift 2 (surface course) | 1.5–2.0 inches | 1.0–1.25 inches | 25–30% reduction |
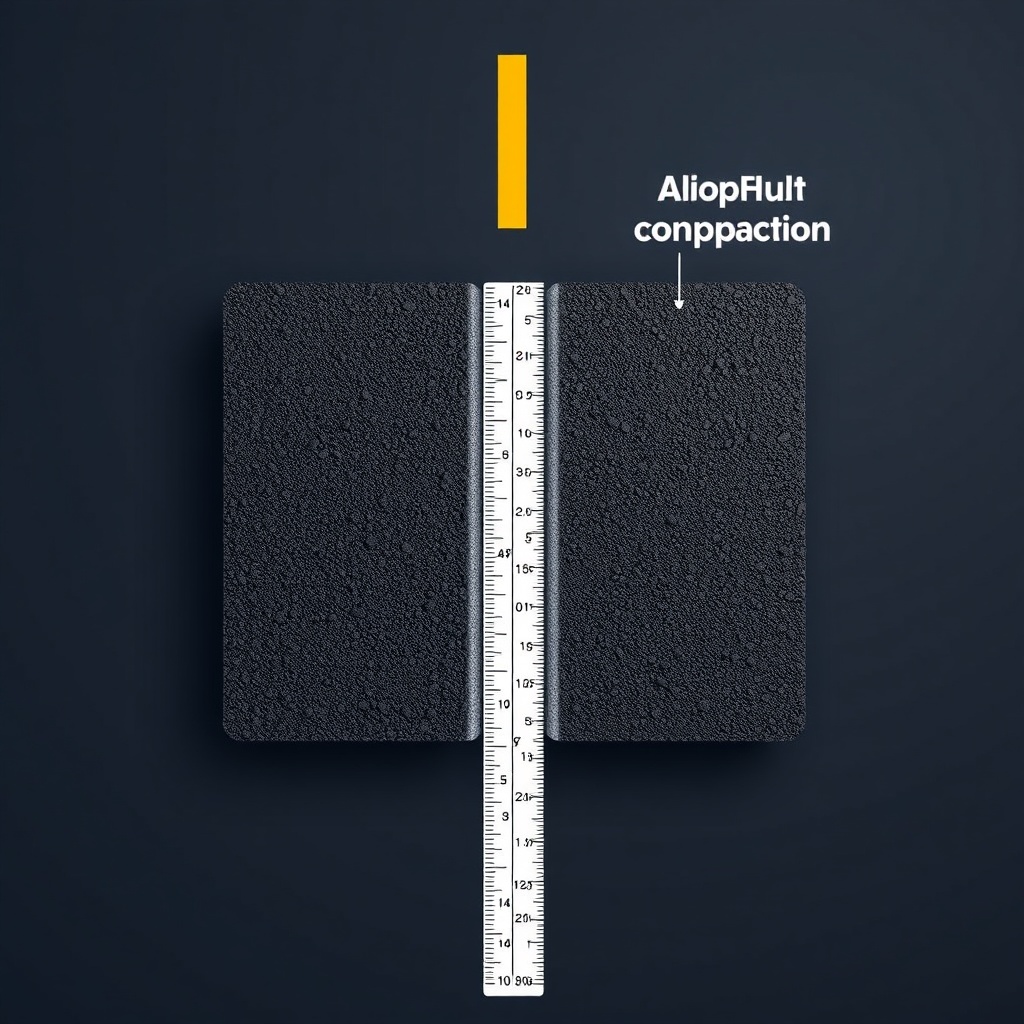
Always spread the mix slightly thicker than the target—factor in a 25–35% compression ratio. For example, to get a 2-inch compacted lift, spread the mix to about 2.75 inches uncompacted. Use a straightedge to check the uncompacted thickness at multiple points before compacting.
If you’re working on a larger project, consider renting an asphalt rake (sometimes called a lute rake) to spread the mix evenly. The rake’s wide tines help bring fines to the surface, which creates a smoother finish after compaction.
What Is the Correct Compaction Sequence for Sakrete Blacktop?
Follow this sequence to avoid trapping air or creating weak seams between lifts:
- Compact the edges first: Use a hand tamper to compact a 6–8 inch strip along the edges of the driveway. Edges cool faster and lose compaction more quickly, so they need extra care. Overlap hand tamping by 3 inches.
- Compact the longitudinal joints: If you’re working in strips (say, 4 feet wide), compact the joint where one strip meets another immediately after spreading the adjacent strip. Use the plate compactor with a 50% overlap over the joint line.
- Plate compact in overlapping passes: Start the plate compactor at one end and move in a straight line down the driveway. Overlap each pass by 4–6 inches. Work from the edges toward the center to push material inward and reduce edge slumping.
- Make a second pass at 90 degrees: After the first pass, compact again perpendicular to your original direction. This cross-compaction eliminates any directional air voids and improves density by 2–4%.
- Final roll or tamp: If using a lawn roller, make one final pass after the plate compactor to smooth the surface. Do not use the roller as the primary compaction tool—it won’t achieve adequate density for lifts over 1 inch.
Always keep the tamper or plate moving at a steady pace (about 2–3 feet per second). Stopping the plate compactor on the surface for more than 5 seconds can create a depression or cause the mix to stick to the plate.
How Do You Know When Sakrete Blacktop Is Properly Compacted?
You don’t need expensive nuclear density gauges for a DIY project—there are reliable visual and tactile checks:
- No visible movement: When you walk on the compacted surface, your footprints should barely show—less than 1/8 inch deep. If your heels sink in more than 1/4 inch, you need more compaction.
- Surface sheen: Properly compacted Sakrete Blacktop develops a uniform, slightly glossy appearance as the binder rises to the surface. If the surface looks dry or sandy, you have insufficient compaction or the mix is too cold (below 50°F).
- Hardness test: After compaction, press a quarter into the surface firmly with your thumb. The coin should leave a slight impression (about 1/16 inch) but not penetrate deeper. If it sinks beyond the coin’s thickness, recompaction is needed.
- Edge compaction: The edges should feel firm and not crumble when you scrape them lightly with your finger. Loose edges indicate insufficient hand tamping.
For a successful DIY project, aim for a surface that feels like a solid floor—not spongy or gritty. If you’re patching cracks, see Patching Cracks in Sakrete Blacktop: Best Practices for details on preparing those areas for compaction.
Common Compaction Mistakes to Avoid with Sakrete Blacktop
Even experienced DIYers can slip up. Here are the most frequent errors and how to steer clear:
| Symptom | Severity Level | Correction |
|---|---|---|
| Surface cracks within 1 month | Needs attention soon | Likely caused by compacting too wet (mix is saturated). Let fresh layers cure 24 hours before next lift or sealcoat. See Sealcoating a Sakrete Blacktop Driveway for repair guidance. |
| Ruts forming after 3–6 months | Usually not urgent | Compacted insufficiently or base layer too thin. Add a 1-inch overlay after cleaning and tacking the surface. Ensure next time you apply 2+ lifts. |
| Edges crumbling or raveling | Needs attention soon | Edges were not hand-tamped thoroughly. Remove loose material, prime edge with tack coat, and patch with fresh mix. Compact edges with hand tamper. |
| Surface feels spongy for weeks | Usually not urgent | Too much binder or mix kept in bag too long (over 3 months). Allow 2–3 weeks of full sun and traffic, then apply sealcoat to stabilize. |
| Sticky plate compactor | Needs attention soon | Plate not lubricated. Wipe plate with diesel or vegetable oil every 30 minutes of operation. Avoid water—it causes steam and sticking. |
What Owners Say About Compacting Sakrete Blacktop
Real feedback from homeowners who’ve done it themselves offers practical insights:
- “I used a plate compactor rental for $55 a day and it made a huge difference compared to just hand tamping. The surface is smooth and firm, even after two New England winters. My neighbor used a lawn roller and got dips within months.” —Mark T., Massachusetts
- “It’s tempting to skip the hand tamping on the edges, but I made that mistake on a small patch last year. The edge crumbled after the first freeze. This time I spent an extra 15 minutes hand tamping, and the edges are rock solid.” —Linda P., Oregon
- “A friend recommended cross-compacting (going perpendicular after the first pass). I was skeptical but tried it. The density difference is real—my driveway feels harder and doesn’t show tire marks even in summer heat.” —Derek S., Texas
These owners agree: spending an extra hour on compaction saves months of repairs. For more on maintaining your compacted surface, read about sealcoating after compaction.
Frequently Asked Questions
1. Can I compact Sakrete Blacktop with just a lawn roller?
No. A lawn roller (even a 300-pound water-filled one) doesn’t provide enough centrifugal force to achieve the required density for lifts over 1 inch thick. Use a plate compactor for main compaction and only use a roller for final surface smoothing on thin overlays.
2. How long should I wait before driving on a newly compacted Sakrete Blacktop driveway?
Wait at least 24 hours in temperatures above 60°F, and 48 hours if the temperature is between 50–60°F. For colder weather (40–50°F), extend the wait to 72 hours. Driving too soon can cause ruts, especially if compaction was light.
3. My Sakrete Blacktop feels sandy after compaction—what went wrong?
This usually means the mix was applied too cold (below 50°F) or it’s past its shelf life (more than 3 months from purchase). The binder may have separated from the aggregate. Remove the affected area, reapply fresh mix at proper temperature, and compact while the mix is workable.
4. Do I need to wet the base before compacting the first lift?
Yes, lightly dampen the compacted gravel or existing asphalt base with a garden sprayer—just enough to prevent dust without creating puddles. A dry base can steal moisture from the asphalt mix, reducing compaction efficiency. Wait 30 minutes after wetting before spreading the first lift.
5. What’s the ideal air temperature for compacting Sakrete Blacktop?
Work when air temperature is between 55°F and 85°F. Below 55°F, the binder stiffens, making compaction difficult and leading to low density. Above 85°F, the mix may become too sticky and the binder can thin out. Early morning or late afternoon in summer is ideal.
6. Can I use a vibrating plate compactor on a freshly spread Sakrete Blacktop patch?
Yes, but only on patches larger than 2 feet by 2 feet. For smaller patches, use a hand tamper to avoid displacing the mix. Apply the plate compactor in short bursts (2–3 seconds per spot) to avoid over-compacting the edges and creating a depression.