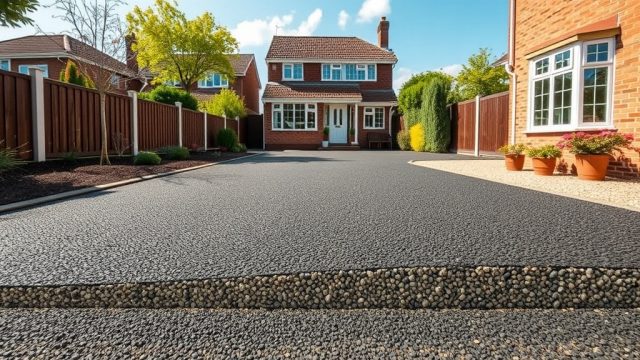
Preparing Your Asphalt Surface for Rust-Oleum EpoxyShield Coating
Applying Rust-Oleum EpoxyShield to an asphalt driveway or garage floor can transform its appearance and durability. However, the success of this coating hinges entirely on proper surface preparation—even the best epoxy will fail if the asphalt isn’t clean, dry, and sound. This guide covers the specific steps and considerations for preparing asphalt before applying Rust-Oleum EpoxyShield, helping you avoid common pitfalls like peeling, bubbling, or poor adhesion.
Why Does Rust-Oleum EpoxyShield Require Specific Asphalt Prep Compared to Concrete?
Asphalt and concrete are fundamentally different materials, and Rust-Oleum EpoxyShield is formulated primarily for concrete surfaces. When used on asphalt, the coating must bond to a flexible, oil-based substrate that’s more porous and prone to thermal movement than concrete. Asphalt contains aggregate held together by bitumen, which can react differently to moisture and chemical cleaners. Unlike concrete, asphalt is softer and can be damaged by aggressive acid etching or pressure washing at too high a psi (e.g., over 3000 psi). Proper prep involves degreasing, cleaning, and sometimes light abrasion without compromising the asphalt’s surface integrity. For more on the product’s overall durability, see Rust-Oleum EpoxyShield: Long-Term Protection for Asphalt Surfaces.
What Tools and Materials Do You Need for the Prep Process?
Gathering the right tools avoids mid-job delays and ensures thorough preparation. You’ll likely need:
– Stiff-bristle brush (push broom or hand brush)
– Pressure washer (2500–3000 psi recommended): Rent one if needed, but avoid commercial units over 3500 psi on older asphalt.
– Degreaser: Use a product like Rust-Oleum’s own cleaner/degreaser or a citrus-based biodegradable cleaner. Avoid simple green if diluted too strongly—it can leave residue.
– Safety gear: rubber gloves, safety glasses, and gloves for handling any cleaning agents.
– Shop vacuum or leaf blower for final debris removal.
– Calcium chloride testing kit (for moisture testing) or a simple plastic sheet test (tape a 18×18-inch plastic sheet to the surface, check for condensation after 48 hours).
– Optional: a concrete patch/mortar mix if you’re filling any asphalt cracks or potholes (though EpoxyShield is not a structural repair product).
For small cracks under 1/8 inch, you can use a quality asphalt crack filler; for larger issues, consult a professional. Always check the product’s FAQ page for specific compatibility: Frequently Asked Questions About Rust-Oleum EpoxyShield Asphalt Coating.
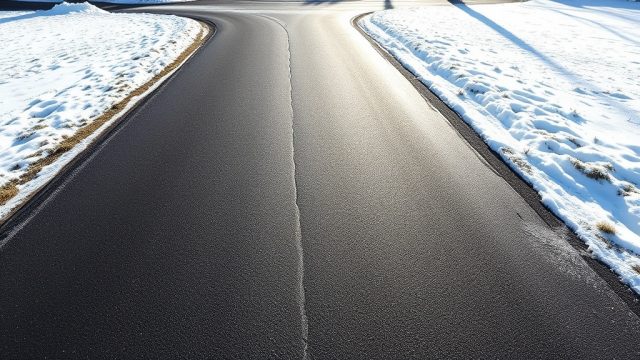
How Do You Test Asphalt Moisture Levels Before Coating?
Moisture is a common cause of epoxy failure on asphalt. Asphalt is naturally porous and can wick groundwater even weeks after a rain. The easiest DIY test is the plastic sheet test: tape a clear plastic sheet (like a garbage bag) to the surface using duct tape, ensuring edges are sealed. After 24–48 hours, lift the sheet and feel the surface. If there’s condensation, moisture droplets, or dark wet patches on the asphalt, the surface is too damp for coating. For a more precise measurement, a calcium chloride test kit (costing about £15–25 or roughly $20–30 USD) will give you vapor emission rate in pounds per 1,000 sq ft per 24 hours. For Rust-Oleum EpoxyShield, the surface should have a vapor emission rate below 3 lbs per 1,000 sq ft per 24 hours. If the reading is higher, you need to wait several days of dry weather or use a dehumidifier in an enclosed garage. Avoid applying if there’s any standing water or if the asphalt feels cold and damp to the touch.
| Condition | Interpretation |
|---|---|
| Plastic sheet test: no moisture, asphalt feels dry after 48 hours | Usually not urgent – surface is likely ready if weather stays dry for next 24 hours |
| Plastic sheet test: light condensation or small damp spots | Needs attention soon – wait for 3–5 more dry days, then retest; consider using a dehumidifier in enclosed areas |
| Calcium chloride test: under 3 lbs/1,000 sq ft/24 hours | Usually not urgent – moisture level acceptable for coating |
| Calcium chloride test: 3–5 lbs/1,000 sq ft/24 hours | Needs attention soon – delay application; dry the area with fans or wait for longer dry period |
| Visible standing water or wet patches after cleaning | Needs attention soon – do not coat; allow surface to dry completely, and check for drainage issues |
If you have persistent moisture problems, consider a vapor barrier primer (not included with EpoxyShield) or consult a professional before proceeding.
How Do You Clean and Degrease the Asphalt Without Damaging It?
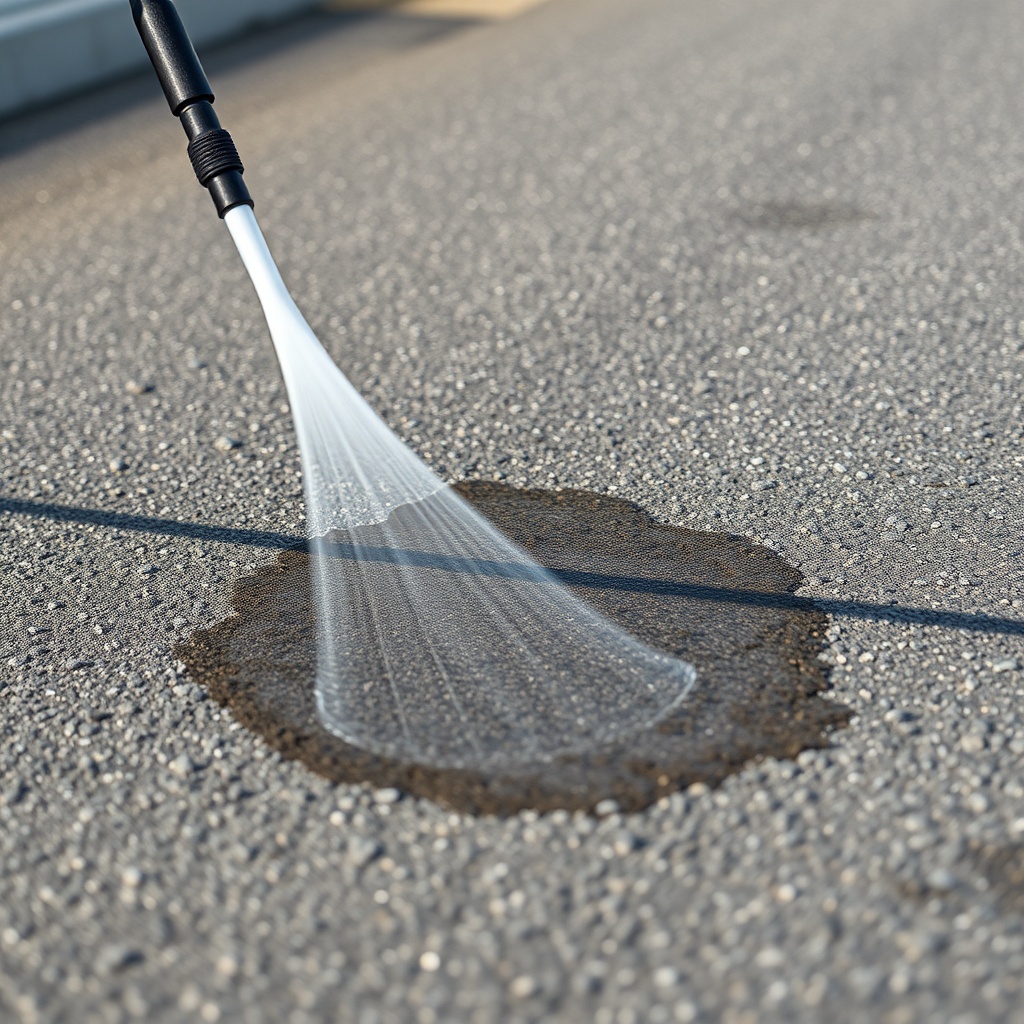
Cleaning is straightforward but must be done gently. Start by sweeping away all loose dirt, leaves, and debris. Then mix a degreaser according to label instructions (usually 1 part degreaser to 4–10 parts water). Apply it to the asphalt using a stiff-bristle brush or a low-pressure sprayer. Let it sit for 10–15 minutes to break down oil, grease, and tire marks. Agitate the surface with the brush—don’t scrub too hard, as aggressive scouring with metal brushes can peel the surface layer of asphalt. For stubborn oil stains, apply undiluted degreaser directly and let it dwell for up to 30 minutes. After scrubbing, rinse thoroughly with a pressure washer using a fan tip, holding the nozzle about 12–18 inches from the surface. Keep the pressure under 3000 psi to prevent etching or loosening the aggregate. For garage floors, ensure the rinse water runs off completely; don’t let puddles form. After rinsing, use a shop vacuum or leaf blower to remove standing water from low spots. The surface should be clean enough that a white paper towel wiped across it shows no dirt or oil residue.
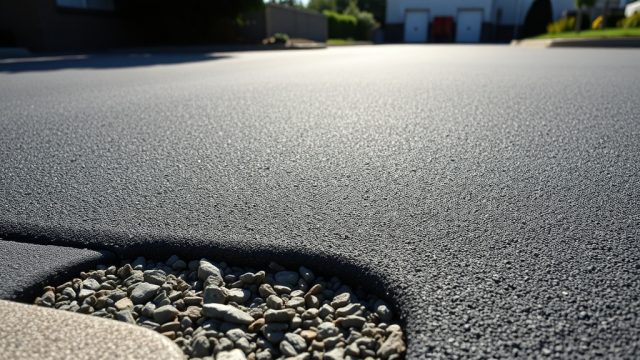
What Repair Steps Are Needed for Cracks and Asphalt Damage?
Rust-Oleum EpoxyShield is a decorative and protective coating—it does not fill structural cracks or level uneven surfaces. Small cracks (under 1/4 inch wide) can be filled with a quality asphalt crack filler. For best results, clean the crack with compressed air or a wire brush, then inject the filler slightly above the surface. Let it cure as per manufacturer directions (typically 24–48 hours). Larger potholes or crumbling edges require cold patch asphalt repair material; compact it firmly and let it cure for at least 72 hours before coating. Avoid using concrete repair products on asphalt—they have different thermal expansion properties and will crack. After repairs, check for raised edges or ridges, which you can sand down with a sanding block or light grinding wheel (wear a dust mask). The goal is a smooth, level surface free of loose aggregate or debris. Remember: EpoxyShield will not hide major imperfections—it will actually make them more noticeable due to its glossy finish.
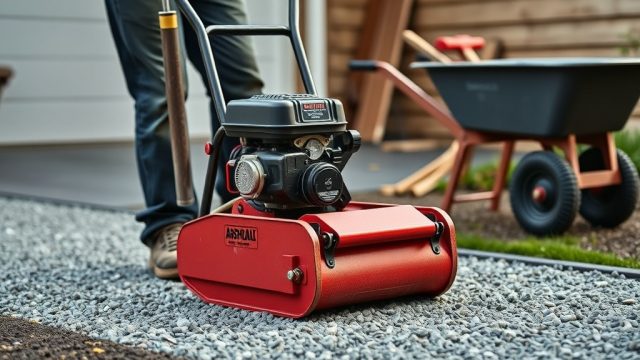
How Important Is Surface Profiling for Asphalt to Create a Mechanical Bond?
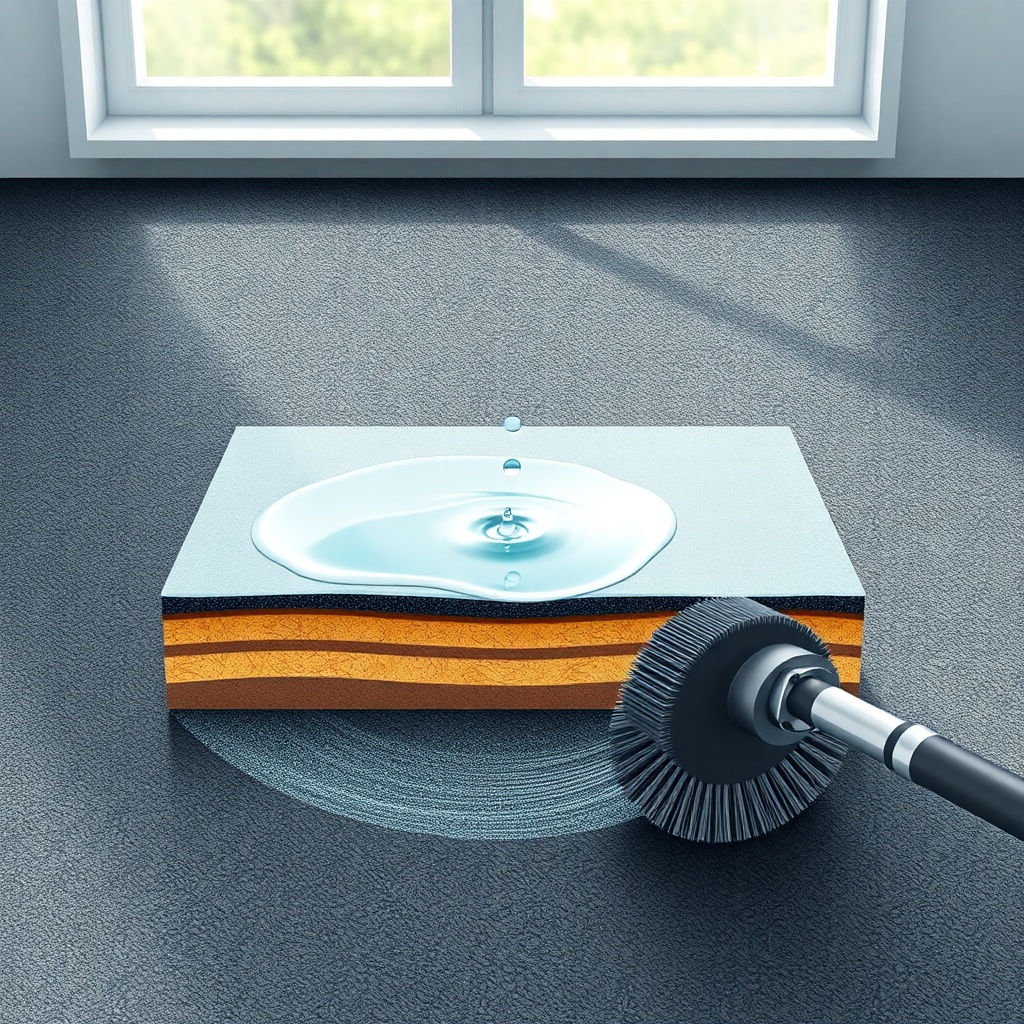
Epoxy coatings rely on a mechanical bond to the substrate. On concrete, this is often achieved by acid etching or grinding to create a rough texture. On asphalt, you cannot use acid etching—the acid weakens the bitumen binder and can ruin the surface. Instead, you need to lightly profile the surface using mechanical means. For most residential driveways, a thorough cleaning with a pressure washer at 2500–3000 psi using a floor cleaner attachment is sufficient. If the asphalt is very smooth (e.g., it was sealcoated recently), lightly abrade it with a floor buffer fitted with a fine sanding disc (60–80 grit) or a stiff-bristed rotary brush. Avoid aggressive grinding discs that dig into the asphalt. The surface should feel slightly rough to the touch—like fine sandpaper—but not have deep grooves. After profiling, vacuum or blow off all dust and debris. Finally, do a water break test: spray a fine mist of water on the surface. If the water beads up, the surface is too smooth—repeat cleaning or profiling. If the water wets out and forms a thin, even film, the surface has adequate texture for epoxy adhesion.
What Owners Say
After preparing their asphalt surfaces, many owners share practical insights from their experiences. One owner noted that their driveway had old oil stains that required multiple degreaser applications over two days before the final rinse—but the effort paid off with no peeling after a year. Another mentioned that on a newly installed asphalt driveway (about 6 months old), they followed the curing time recommendations (let the asphalt cure for at least 90 days as per Rust-Oleum guidelines) and still got a strong bond, though they stressed that waiting is critical to avoid “solvent pop” from residual moisture in the fresh asphalt. A third reported that skipping the moisture test led to bubbling after a week of rain, and they had to strip the coating and start over.
Frequently Asked Questions
Here are answers to common questions about preparing asphalt for Rust-Oleum EpoxyShield.
Q: Can I apply Rust-Oleum EpoxyShield directly to old asphalt?
A: Yes, but old asphalt must be thoroughly cleaned, degreased, and dry. If the asphalt is more than 10 years old and heavily cracked or crumbling, the coating will not hold. Consider a new asphalt layer or consult a professional.
Q: How long does asphalt need to cure before applying EpoxyShield?
A: Freshly laid asphalt should cure for at least 90 days in most climates (longer in cooler or humid conditions). The asphalt must be fully cured and free of oils that volatilize during curing.
Q: Do I need to prime the asphalt first?
A: Rust-Oleum EpoxyShield is self-priming on concrete, but on asphalt it’s recommended to apply a thin “tie coat” (a 1:1 mixture of the epoxy with a small amount of xylene or a compatible solvent) to improve adhesion, especially on very absorbent asphalt. Check the product instructions for your specific climate.
Q: Can I use a power washer with a turbo nozzle on asphalt?
A: No. Turbo nozzles concentrate water pressure to a small area and can etch or gouge asphalt. Use a 25–40 degree fan tip only.
Q: What if the asphalt has existing sealcoat?
A: Old sealcoat must be completely removed because EpoxyShield will not adhere to it. Use a pressure washer with a surface cleaner or a commercial sealcoat remover. If the sealcoat is thick, you may need to grind it off.
Q: How long should I wait after cleaning before coating?
A: Wait at least 24 hours after the last rinse to ensure the asphalt is fully dry. Check the moisture test results and only proceed if the surface passes the plastic sheet or calcium chloride test.