DIY Subgrade and Base Preparation for AsphaltPavePro Driveways: Achieving a Solid Foundation
When it comes to installing a durable AsphaltPavePro driveway, the most critical step is often underestimated: subgrade and base preparation. A weak or poorly compacted foundation leads to cracking, rutting, and premature failure—costing you thousands in repairs. This guide breaks down the DIY-friendly steps to prepare a subgrade and aggregate base that meets the technical specifications for AsphaltPavePro, ensuring your surface lasts for decades.
What Is Subgrade and Base Preparation for an AsphaltPavePro Driveway?
Subgrade refers to the native soil beneath your driveway, while the base is a layer of compacted granular material (typically crushed stone or gravel) placed on top. For AsphaltPavePro mixtures—which use polymer-modified binders for enhanced flexibility—the foundation must be uniformly strong and free of organic matter, clay, or moisture pockets. Proper preparation prevents differential settlement, where one section sinks and others stay firm, leading to cracks.
A typical driveway requires a minimum subgrade compaction of 95% standard Proctor density, with a 4- to 6-inch compacted aggregate base for light vehicles. For heavier traffic (like a pickup or SUV), increase the base to 8 inches. Without this, even the best AsphaltPavePro surface will fail.
Remember: a solid foundation accounts for 60–70% of the driveway’s overall longevity. Skimp here, and you’ll pay later.
How Do I Assess the Soil on My Property Before Laying an AsphaltPavePro Base?
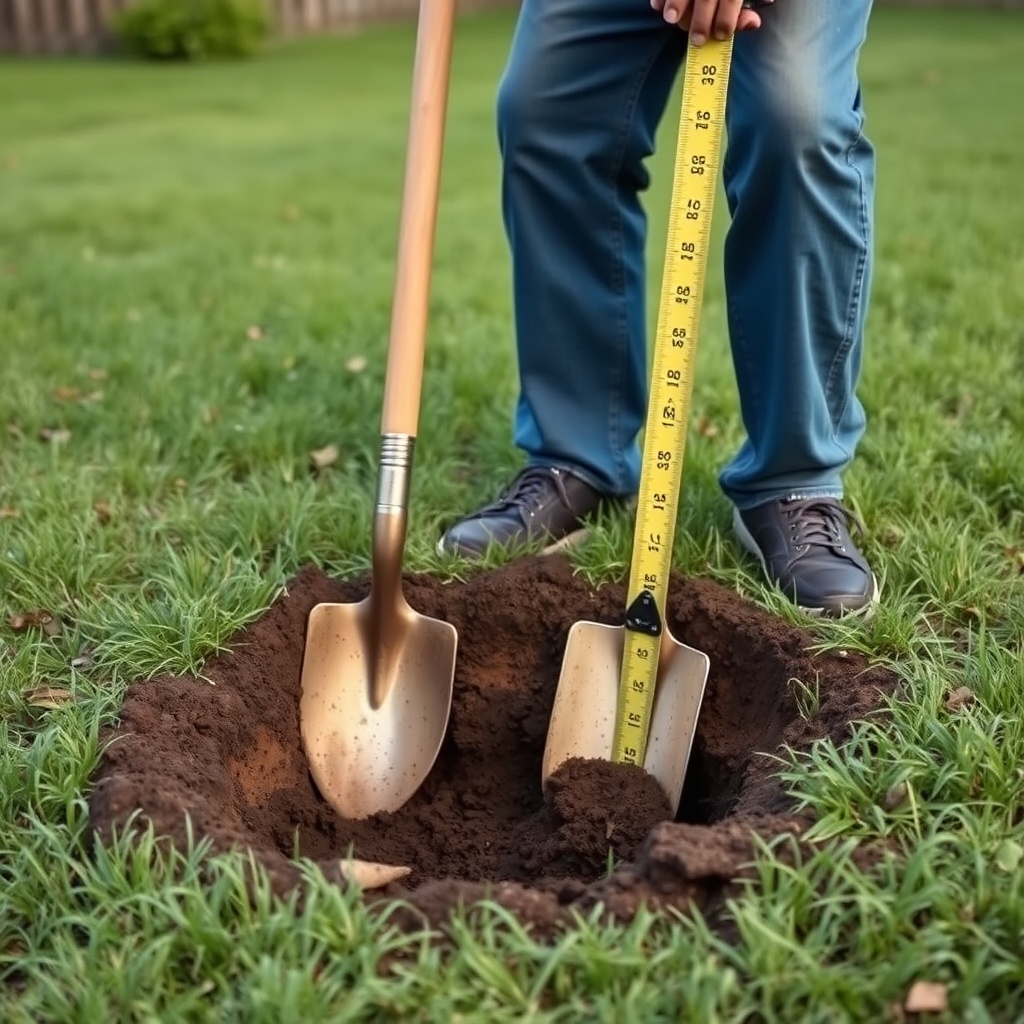
Start by digging a test pit at least 12 inches deep in the driveway area. Feel the soil: sandy or silty soils drain well but may shift under load; clay soils expand when wet and contract in dry weather, causing movement. The ideal subgrade for AsphaltPavePro is a well-graded gravelly sand (classified as A-1 or A-2 in the AASHTO system).
- Perform a simple jar test: Fill a clear jar 1/3 with soil, add water, shake, and let settle for 24 hours. Sand settles in seconds, silt in hours, clay stays suspended. If clay layer exceeds 20%, you’ll need to remove it or mix in stabilizer.
- Check drainage: Pour a bucket of water into the test pit. If water stands for more than 30 minutes, you have poor drainage, requiring a thicker base or AsphaltPavePro Drainage and Slope Design: Preventing Water Damage considerations.
- Compaction test: Use a hand tamper or plate compactor on a small area. If you see more than ¼-inch deflection under your weight, the subgrade is too weak.
If heavy clay or high water table is present, consider removing at least 12 inches of soil and replacing it with a engineered fill. For typical suburban lots, a simple adjustment of slope—aiming for a 1.5% to 2% grade away from structures—often suffices.
What Equipment and Materials Do I Need for DIY AsphaltPavePro Subgrade Prep?
You don’t need a full crew—most tasks can be done with rental equipment. Here’s a checklist:
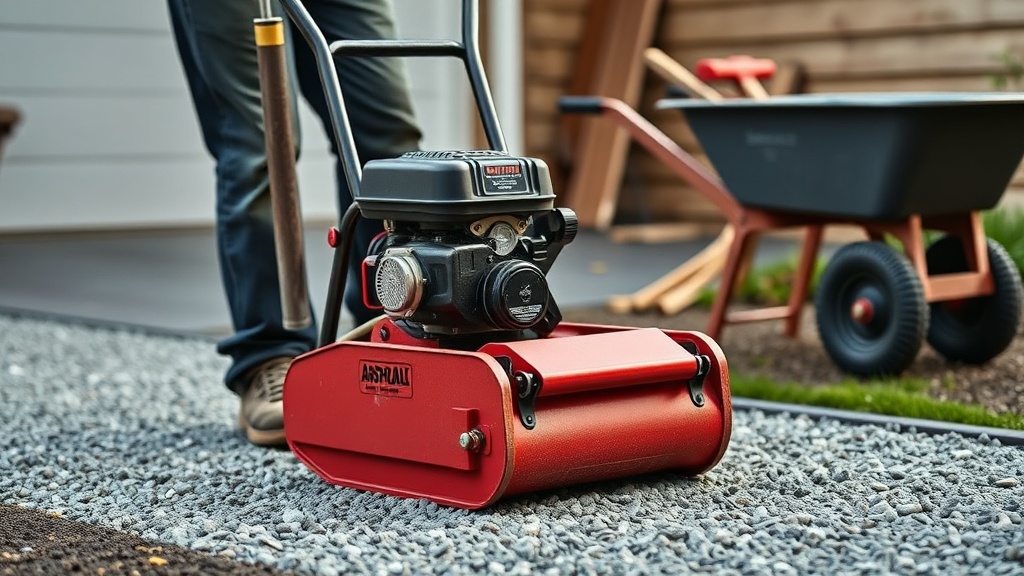
- Plate compactor or vibratory roller: Essential for achieving 95% density. A plate compactor (rental ~£45/day or $60/day) works for small areas; a roller ($150/day) for larger driveways.
- Hand tamper: For edges and tight spots
- Shovels, rakes, and wheelbarrow
- String line and level for slope checking
- Crushed aggregate (type 21-A or ¾-inch minus): Cost around £35–£55 per ton ($45–$70). A standard 500 sq ft driveway needs 10–15 tons.
- Geotextile fabric (optional but recommended): Prevents soil mixing with base—costs about £0.40/sq ft ($0.50).
- Water source for moisture conditioning during compaction
For a full budget breakdown, visit our AsphaltPavePro DIY Driveway Cost Estimator: Budgeting for Materials and Labor.
What Are the Step-by-Step Instructions for Preparing Subgrade and Base for AsphaltPavePro?
Follow these steps in order. Rushing compaction is the biggest DIY mistake.
Step 1: Excavate and Grade
Remove topsoil, grass, and organic matter to a depth of at least 8–12 inches from finished grade. Ensure the area slopes ¼ inch per foot (2%) away from garage or house walls. Use a string line and level to check slope. Compact the exposed subgrade with your plate compactor in overlapping passes (at least 4 passes). If soil is dry, lightly mist with water to achieve “optimum moisture content” (soil feels moist but doesn’t stick to your hand).
Step 2: Install Geotextile (If Using)
Roll geotextile fabric over the compacted subgrade, overlapping seams by 12 inches. This layer separates soil from aggregate, preventing pumping and mixing. It’s especially valuable on clay soils.
Step 3: Place and Spread Aggregate Base
Use ¾-inch crushed limestone or granite (Type 21-A). Spread in 4-inch lifts (layers). For a 6-inch base, do two lifts. Do NOT dump a full 6 inches at once—compaction won’t penetrate. Rake each lift flat and check slope again.
Step 4: Compact Each Lift
After spreading a 4-inch lift, run the plate compactor over the entire area. Make 4–6 passes, overlapping by 50%. For edges, use a hand tamper. Check compaction with a simple test: push a rebar or steel rod into the base—if it penetrates more than 2 inches easily, compact more. For heavy truck traffic, use a vibratory roller.
Step 5: Final Grade Check
After final lift is compacted, use a long straightedge to ensure even surface. Low spots must be shimmed with additional aggregate compacted in 2-inch lifts. The finished base must be smooth, firm, and consistent.
If you’re skipping professional help, ensure you have Proper Subgrade and Base Preparation for AsphaltPavePro Driveways—this companion guide covers advanced compaction testing.
What Are the Common Mistakes When Preparing a Base for AsphaltPavePro?
Even experienced DIYers make errors. Here are the top pitfalls and fixes:
| Mistake | Result | Cost to Fix |
|---|---|---|
| Skipping subgrade compaction | Settling, cracking within 2 years | £1,500–£3,000 (full tear-out) |
| Using dirty or recycled aggregate | Fines wash out, base becomes unstable | £800–£1,500 (partial redo) |
| Applying AsphaltPavePro on wet base | Moisture trapped leads to frost heave | £1,000+ (seal coat failure) |
| Inadequate slope (less than 1.5%) | Standing water, potholes | £600–£1,200 (regrading) |
| One-lift base (more than 4 inches at once) | Poor compaction, lumps | £400–£800 (recompacting) |
Also, many DIYers underestimate the importance of moisture content. Too dry, aggregate won’t bind; too wet, it becomes unstable. Use the “hand test”: squeeze a handful of aggregate—it should hold shape but crumble when tapped. Adjust with water or by mixing in dry material.
How Do I Know If My Base Is Ready for AsphaltPavePro Application?
After compaction, inspect the base thoroughly. The surface should be free of loose stones, dust, and standing water. Do a “proof roll” by driving a fully loaded car or truck over the base. Watch for any deflection or rutting. The base must feel solid underfoot and resist deformation from a heavy boot heel.
Next, apply a prime coat (tack coat) over the base. This emulsion—available from your AsphaltPavePro supplier—binds the base to the asphalt layer. Spray it evenly at a rate of 0.15–0.25 gallons per square yard (0.7–1.1 liters per square meter). Allow it to cure for 4–24 hours depending on weather. The base should look dark and tacky but not pooled.
For further advice on final checks, refer to AsphaltPavePro vs. Hot Mix Asphalt: Cost Comparison for Driveway Repairs to decide if you want to proceed with DIY asphalt or hire a crew.
What Owners Say About AsphaltPavePro Subgrade and Base Prep
DIY homeowners who invested in thorough preparation consistently praise the results. Trevor from Leeds shared, “I followed this guide to the letter—spent two full weekends on the base alone. My AsphaltPavePro driveway has been through two harsh winters and zero cracks. The key was renting a big compactor.” Sarah in Bristol added, “I messed up my first attempt by laying base too thick. Second time, with lifts, it was rock hard. Worth the sweat.”
However, some caution that clay soils require extra effort. “On heavy clay, I added geotextile and a 10-inch base—cost more but no issues after five years,” notes Mark from Birmingham. Common wisdom: “Never rush step 1–4. AsphaltPavePro’s flexibility only helps if the ground underneath doesn’t move.”
For winter maintenance, also read our Winter Sealcoating with AsphaltPavePro: Preparation and Application Tips.
Frequently Asked Questions About AsphaltPavePro Subgrade and Base Prep
- Can I use recycled concrete as base for AsphaltPavePro?
Yes, but only if it’s well-graded (¾-inch minus) and free of steel reinforcement. It must be crushed to angular shape for interlocking. Avoid using material with high fines (dust), which can wash out. - How long should I wait after base prep before paving?
Ideally within 2–3 days. If waiting longer, cover with plastic to prevent rain from saturating the base. If base gets wet, allow to dry thoroughly—a wet base will trap vapor under the AsphaltPavePro layer. - What if my subgrade has tree roots?
Roots larger than 1 inch diameter must be cut and removed; treat cut ends with herbicide to prevent regrowth. For smaller roots (<1 inch), grind flush with subgrade surface. Do not bury roots—they will decay and create voids. - Can I pave directly over existing concrete?
Yes, but only if concrete is in good condition (no sinking, cracking). Clean thoroughly, apply a tack coat, and proceed. If concrete is damaged, remove and do full base prep. - Do I need a vapor barrier under the base?
Only in areas with high water table or heavy clay. A 6-mil poly sheet between subgrade and base prevents moisture wicking—recommended if your test pit showed standing water. - How much does professional base prep cost vs. DIY?
Professional base prep runs £4–£7 per sq ft ($5–$9) including excavation and compaction. DIY materials and rental tools cost roughly £1.50–£3 per sq ft ($2–$4), not counting labor. DIY saves 40–60% but requires careful effort.
Remember: for crack repairs after paving, consult AsphaltPavePro Crack Sealer: Application Tips for Long-Lasting Repairs.