Why Winter Sealcoating with AsphaltPavePro Demands a Different Approach
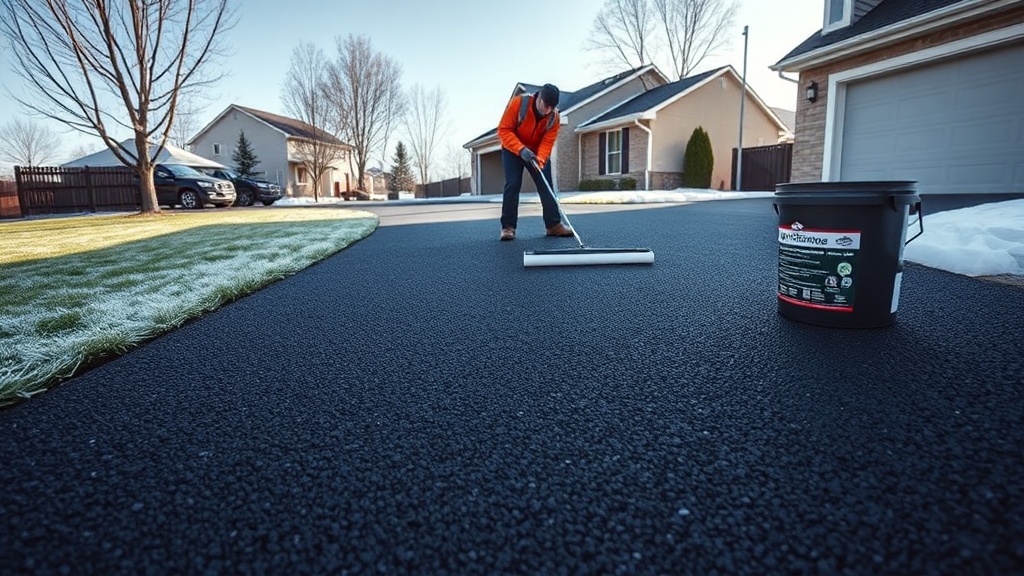
When the mercury drops and frost threatens your driveway, many homeowners assume sealcoating is off the table until spring. Yet with the right product and technique, winter sealcoating using AsphaltPavePro can provide critical protection against freeze-thaw cycles and salt damage. AsphaltPavePro’s advanced polymer-modified formula allows for application in cooler conditions—down to 4°C (40°F)—provided the surface is dry and rising temperatures are forecast. This article delivers specific preparation and application tips to ensure your winter sealcoat bonds properly and extends the life of your asphalt investment.
How Does Cold Weather Affect AsphaltPavePro Sealcoat Bonding?
Sealcoating relies on a chemical cure that slows dramatically below 10°C (50°F). AsphaltPavePro’s formulation includes low-temperature emulsifiers that allow film formation at temperatures as low as 4°C (40°F). However, if the substrate is colder than 2°C (35°F) or if rain or snow is expected within 12 hours, the sealcoat will not cure properly. The key is to monitor both ambient air temperature and pavement surface temperature using an infrared thermometer. A surface temperature below 4°C (40°F) will cause the emulsion to break prematurely, resulting in a tacky or powdery finish that fails to protect against AsphaltPavePro Sealcoat vs. Rust-Oleum EpoxyShield comparisons—where durability in extreme weather is a primary differentiator.
What Preparation Steps Are Critical for Winter Sealcoating Success?
Preparation for winter sealcoating is non-negotiable. Follow this checklist before opening your AsphaltPavePro bucket:
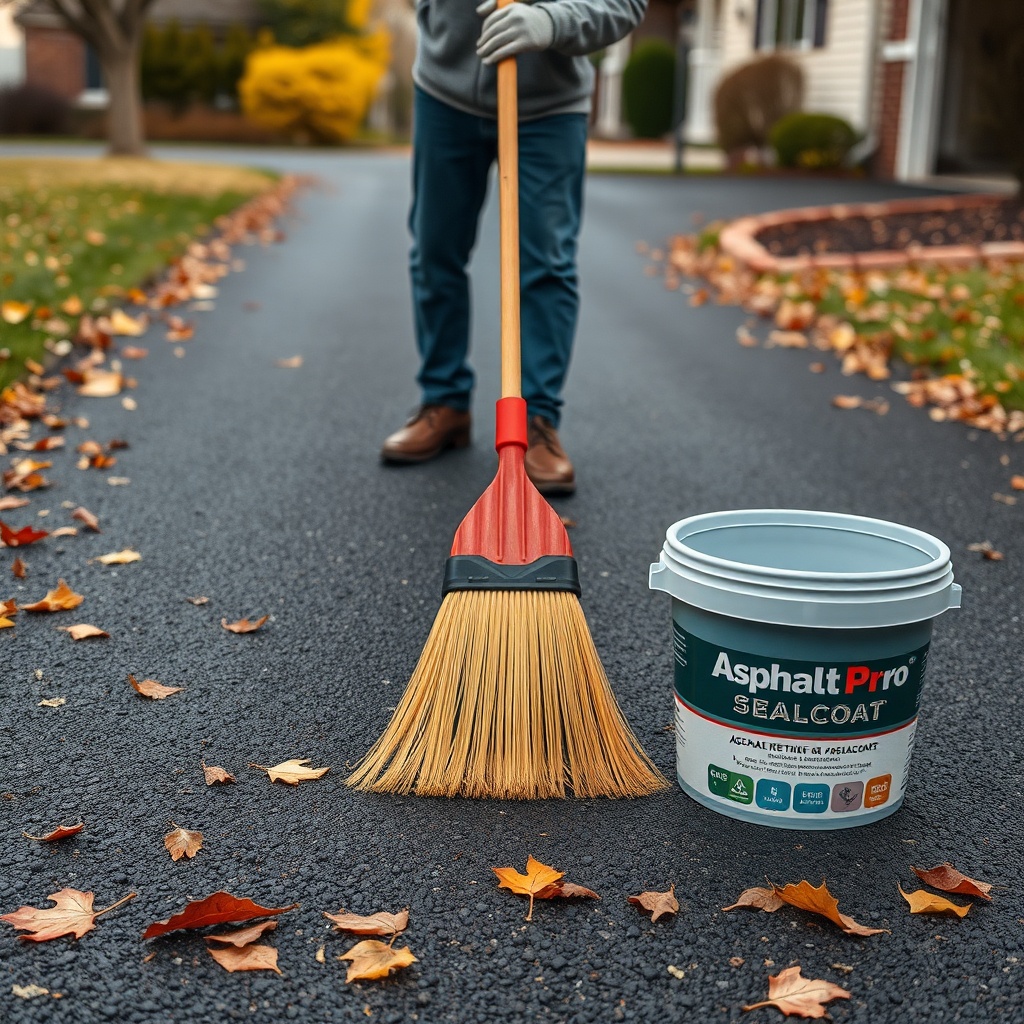
Step 1: Thoroughly Clean the Surface
- Sweep away all debris, leaves, and loose dirt.
- Use a stiff broom or leaf blower to remove fine dust.
- For oil stains, apply a biodegradable degreaser and scrub with a stiff brush; rinse completely and allow 24 hours to dry.
Step 2: Repair All Cracks and Potholes
- Fill cracks wider than 6mm (1/4 inch) using AsphaltPavePro’s cold-applied crack sealer. Smaller fissures can be sealed during coating.
- For potholes deeper than 25mm (1 inch), apply a cold patch compound and tamp firmly. Allow at least 48 hours cure before sealcoating.
- Avoid applying sealcoat over standing water or ice patches—these must be removed and the surface dried with a propane torch or blower.
Step 3: Test Surface Temperature and Weather Window
- Use an infrared thermometer to verify pavement temperature >4°C (40°F) across the entire area.
- Check the 24-hour forecast: no precipitation, and temperatures rising to at least 7°C (45°F) during cure.
- If overnight lows dip below -1°C (30°F), delay application until a warm front passes.
For deeper guidance on filling larger cracks, see AsphaltPavePro Crack Sealer: Application Tips for Long-Lasting Repairs.
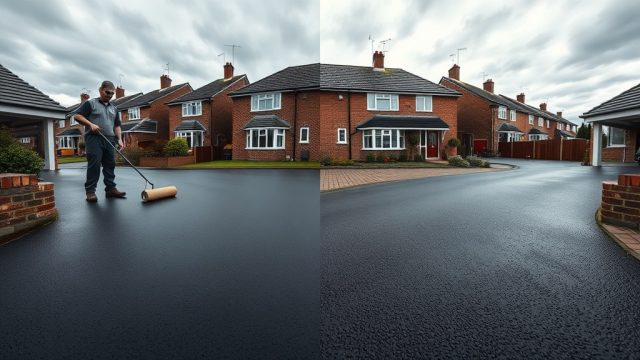
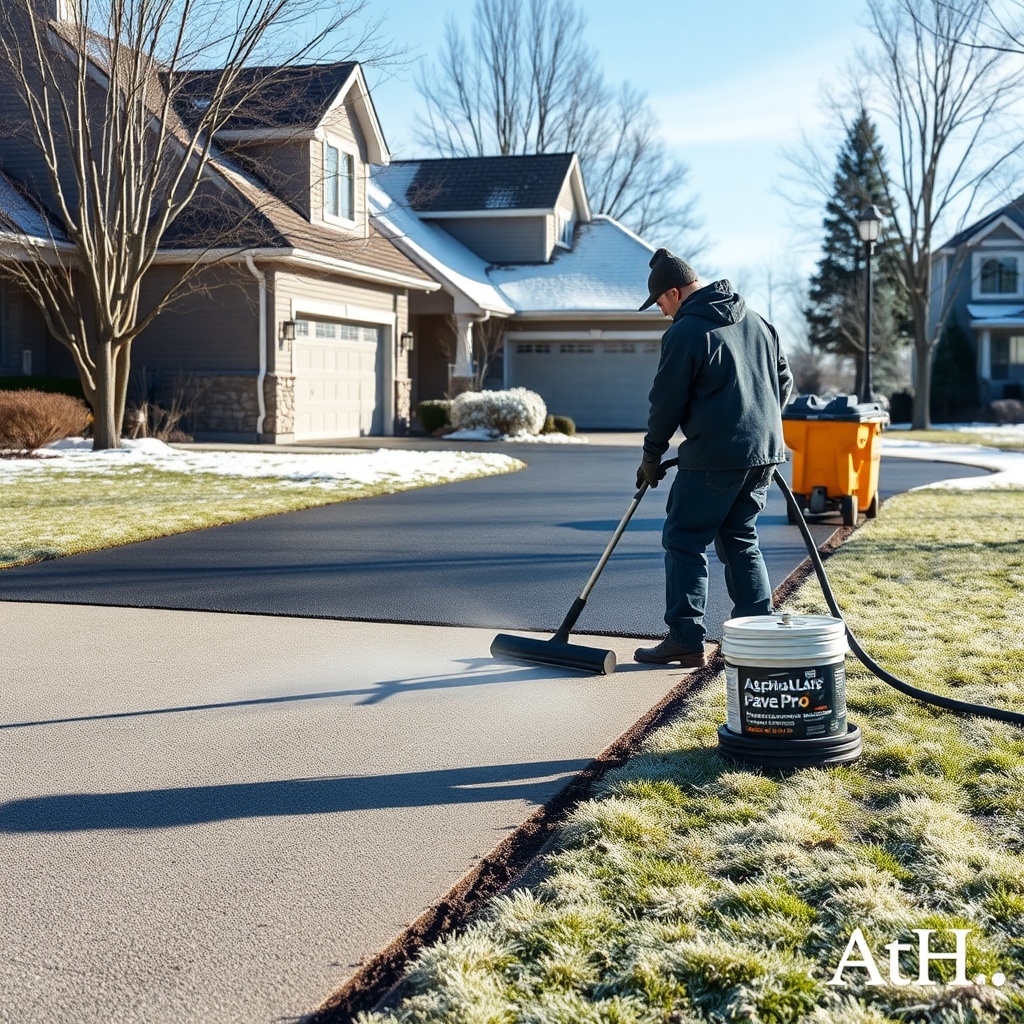
How Do You Mix and Apply AsphaltPavePro in Cold Conditions?
Proper mixing and application technique compensate for reduced chemical activity at low temperatures. AsphaltPavePro recommends stirring the sealcoat for a full 5 minutes with a paddle mixer attached to a heavy-duty drill. Do not thin with water unless absolutely necessary—if the product is too thick to spread, warm it by placing the sealed bucket in a heated garage overnight. Never use a torch directly on the bucket.
Apply using a rubber squeegee or professional-grade spray rig. For squeegee application, pour the sealcoat in a thin ribbon along the driveway edge and spread in overlapping passes. Work in 2m x 2m sections to maintain a wet edge—this prevents lap marks that become more visible in low-light winter conditions. Typical coverage is 3.7 to 4.6 m² per gallon (40-50 sq ft per gallon) for a single coat; two coats are recommended for high-traffic areas.
What Is the Ideal Drying and Cure Time for Winter AsphaltPavePro?
Unlike summer sealcoating, where cure takes 4-8 hours, winter applications require significantly longer. The table below outlines realistic drying and cure times based on pavement temperature:
| Pavement Temperature | Time to Tack-Free | Time to Light Foot Traffic | Time to Vehicle Traffic (Light) | Full Cure (Days) |
|---|---|---|---|---|
| Above 15°C (60°F) | 2-3 hours | 6-8 hours | 24-48 hours | 3-5 |
| 10°C – 15°C (50°F – 60°F) | 4-6 hours | 12-18 hours | 48-72 hours | 5-7 |
| 4°C – 10°C (40°F – 50°F) | 8-12 hours | 24-36 hours | 72-96 hours | 7-10 |
During winter months, extend your cure time by 50% if humidity exceeds 70%. Do not drive or walk on the surface until it is completely tack-free to avoid marring. For cost planning, use the AsphaltPavePro DIY Driveway Cost Estimator: Budgeting for Materials and Labor to factor in longer rental times for equipment.
Which Application Tools Work Best for Sealcoating in Cool Weather?
Choosing the right tools makes winter application more manageable:
- Squeegee: A heavy-duty rubber squeegee with a 60 cm (24-inch) blade works well for textured surfaces. Avoid foam squeegees that absorb cold product unevenly.
- Roller: A 25 mm (1-inch) nap roller can be used for edges and tight areas, but apply thin coats to avoid pooling.
- Spray rig: For driveways over 200 m² (2,150 sq ft), a professional spray system with a 517 or 519 tip provides uniform coverage. Warm the spray gun by running warm water through it before use.
- Propane torch or blower: Use a weed-burning torch with a flame diffuser to gently warm damp spots or thin ice patches before application. Never apply over wet pavement.
For those tackling their first sealer job, reading Top 10 DIY Patching Mistakes with AsphaltPavePro and How to Avoid Them will help you sidestep common errors that worsen in cold conditions.
What Do Owners Say About Winter Sealcoating with AsphaltPavePro?
Customer feedback consistently highlights the longevity of properly applied winter sealcoats. Margaret from Edmonton reports applying AsphaltPavePro in early November at 6°C (43°F) pavement temperature. “I followed the temperature guidelines and extended the cure time by two days. The sealcoat is still intact after a harsh winter with 12 freeze-thaw cycles and heavy road salt. My neighbours who sealed in summer have already lost their coat in the high-traffic wheel paths.” Another user, Carl, a DIYer in Minnesota, notes: “The key was warming the product overnight in the basement. I applied two coats with a squeegee and cure was a full week. No peeling or flaking, even where I used a snowblower.” These testimonials align with durability comparisons in Proper Subgrade and Base Preparation for AsphaltPavePro Driveways, confirming that surface preparation remains the foundation of success.
Frequently Asked Questions
Can I apply AsphaltPavePro sealcoat if rain is forecast within 24 hours?
No. In winter conditions, rain or snow within 24 hours will wash away uncured sealcoat and ruin the bond. Always wait for a dry window of at least 48 hours after application.
Will the sealcoat freeze in the bucket during storage?
AsphaltPavePro has a freeze-thaw stability down to -7°C (20°F) for up to 5 cycles. If the product has frozen, thaw it completely in a heated space (minimum 24 hours) and stir vigorously before use. Do not apply if it remains lumpy.
How long should I wait before applying a second winter coat?
Wait a minimum of 24 hours between coats at temperatures between 4°C and 10°C (40°F-50°F). At warmer temperatures within this range, 12-18 hours may suffice. Test by touching the first coat—it should be dry and not transfer to your gloved finger.
Does winter sealcoating provide as much UV protection as summer application?
Yes. AsphaltPavePro’s UV stabilisers are not temperature-dependent. Winter-applied sealcoat offers identical protection against sun oxidation and water damage once fully cured. However, UV degradation is less of a concern in winter months; the primary benefit is freeze-thaw resistance.
Can I use AsphaltPavePro on a commercial parking lot in winter?
Only if you can control traffic for 72-96 hours. For high-traffic commercial lots, schedule application during a warm spell with pavement temperatures above 7°C (45°F) and use a double coat with extended cure. See AsphaltPavePro Mix Gradation: Why Aggregate Size Matters for Durability for advice on selecting the correct grade for heavy loads.
What should I do if the sealcoat appears cloudy or white after drying?
Cloudiness indicates moisture trapped during cure, often from dew or rising humidity. In most cases, the film will clear after 7-10 days of dry weather. If it persists, apply a thin second coat (at temperatures above 7°C) to seal the surface. Avoid scrubbing or applying a sealer over a cloudy finish.