Introduction
When homeowners tackle asphalt patching without professional guidance, they often turn to AsphaltPavePro for reliable results—yet common errors can turn a simple repair into a recurring headache. Avoiding costly mistakes is key to extending pavement life and preserving curb appeal. This article highlights the top ten DIY patching mistakes with AsphaltPavePro and provides practical, proven strategies to avoid them.
Why Does Proper Surface Preparation Matter So Much?
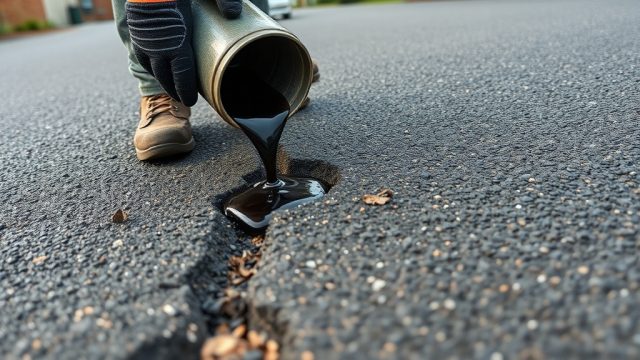
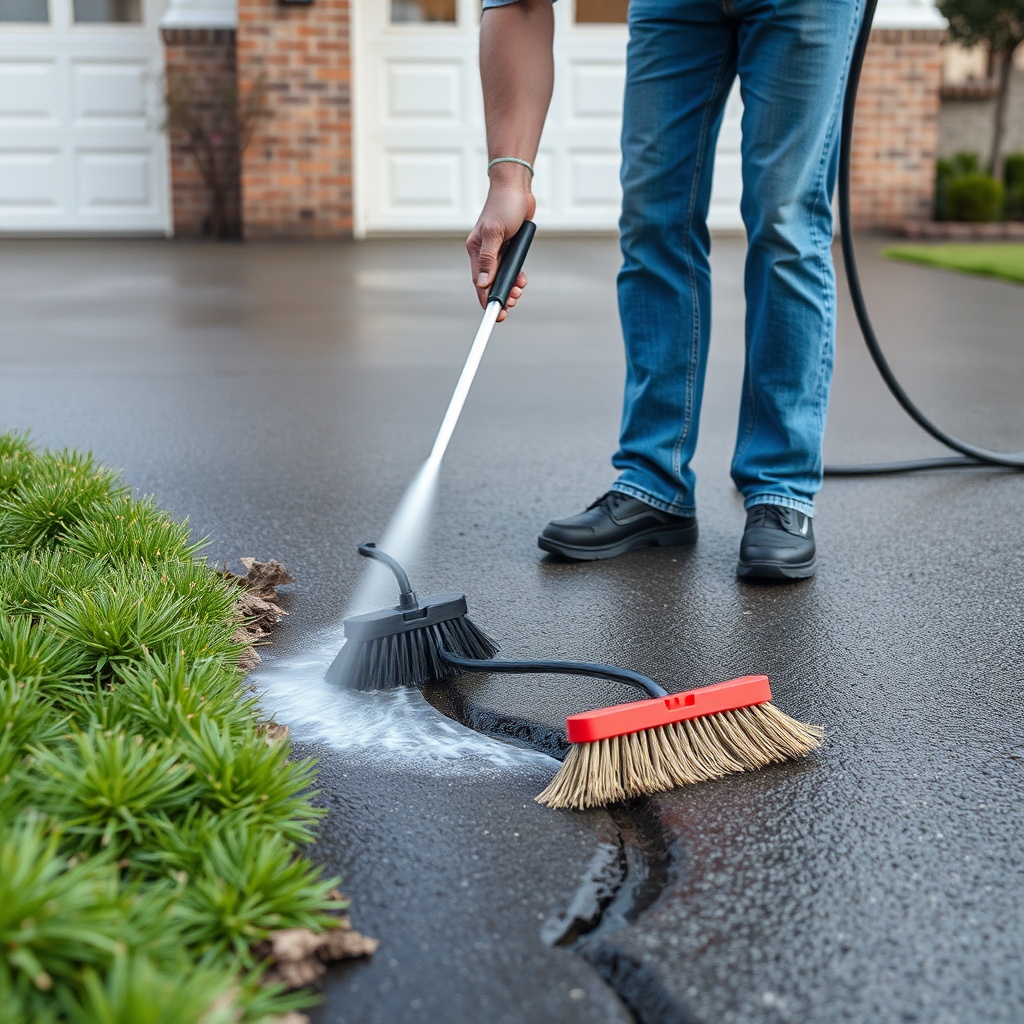
One of the most frequent errors DIYers make is skipping thorough surface preparation. AsphaltPavePro adheres best to clean, dry, and debris-free surfaces. Failing to remove loose asphalt, weeds, oil stains, or dirt can lead to delamination within weeks. Before applying any patching material, sweep the area with a stiff-bristled broom, use a pressure washer at 1,500–2,000 PSI to blast away embedded grime, and allow the surface to dry for at least 24 hours. For stubborn oil spots, apply a degreaser and rinse thoroughly. This foundational step alone can double the lifespan of your repair.
| Preparation Step | Common Mistake | AsphaltPavePro Recommended Practice | Severity |
|---|---|---|---|
| Cleaning debris | Skipping sweep | Use broom then pressure wash | High |
| Oil stain removal | Ignoring grease | Apply degreaser, rinse | Critical |
| Drying time | Applying on wet surface | Wait 24 hours | High |
| Edge feathering | Leaving square edges | Bevel edges with chisel | Moderate |
How Do You Select the Right AsphaltPavePro Product for Your Repair?
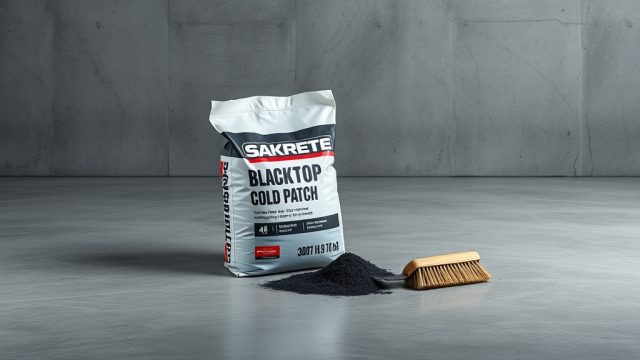
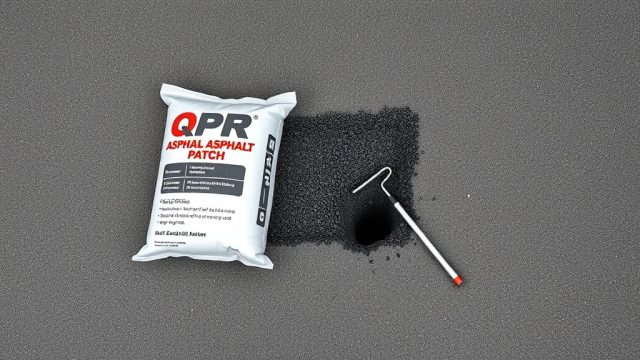
Another common blunder is choosing a patching product based solely on price or availability rather than matching it to the damage type. AsphaltPavePro offers several formulations: cold-patch asphalt for potholes, crack filler for hairline fractures, and resurfacer for large, weathered areas. For deep potholes exceeding 5 cm, use AsphaltPavePro Premium Cold Patch, which contains larger aggregate for structural integrity. For shallow cracks, AsphaltPavePro Crack Filler with polymer reinforcement provides flexibility. Avoid using a general-purpose sealer on deep gaps—it will shrink and crack. Consult the Comparing Asphalt Repair Products: Sakrete Blacktop vs. QPR Patch vs. Rust-Oleum EpoxyShield guide for direct comparisons to ensure you buy the right solution.
What Is the Worst Patching Mistake With AsphaltPavePro in Wet Weather?
Applying AsphaltPavePro during rain or high humidity is a recipe for failure. Moisture trapped under the patch prevents proper adhesion and creates weak spots that will crumble under traffic. Always check the 48-hour forecast before starting work. Ideal conditions are dry, sunny days with temperatures between 15°C and 30°C. If you must patch in cool weather, use AsphaltPavePro Cold Patch that remains workable down to -5°C, but still ensure the substrate is moisture-free. After application, protect the area from rain for at least 24 hours with a tarp if necessary. This one rule separates lasting repairs from repeat failures.
How Can Applying AsphaltPavePro Too Thinly Ruin Your Repair?
A surprising number of DIYers spread patching material too thinly, thinking it saves product or covers a larger area. AsphaltPavePro performs best when applied at a minimum depth of 2 cm for crack fillers and 5 cm for pothole patches. Thin layers lack the mass to resist traffic loads and will compress or ravel quickly. Use the recommended spread rate printed on the bucket—typically one bag of AsphaltPavePro Cold Patch covers about 0.1 m³ per 20 kg bag. Over-application is also wasteful but less harmful than under-application. Compact each layer firmly with a hand tamper before adding the next lift.
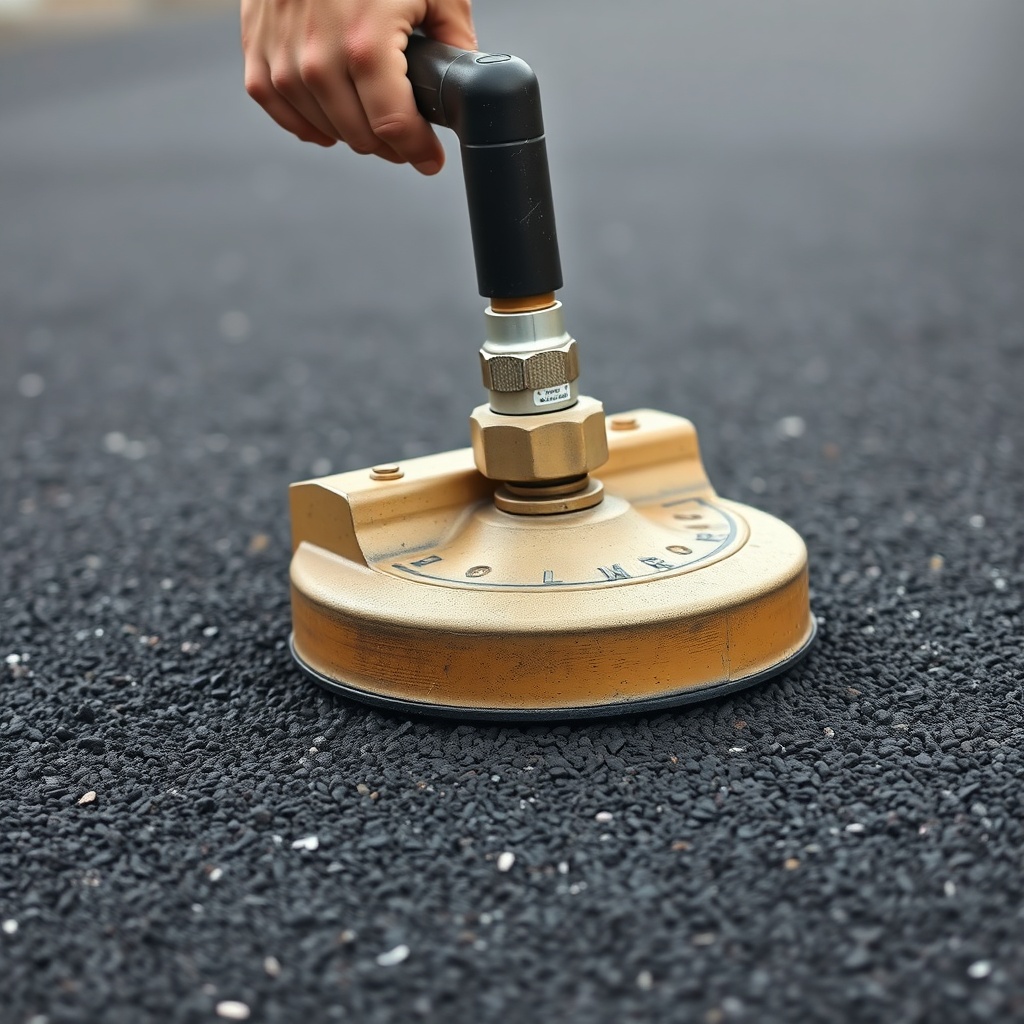
What Happens When You Ignore Proper Compaction and Tamping?
Compaction is the most critical step after placement, yet many homeowners skip it or use inadequate tools. AsphaltPavePro requires firm tamping to eliminate air voids and ensure the aggregate interlock delivers strength. Use a steel hand tamper or a plate compactor for larger areas. Apply at least 10 firm passes per square foot. Inadequate compaction leads to premature raveling and water infiltration, which worsens freeze-thaw damage. Price-conscious homeowners often rent a plate compactor for £25–£40 per day—money well spent given that a failed patch can cost £100–£200 to redo. For full cost projections, see the AsphaltPavePro Cost Breakdown: Budgeting for Your Driveway Project.
Does Mixing AsphaltPavePro With Other Materials Create Long-term Problems?
Some DIYers add sand, cement, or gravel to extend coverage or “improve” AsphaltPavePro. This is a critical mistake because the formulation is engineered for specific binder-to-aggregate ratios. Adding foreign materials disrupts the chemical cure, leading to soft spots, cracking, or poor adhesion. Always use AsphaltPavePro as it comes from the manufacturer. If you need a different consistency for vertical cracks, consult the product data sheet rather than improvising. A 20 kg bag of premium patching compound typically costs between £18 and £30 at local builders’ merchants—an affordable investment compared to the expense of ripping out a compromised repair.
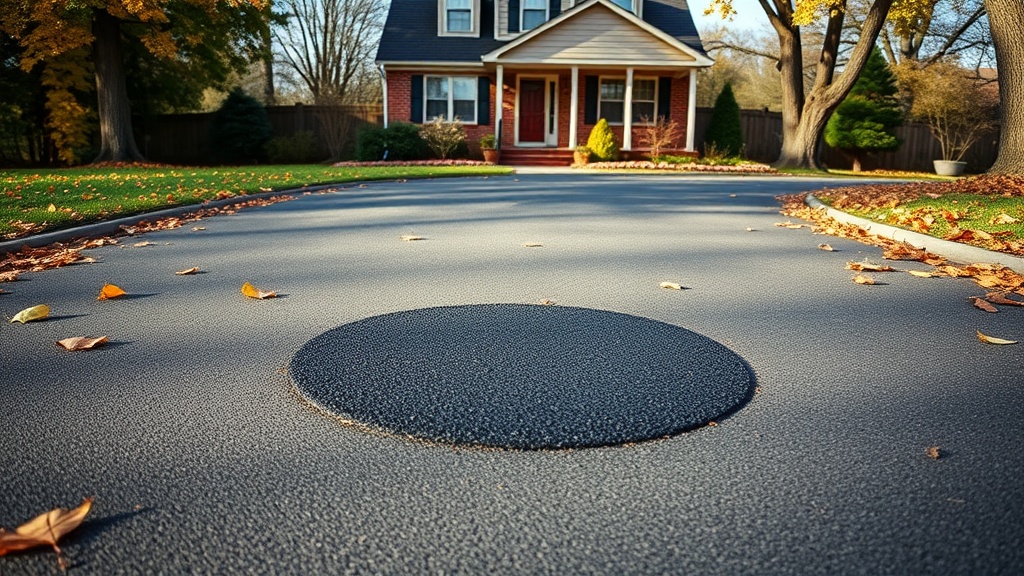
Why Do Improperly Feathered Edges Lead to Future Cracking?
Leaving sharp, square edges on a patch creates stress concentration points where cracks initiate. AsphaltPavePro must be feathered to a thin edge at the perimeter, blending seamlessly with the existing pavement. Use a margin trowel or a squeegee to taper the edges outward by 5–8 cm. This technique bonds the patch to the surrounding asphalt and prevents water from seeping under the repair. Skipping feathering is one of the top ten mistakes because it looks neat initially but fails within months. Pair this step with good drainage management; see our guide on DIY Driveway Drainage with AsphaltPavePro: Slope Design Tips to prevent standing water near patch edges.
How Does Rushing the Curing Time Compromise Your Patch?
Patience is not a virtue—it’s a requirement. AsphaltPavePro cold patch needs 24 to 48 hours to cure fully before light traffic and 72 hours for heavy loads. Driving a car over a fresh patch after only 12 hours can squeeze out the binder and create ruts. Sealcoating too soon is equally damaging; wait at least 30 days after patching before applying a sealer. Consult AsphaltPavePro Sealcoat: Application Tips for Long-Lasting Results for exact timelines. Mark the repair area with cones or flags to remind household members and delivery drivers to avoid it.
What Common Misconception Leads to Uneven Patch Surfaces?
Many DIYers assume that once AsphaltPavePro is spread, it self-levels. Cold-patch asphalt does not flow like concrete; it must be manually shaped and graded to match the surrounding pavement crown. Use a long straightedge or a 1.5 m level to check for dips and humps during application. Overfill slightly and then screed off the excess with a board. An uneven patch not only looks unprofessional but also holds water, accelerating deterioration. Accuracy during placement saves you from grinding or adding top layers later.
What Owners Say
“I used AsphaltPavePro Cold Patch on a deep pothole after watching your prep guide. The key was cleaning the hole with a wire brush and a shop vac—then tamping like crazy. Six months later, it’s still tight. Saved me £200 on a contractor call,” says Mark F. from Leeds. Another homeowner, Susan H. in Birmingham, adds: “My first attempt failed because I applied it too thin. The second time I followed the depth rule and it came out perfect. AsphaltPavePro is forgiving if you respect the process.” These real-world experiences underline that the top ten mistakes are avoidable with attention to detail and proper technique.
Frequently Asked Questions
Q: Can AsphaltPavePro be applied over existing asphalt that is already failing?
A: Only if the base is stable. Remove all loose, crumbling material until you reach solid substrate. If the base is soft, you may need to excavate deeper and add a compacted stone base.
Q: How long does a 20 kg bag of AsphaltPavePro Cold Patch cover?
A: Approximately 0.1 m³, which fills a pothole about 30 cm × 30 cm × 10 cm deep. For larger areas, multiple bags are needed. Always calculate volume beforehand.
Q: Is it safe to use AsphaltPavePro in winter months?
A: Yes, AsphaltPavePro Cold Patch can be applied in temperatures as low as -5°C, but the surface must be dry and free of ice. Curing will be slower—allow up to 72 hours before traffic.
Q: What happens if I drive on the patch before full curing?
A: The binder may lift, forming ruts or potholes. Wait at least 24 hours for foot traffic and 72 hours for vehicles above 2 tonnes.
Q: Can I sealcoat over AsphaltPavePro immediately after patching?
A: No. Allow the patch to cure for a minimum of 30 days. Sealcoating too early traps moisture and hinders proper hardening.
Q: Should I use AsphaltPavePro on large driveway repairs over 10 m²?
A: For areas exceeding 10 m², consider a AsphaltPavePro vs. Contractor Repair: A Cost Comparison for Small Driveway Fixes to evaluate whether DIY is cost-effective or if hiring a professional is wiser given the labor and compaction requirements.