Why AsphaltPavePro Stands Out for DIY Driveway Drainage
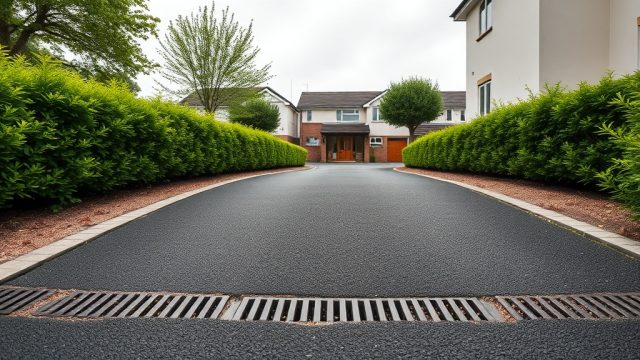
When tackling a DIY driveway project, drainage is often the most overlooked yet critical factor. Without proper slope design, water pooling can lead to cracking, potholes, and premature asphalt failure. AsphaltPavePro provides the tools and guidance needed to achieve a 2% grade (a 2-centimeter drop per meter) that sheds water efficiently and protects your pavement for years.
This article explains how to design and execute a drainage slope using AsphaltPavePro materials, from planning the grade to finishing the surface. Whether you’re repairing a low spot or laying a new drive, these tips keep your investment dry and durable.
What Slope Is Ideal for Asphalt Driveway Drainage?
For residential driveways, the recommended slope is 1% to 2% (1 to 2 centimeters per meter). A 1.5% slope works best for most surfaces, balancing water flow with vehicle stability. Steeper slopes (over 5%) can cause vehicles to scrape or water to erode edges, while flat slopes invite standing water.
AsphaltPavePro’s slope guide recommends using a 2-meter level and a measuring tape to check your existing grade. On new construction, set a string line from the garage floor or house foundation outward. The foundation should sit at least 15 centimeters above the driveway’s highest point.
How Do You Calculate the Required Drop for Drainage?
To calculate the total drop needed, multiply the driveway length by the slope percentage. For example, a 10-meter driveway at 2% slope requires a 20-centimeter drop from the top to the bottom edge. This ensures water runs off without ponding near the house.
| Driveway Length (m) | Slope 1% (drop cm) | Slope 1.5% (drop cm) | Slope 2% (drop cm) |
|---|---|---|---|
| 5 | 5 | 7.5 | 10 |
| 10 | 10 | 15 | 20 |
| 15 | 15 | 22.5 | 30 |
| 20 | 20 | 30 | 40 |
| 30 | 30 | 45 | 60 |
Use AsphaltPavePro’s slope calculator (available on their website) to verify your numbers before pouring or patching. For repairs, check out Comparing Asphalt Repair Products: Sakrete Blacktop vs. QPR Patch vs. Rust-Oleum EpoxyShield for products that work well on sloped surfaces.
How to Set Up a String Line for Accurate Slope Grading
Accurate grading starts with a string line. Place stakes at each corner of the driveway area. Tie a string at the high point (near the garage) and pull it taut to the low point (the curb or drainage ditch). Use a line level to ensure the string is horizontal, then measure down to the ground every meter to see how much material to add or remove.
For an existing driveway with low spots, AsphaltPavePro suggests using a cold patch like their AsphaltPavePro Cold Patch mix. Apply a thin layer (1 to 3 centimeters) over the low area, tamp it down, and slope it toward the edge. Always blend the patch into the surrounding asphalt to avoid trip hazards.
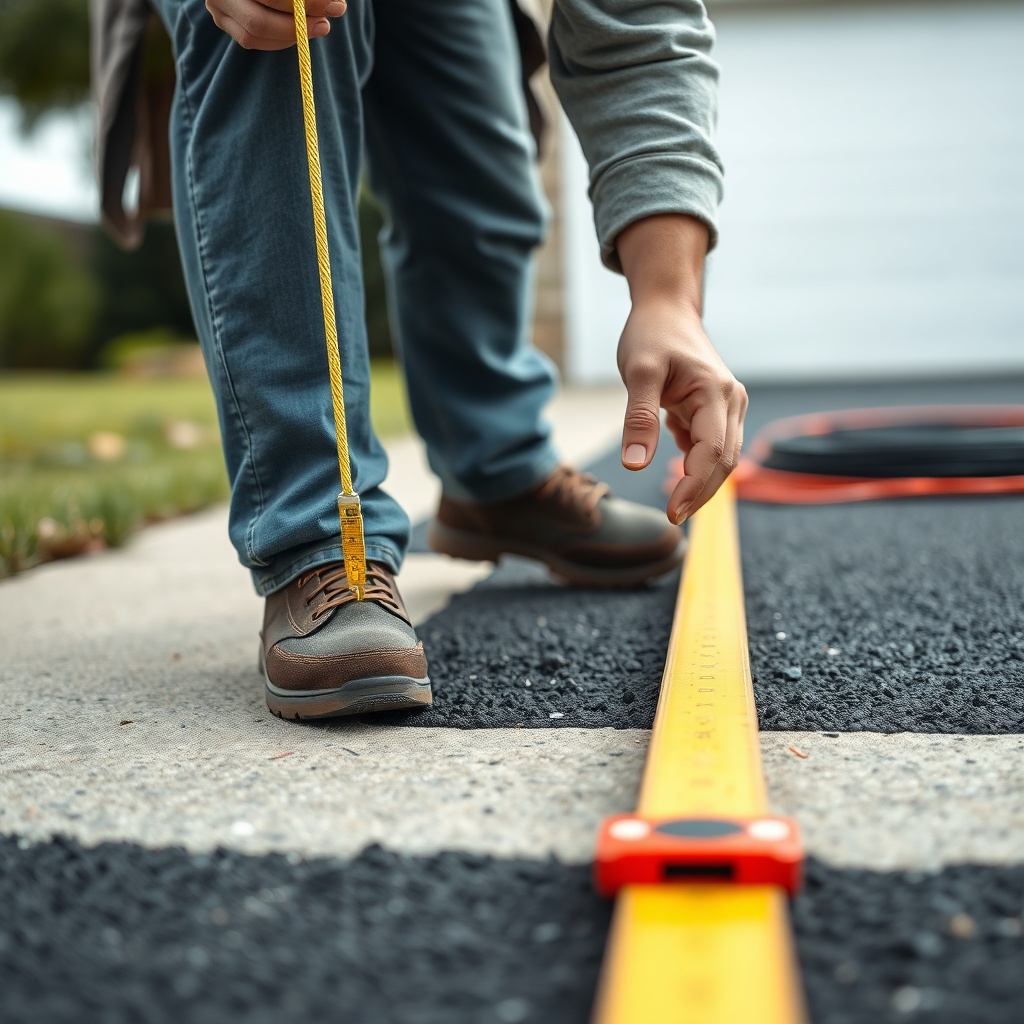
What Tools Do You Need for DIY Driveway Drainage?
Essential tools for slope design include a 2-meter level, tape measure, string line, line level, a hand tamper or plate compactor, and AsphaltPavePro’s patching material or sealant. For larger projects, consider renting a screed board to smooth the asphalt. A garden hose on a sunny day helps verify water flow direction before final compaction.
For sealcoating after slope correction, follow AsphaltPavePro Sealcoat: Application Tips for Long-Lasting Results to protect the fresh slope from UV damage and water infiltration.
How to Prevent Water Pooling at the Base of the Driveway
Water often collects at the lowest point where the driveway meets the street or a walkway. To prevent this, install a concrete curb or a French drain at the edge. Alternatively, create a “crown” in the center of the driveway; a slight rise (1 to 2 centimeters) in the middle allows water to run off to both sides. This is especially important for wide driveways (over 4 meters).
AsphaltPavePro’s base preparation guide recommends a 15-centimeter layer of compacted gravel under the asphalt to improve drainage. For cost-conscious DIYers, see AsphaltPavePro Cost Breakdown: Budgeting for Your Driveway Project to compare material and tool expenses.
What Owners Say About AsphaltPavePro Drainage Results
Many DIY owners report that AsphaltPavePro’s slope design tips eliminated puddles that had persisted for years. In the UK, James from Leeds noted: “After following the 1.5% slope guide, my driveway dried out completely within hours of a storm.” Sarah from Manchester added: “The string line method was a game-changer—I fixed a sagging section for under £150.”
Owners on forums frequently mention that the material bonds well on slopes when applied at the right thickness. For small fixes, refer to AsphaltPavePro vs. Contractor Repair: A Cost Comparison for Small Driveway Fixes—many saved over 60% by DIY.
Frequently Asked Questions About AsphaltPavePro Drainage
1. What is the minimum slope for an asphalt driveway?
The minimum slope is 1% (1 cm per meter). Anything less risks water pooling, especially in areas with heavy rain.
2. Can I add slope to an existing asphalt driveway?
Yes, using AsphaltPavePro Cold Patch or overlay material. Apply a 2- to 5-centimeter layer over low areas, then compact and slope it.
3. How much does AsphaltPavePro material cost for a 10-meter driveway?
Cold Patch costs around £40 per 25-kg bag; you might need 2 to 3 bags for minor slope correction. Sealant adds £20 to £30 per gallon.
4. How long does AsphaltPavePro take to cure on a slope?
Cold Patch cures in 24 to 48 hours if temperatures stay above 10°C. Sealcoat needs 48 to 72 hours before rain exposure.
5. Do I need a plate compactor for driveway slope work?
A hand tamper works for small patches, but a plate compactor (rental £30-£50 per day) ensures proper compaction and prevents future settling.
6. Can I use AsphaltPavePro on a steep driveway (over 5% grade)?
Yes, but you must trowel the material thin (0.5 cm layers) and use a bonding agent to prevent slipping. Consider installing a textured surface for traction.