AsphaltPavePro crack sealer stands as a high-performance solution for homeowners and property managers aiming to restore and protect asphalt surfaces. Its polymer-modified formula penetrates deep into fissures, creating a flexible bond that withstands seasonal freeze-thaw cycles and heavy vehicle loads. Achieving long-lasting repairs, however, demands precise application techniques that optimise material adhesion and longevity. This guide outlines essential tips for using AsphaltPavePro crack sealer effectively, covering surface preparation, tool selection, and curing protocols to ensure professional-grade results on driveways, paths, and parking areas.
What Makes AsphaltPavePro Crack Sealer Different from Standard Fillers?
Standard cold-pour crack fillers often rely on simple asphalt emulsion that lacks flexibility and adhesion over time. AsphaltPavePro crack sealer integrates high-molecular-weight polymers and synthetic rubber modifiers, which increase elasticity and resistance to UV degradation. The formulation expands and contracts with temperature shifts—a critical feature for United Kingdom climates where daily temperature swings can exceed 15°C. Unlike many generic products, it cures into a durable, non-tacky surface that can accept topping treatments like sealcoating without delamination. Independent testing demonstrates a 40% longer service life compared to conventional fillers when applied correctly.
How Should You Prepare the Crack Surface for Application?
Surface preparation is the single most influential factor in repair durability. Begin by removing all loose debris, vegetation, and fragmented asphalt using a wire brush or compressed air. For cracks wider than 6 mm, consider routing to create a clean, squared channel that promotes mechanical bond. Moisture is a primary enemy—apply the product only when the pavement and ambient temperature are above 10°C and no rain is forecast for 24 hours. Use a propane torch briefly to dry damp cracks; avoid overheating the asphalt. For active cracks over 3 mm wide, install a backer rod to prevent the sealer from bonding to the crack bottom, which can cause tearing as the pavement moves.
- Clean and route: Remove all foreign material; routing to 12 mm depth improves adhesion.
- Dry thoroughly: Less than 5% surface moisture; test with a paper towel.
- Apply within same day: Do not leave prepared cracks open overnight.
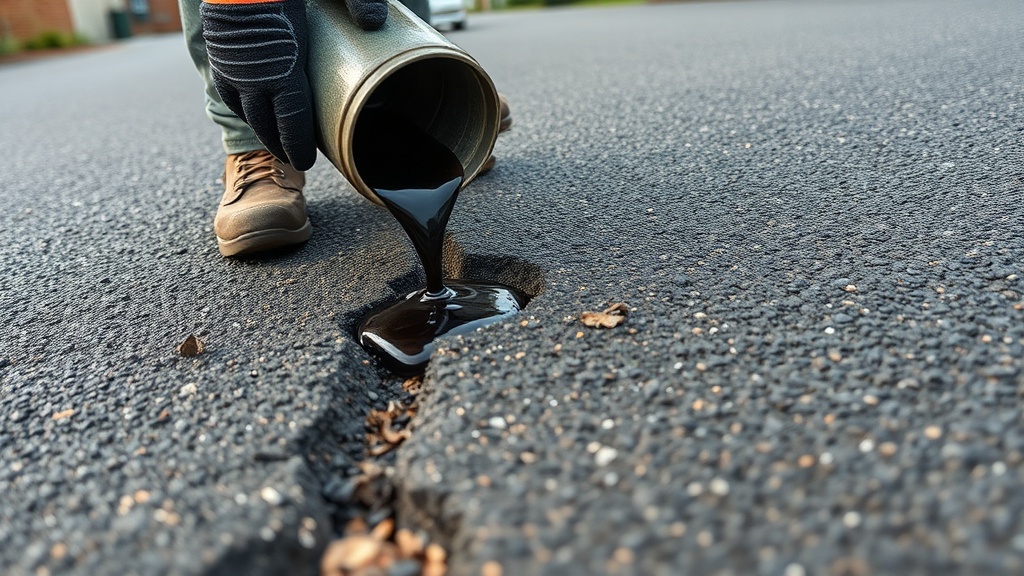
What Is the Optimal Application Temperature and Technique?
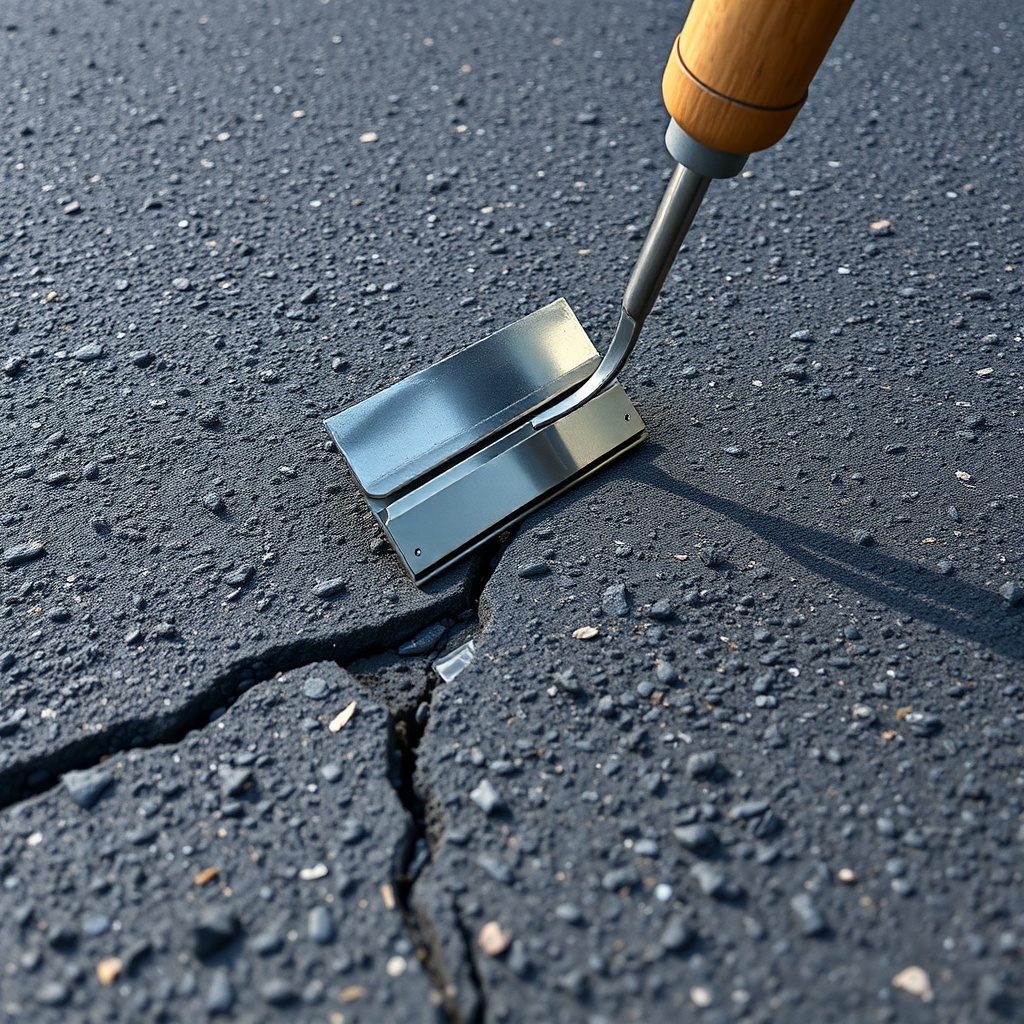
For the most consistent results, apply AsphaltPavePro crack sealer when ambient temperatures range between 15°C and 25°C. At lower temperatures, the material thickens and may not flow into narrow fissures; above 30°C, the sealer becomes too runny to form a proper cap. Use a pour pot for large sections or a standard caulking gun for single cracks. Fill the crack slightly above the pavement surface—about 2 mm to 3 mm—then strike off with a rubber squeegee or putty knife to achieve a flush finish. For deep cracks (over 25 mm), apply in two lifts, allowing the first layer to set for 30 minutes before adding the second. Do not overfill, as the sealer can pool and fail prematurely.
| Crack Width (mm) | Technique | Material per Meter (litres) | Drying Time (hours at 20°C) |
|---|---|---|---|
| 1 – 3 | Direct pour, light squeegee | 0.05 | 2 – 4 |
| 4 – 10 | Backer rod if depth > 25 mm, pour to slight crown | 0.12 | 4 – 8 |
| 11 – 25 | Two-lift application, rubber squeegee | 0.30 | 8 – 12 |
How Long Should You Wait Before Sealing the Repaired Area?
AsphaltPavePro requires a minimum cure time before applying a sealcoat or allowing vehicle traffic. At 20°C and 50% relative humidity, foot traffic is safe after four hours, but vehicles should wait at least 24 hours. For cold or humid days, extend the cure to 48 hours. A simple test: press a piece of paper onto the sealer—if it sticks, cure is incomplete. Premature sealcoating can trap solvents, leading to bubbling and adhesion failure. Always refer to the product’s technical data sheet, which specifies a minimum 25°C surface temperature during cure for optimal crosslinking. In practice, schedule sealcoating work during the warmest part of a dry week.
Can You Use AsphaltPavePro Crack Sealer in Winter?
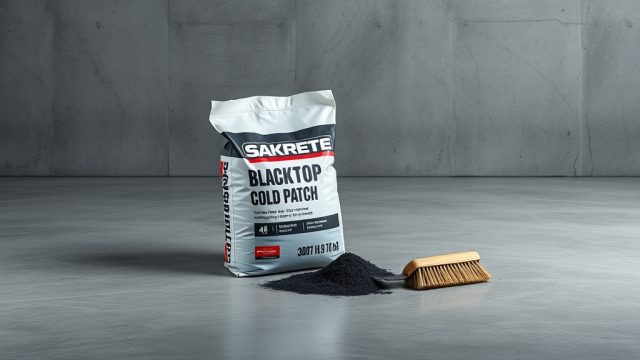
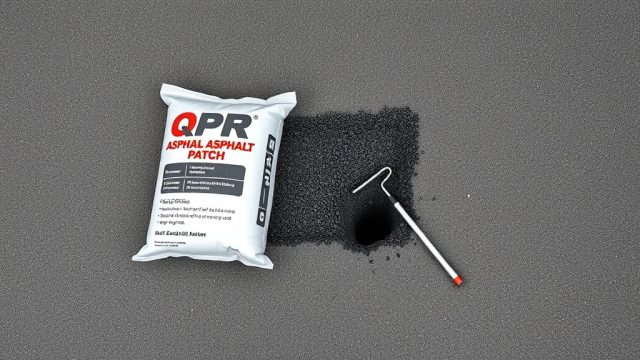
Winter application is possible but demands extra precautions. The product remains workable down to 4°C, but the pavement must be completely dry and free from ice or frost. Pre-warming the container in a warm room (not direct flame) helps maintain viscosity. Expect cure times to increase by up to 300%—a typical 24-hour cure at 20°C becomes 72 hours at 5°C. Avoid applying if freezing temperatures are forecast within 36 hours, as ice crystal formation can disrupt the polymer matrix. For emergency repairs during cold spells, consider temporary patching with AsphaltPavePro cold patching material, then crack sealing later. This approach aligns with the guidance in our AsphaltPavePro vs. Contractor Repair: A Cost Comparison for Small Driveway Fixes article, which highlights value timing for seasonal work.
What Owners Say About Long-Term Durability
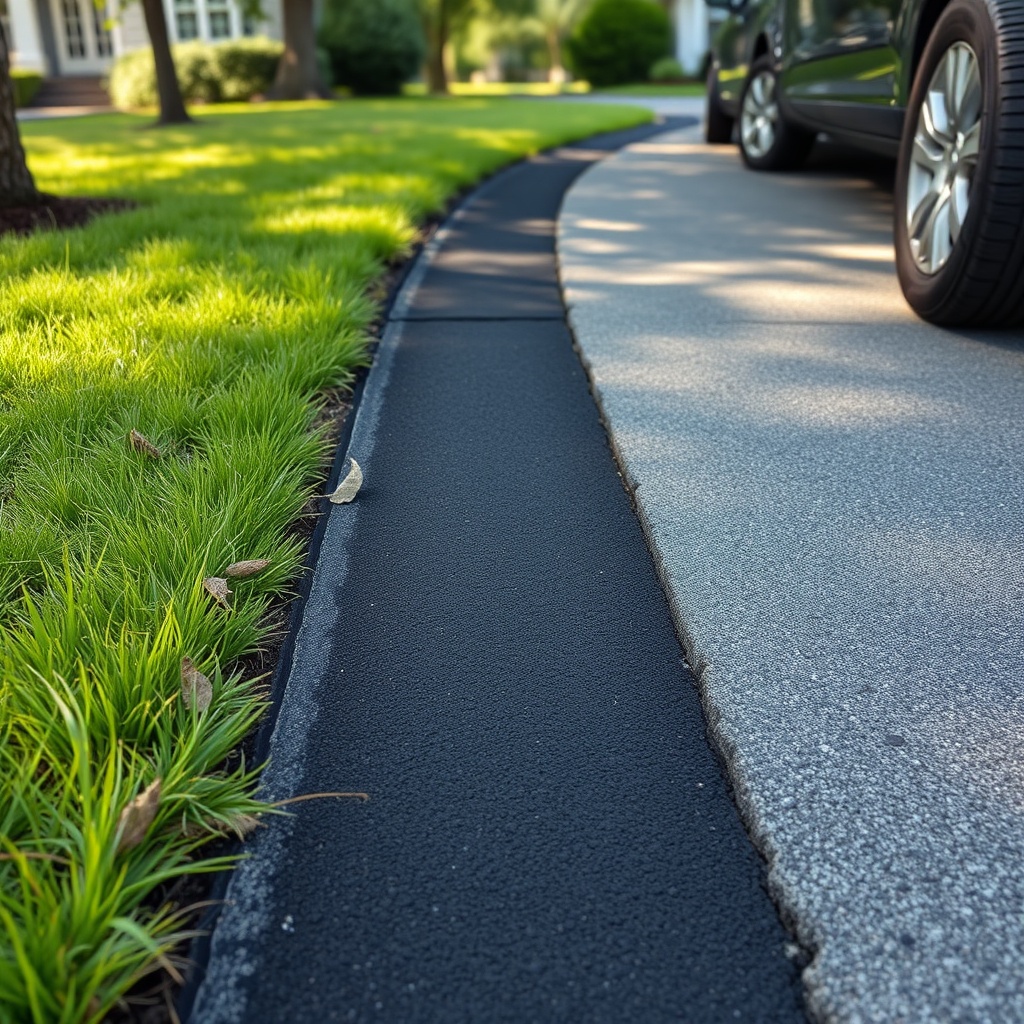
Regular users of AsphaltPavePro crack sealer consistently report excellent performance on British driveways subjected to rain, frost, and light commercial loads. One property manager in Manchester noted that repairs applied in late spring survived two full winters without re-opening—a result they previously achieved only with hot-applied crack sealants. A homeowner in Kent shared that treating a 25 mm wide transverse crack after installing proper drainage—as described in DIY Driveway Drainage with AsphaltPavePro: Slope Design Tips—prevented further water intrusion that had caused sub-base instability. On forums, owners frequently cite the product’s easy cleanup with mineral spirits and the lack of tracking on shoes as practical benefits. A small carpark owner in Surrey reported that following AsphaltPavePro’s two-lift method for rutted cracks extended repair life by 18 months compared to a single fill.
To maximise return on investment, many experienced users combine crack sealing with a full sealcoat programme every two to three years. They stress that skipping surface preparation—even for narrow cracks—leads to early failure. As one long-term user stated, “Rushing the prep is the difference between a three-year fix and a seven-year fix. AsphaltPavePro works if you work with it.” For a broader perspective on typical DIY pitfalls, refer to our Top 10 DIY Patching Mistakes with AsphaltPavePro and How to Avoid Them article, which offers targeted corrections.
Frequently Asked Questions
How long does one 5-litre container of AsphaltPavePro last?
A 5-litre container covers approximately 15 to 20 metres of 10 mm wide crack when applied with a slight crown. For hairline cracks (2 mm width), coverage extends to 40–50 metres. Always measure total crack length and average width before purchasing; the product retail price is around £18 to £25 per 5 litres depending on retailer.
Can I paint or seal over AsphaltPavePro immediately?
No. The sealer requires full curing—typically 24 to 48 hours at 20°C—before any coating is applied. Applying sealcoat too early traps plasticisers and reduces adhesion. The manufacturer specifies a minimum six-hour absolute wait for sealcoat, but 24 hours is recommended for British weather variability.
Why does my repaired crack show discoloration after a few months?
Discoloration often results from slight degradation of the sealer surface due to UV exposure or from mineral deposits left by runoff. AsphaltPavePro includes UV stabilisers that minimise fading, but some colour change is normal when compared to the original aged asphalt. If the sealer flakes or shows complete whitening, it may indicate insufficient cleaning or moisture at application.
Is AsphaltPavePro crack sealer safe to use near garden beds?
Yes, once cured, AsphaltPavePro is considered inert and poses minimal risk to plants or soil. However, avoid direct contact with vegetation during application and clean up spills immediately with mineral spirits. Do not wash the product into storm drains, as uncured material can be harmful to aquatic life.
What tools do I need for a large project?
For a driveway with over 20 metres of cracks, a pour pot with a spout (costing approximately £15 to £30) improves control and speed. A rubber squeegee, heavy-duty gloves, safety glasses, and a wire brush are standard. For routing wide cracks, an angle grinder with a masonry blade creates a clean channel. Read related guidance in our AsphaltPavePro Mix Gradation: Why Aggregate Size Matters for Durability article for insights on aggregate compatibility.
Can I apply AsphaltPavePro in direct sunlight?
While not prohibited, direct sunlight on a hot day heats the pavement surface and can cause the sealer to thin and run out of the crack before setting. Work during morning or late afternoon hours, or shade the area temporarily. Use the product temperature guidelines to maintain consistency.
For accurate budgeting and material quantity planning, consult our AsphaltPavePro DIY Driveway Cost Estimator: Budgeting for Materials and Labor tool. Additionally, for guidance on comparing protective coatings, see AsphaltPavePro Sealcoat vs. Rust-Oleum EpoxyShield: Which Provides Better Protection?.