Laying a new driveway with Sakrete Blacktop is a weekend project that rewards careful preparation and attention to detail. This guide breaks down the entire process—from site prep to final compaction—so you get a durable, smooth surface that stands up to traffic and weather. Follow these steps, and your Sakrete Blacktop driveway will look professionally installed for years to come.
What Tools and Materials Do I Need Before Starting My Sakrete Blacktop Driveway?
Before you haul in the Sakrete Blacktop bags, gather every tool and material. Missing a critical item halfway through mixing can ruin your workflow and lead to weak joints or poor compaction.
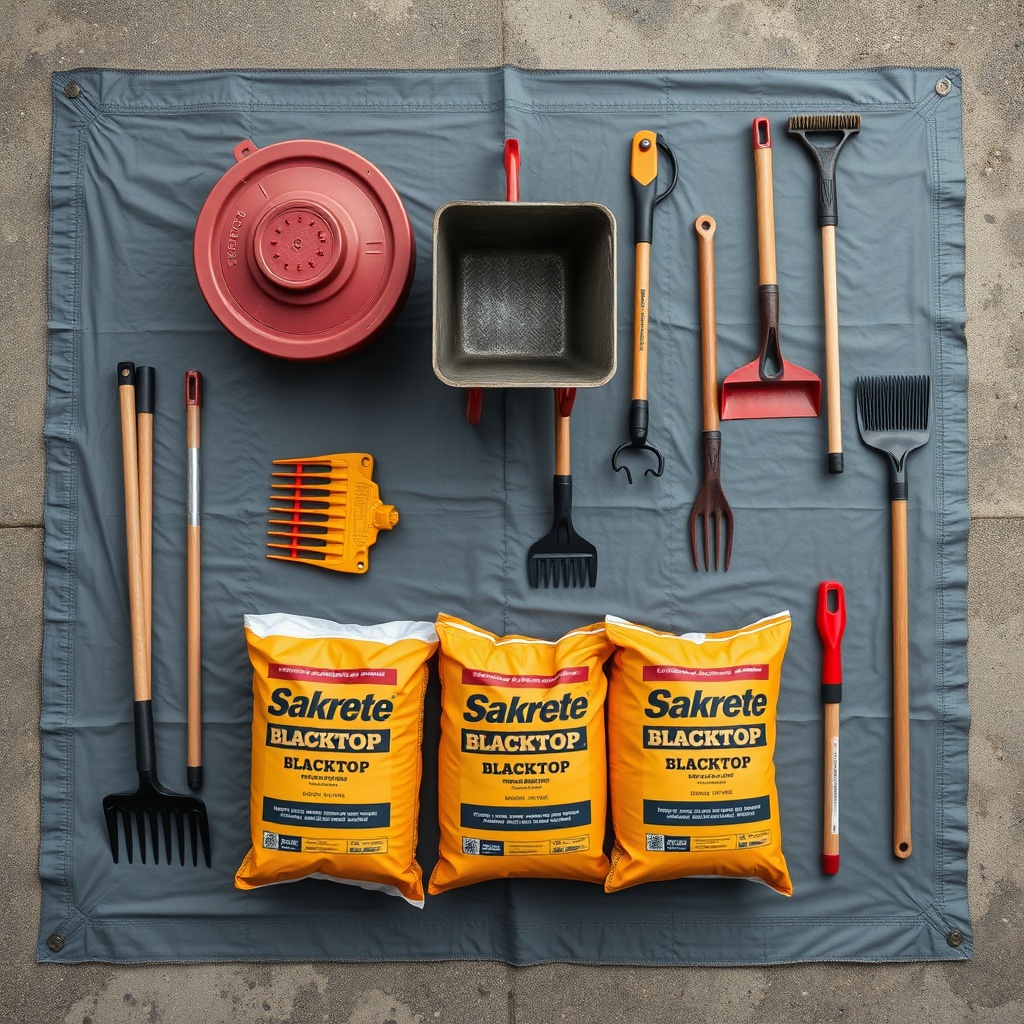
- Base preparation tools: Shovel, rake, plate compactor (minimum 4,000 lb centrifugal force), hand tamper, string line, tape measure, and a straightedge (2×4 lumber works).
- Mixing and placement tools: Heavy-duty wheelbarrow (6+ cubic feet), mixing hoe or drill mixer attachment, trowels, asphalt rake (or a level-head rake), and a 10-ft screed board.
- Compaction and finishing: Plate compactor again, steel-wheel roller (hand-pulled model for edges), and a broom for texturing if desired.
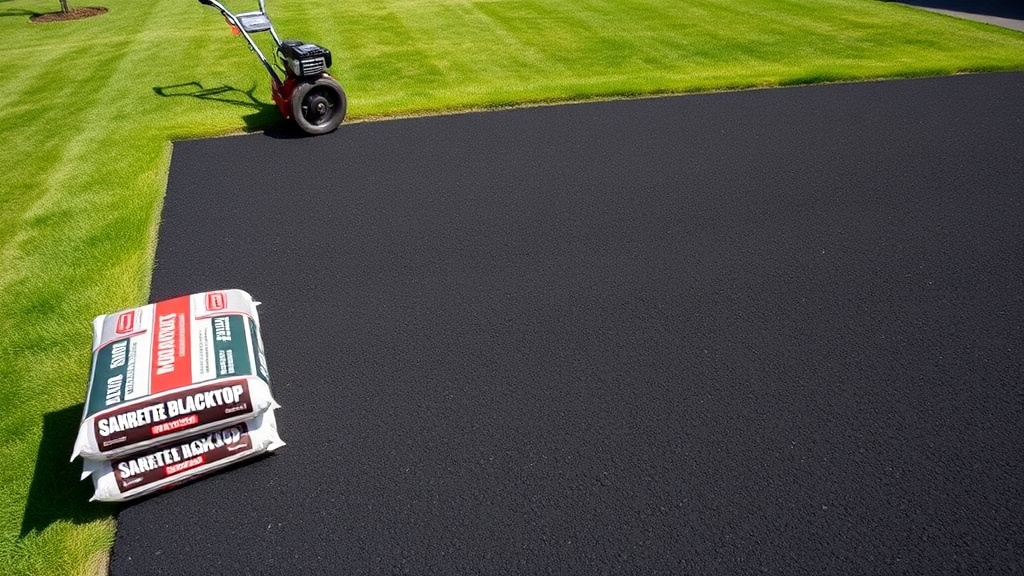
- Materials per 100 sq ft at 3-inch depth: Approximately 16–18 bags of Sakrete Blacktop (each 60 lb bag yields ~0.45 cu ft when compacted), plus 6 tons of crushed stone base aggregate (1½-inch minus) if you’re building from scratch.
- Water supply: A garden hose with spray nozzle—mixing water slowly is key.
Check local rental yards for the plate compactor; a day rental typically runs £45–£70. The biggest mistake novice pavers make is using a hand tamper only. Hire the compactor—it makes a difference in longevity.
How Do I Prepare the Sub-Base for a Sakrete Blacktop Driveway?
A stable, well-draining sub-base is non-negotiable. Sakrete Blacktop is only as strong as what sits beneath it. Starting with bare soil:
- Excavate to 8 inches total depth (5 inches of base stone plus 3 inches of Sakrete Blacktop). Remove all organic matter, roots, and topsoil. The base should be firm clay or engineered fill.
- Spread and compact a 5-inch layer of crushed stone (1½-inch minus angular aggregate). Moisten it slightly, then compact with the plate compactor in two passes. You’re aiming for 95% Modified Proctor density—if the plate compactor bounces or leaves no visible marks, you’re there.
- Grade the base with a 1–2% slope away from any structures (garage, house). Use a string line and level to check every 5 feet. This prevents standing water that destroys asphalt over time.
- Edge restraints (optional but recommended): Install steel or plastic edging along the driveway sides to prevent material migration. This is a £0.50–£1 per linear foot investment that pays off.
The base should feel solid underfoot. If you can push a shovel in easily, compact it more. For more depth on the chemistry behind the mix, see our article on Sakrete Blacktop Mix Composition: What’s Inside the Bag?.
How Do I Mix and Place Sakrete Blacktop on the Driveway?
Sakrete Blacktop is a pre-blended, cold-applied asphalt mix. No heating required. Follow this process for consistent results:
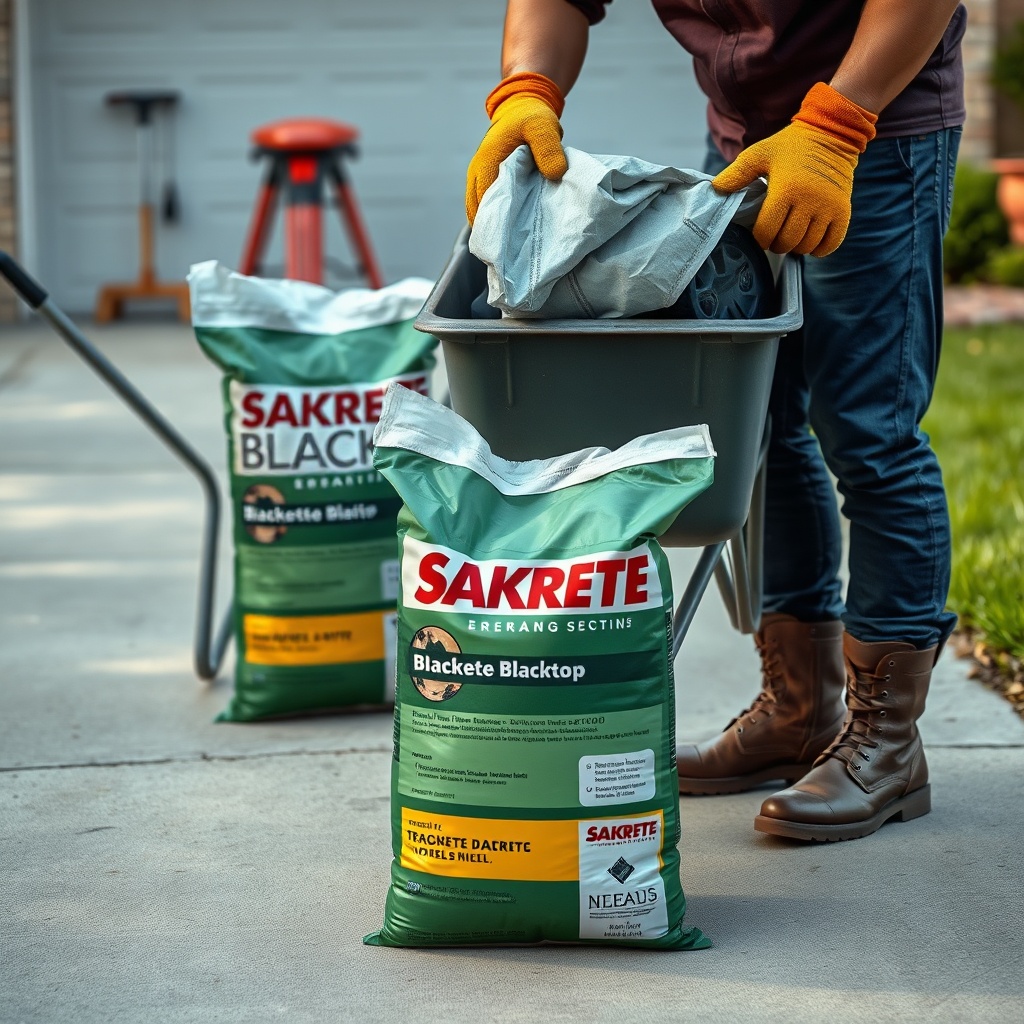
- Mix in batches: Empty one 60 lb bag into a wheelbarrow. Create a crater in the center, then slowly add about 2 quarts (1.9 liters) of clean water—less in humid conditions. Mix thoroughly with a hoe until all aggregate is uniformly coated. The mix should hold together when squeezed but not be soupy.
- Work fast, but methodically: You have about 45 minutes of working time per batch before the cold mix stiffens. Use an asphalt rake to spread the material to a depth of 4 inches (it will compact down to 3 inches). Pull the rake in long, even strokes.
- Screed and level: Lay a straightedge across forms or edging and screed off excess material. Fill low spots immediately while the mix is still workable.
- Compact while wet: Begin compaction with the plate compactor as soon as a section is screeded (within 10 minutes). Make overlapping passes: first side-to-side, then lengthwise. Aim for 2–3 full passes.
- Hand-tool edges: Use a hand tamper or small hand roller along edging and around manholes or drains. These spots are missed by plate compactors.
A single batch covers about 10 sq ft at 3-inch depth. Plan your batch sequence so seams (known as cold joints) fall in low-traffic zones—never down the middle of a car’s tire track.
What Compaction Technique Works Best for Sakrete Blacktop Driveways?
Compaction is the single most important step for density and durability. Under-compacted Sakrete Blacktop will ravel and crack prematurely. Here’s how to get it right:
- Start with the plate compactor: Make one pass in the direction of the driveway length, then a second pass perpendicular. Overlap each pass by half the plate width. The compactor should leave a slight imprint—if it slides, the mix is too wet.
- Target density: For a 3-inch lift, you need 85–90% of Marshall density (a lab standard). In practice, that means the final lift should measure 3 inches exactly. Measure at three random spots per 100 sq ft; if any spot is more than ¼ inch high, compact that area again.
- Roller work (if you have one): A hand-pulled 200-lb steel roller finishes the surface smooth and fills in small imperfections. Two passes with the roller after the plate compactor yields a pro-grade finish.
- Edges and transitions: Use a hand tamper along the driveway edges and where the new surface meets an existing slab or asphalt. Firm, compacted edges prevent later crumbling.
- Allow curing: Do not drive on the surface for at least 24 hours (48 in cool weather). Light foot traffic is okay after 4 hours.
If your compaction reveals low spots after rolling, that’s okay—these can be filled with a thin layer of Sakrete Blacktop and recompacted. For more on avoiding common mistakes, read How to Properly Compact Sakrete Blacktop for a Smooth Driveway.
| Compaction Issue | Severity |
|---|---|
| Surface feels spongy underfoot after compaction | Needs attention soon |
| Low spots deeper than ½ inch after screeding | Needs attention soon |
| Visible hairline cracks appear within 48 hours | Usually not urgent (monitor for widening) |
| Small raveling at edges (stones coming loose) | Needs attention soon |
| Puddles form after light rain on new driveway | Needs attention soon |
| Surface is slightly uneven but not over ¼ inch | Usually not urgent |
How Do I Cure and Maintain My New Sakrete Blacktop Driveway?
Proper curing sets the stage for long-term performance. While Sakrete Blacktop does not require heat curing like hot-mix asphalt, it does need controlled conditions for initial set:
- Keep traffic off for 48 hours. Even then, park in a different spot each night for the first two weeks to avoid rutting from repetitive loads.
- Wait at least 30 days before sealcoating. The oils in the cold mix need time to migrate and fully bond. Applying sealer too early can trap solvents and cause peeling. Our guide Sealcoating a Sakrete Blacktop Driveway: Products and Methods gives a step-by-step timeline.
- Inspect for cracks after the first winter freeze. Shrinkage is normal; gap your sealer out. Use a flexible asphalt crack filler for anything up to ¼ inch. For larger cracks, see Patching Cracks in Sakrete Blacktop: Best Practices.
- Yearly maintenance: Sweep debris, spot-treat oil stains with a degreaser, and reapply sealcoat every 2–3 years depending on sun exposure and traffic.
What Do Owners Say About Installing Sakrete Blacktop Driveways?
Feedback from real users highlights both the appeal and limitations:
- “It’s not hot mix, but for a DIY driveway it’s solid.” Several owners note that Sakrete Blacktop sets firm but won’t match the density of commercial hot-mix asphalt. In moderate climates (mild winters, summer highs below 95°F), it holds up well.
- “The bag-to-water ratio is tricky on humid days.” Common complaint: too much water produces a gooey mess that doesn’t compact. Users advise adding water slowly—stop when the mix looks “damp sand”—and always keep extra dry Sakrete Blacktop on hand to adjust consistency.
- “Edges are the weak point—compact them well.” Many reviewers wish they’d spent more time hand-tamping edges. Chipped or crumbling edges after a year point back to insufficient edge compaction during installation.
Frequently Asked Questions About Installing a Sakrete Blacktop Driveway
How long does a Sakrete Blacktop driveway last?
With proper installation and annual sealcoating, a Sakrete Blacktop driveway can last 5–10 years in moderate climates. In areas with high UV or frequent freeze-thaw cycles, expect 5–7 years before major resurfacing is needed.
Can I drive on Sakrete Blacktop immediately after installation?
Light foot traffic is okay after 4–6 hours, but no vehicle traffic for at least 48 hours. For full strength, wait 7 days before parking the same spot repeatedly. Faster if temperatures stay above 70°F during curing.
How many bags of Sakrete Blacktop do I need for a 500 sq ft driveway?
At a 3-inch compacted depth, you’ll need about 80–90 bags of Sakrete Blacktop (60 lb each). This accounts for compaction and minor waste. Always buy 10% extra to cover low spots and cold joint repairs.
What temperature is best for installing Sakrete Blacktop?
Ideal ambient temperature range is 50°F–85°F (10°C–30°C). Avoid installation when the ground is frozen or if rain is forecast within 12 hours. Direct sun in summer can cause premature stiffening—work in early morning or late afternoon.
Do I need a plate compactor for a small Sakrete Blacktop project?
Yes, even for 200 sq ft projects. A plate compactor (rented for £50) ensures proper density. Hand tamper alone will leave the driveway soft and prone to raveling. Think of the rental cost as insurance against early failure.
Can I install Sakrete Blacktop over an existing concrete driveway?
Yes, but only if the concrete is sound (no large cracks or settlement). Clean thoroughly, apply a bonding agent (asphalt primer), and extend the Sakrete Blacktop at least 2 inches past the concrete edge. The new layer should be a minimum 2 inches thick; 3 inches is better for durability.