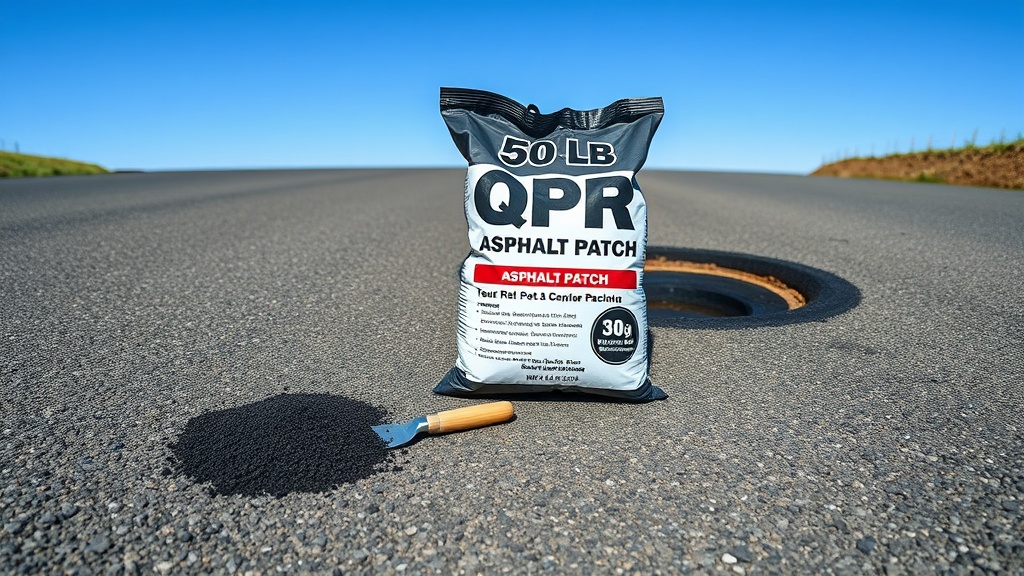
Understanding the QPR 50-lb Asphalt Patch Surface After Repair
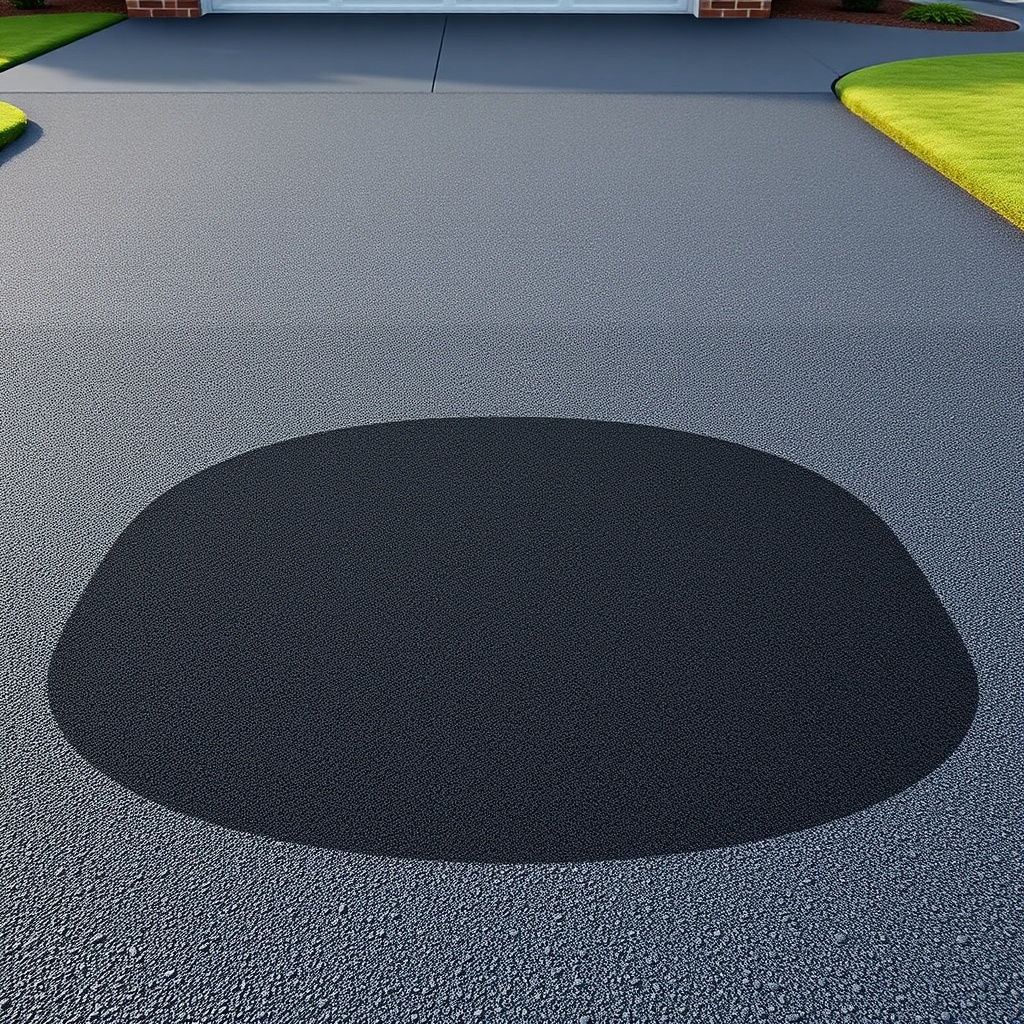
When a driveway or parking lot develops a pothole or a deep crack, the QPR 50-lb Asphalt Patch serves as a durable, ready-to-use cold patch solution. Once applied correctly, the patch forms a dense, water-resistant layer that can handle traffic almost immediately. However, the longevity of that repair depends heavily on what happens next—specifically, whether you apply a protective sealcoat over the patched area.
Sealcoating after a QPR patch repair isn’t just about aesthetics; it’s about sealing the patch’s edges, preventing water infiltration, and shielding the repair from UV degradation. Without this step, the patch may begin to ravel or crack prematurely, especially in climates with freeze-thaw cycles.
Why Should You Sealcoat Over a QPR 50-lb Patch?
The primary reason to sealcoat over a QPR patch is to create a waterproof barrier. The patch material itself is a flexible, aggregate-filled asphalt compound, but its bond to the surrounding pavement is only as strong as the interface. Sealcoating fills microscopic pores and hairline cracks at the patch perimeter, preventing water from seeping underneath. Over time, trapped moisture freezes and expands, which can push the patch out of the hole.
Additionally, sealcoating protects the patch from oxidation caused by sunlight. Asphalt that is left exposed turns brittle and grey, losing its flexibility. By applying a quality sealcoat, you extend the functional life of the repair by two to three years.
How Soon After Applying the Patch Can You Sealcoat?
Patience is critical when timing a sealcoat application over a QPR 50-lb patch. Most manufacturers recommend waiting at least 30 days after the patch has been installed and properly compacted. This waiting period allows the solvents within the cold patch to fully evaporate, allowing the patch to cure and achieve its maximum density.
If you sealcoat too early, the sealant can trap volatile organic compounds (VOCs) inside the patch, preventing it from hardening properly. The result is a soft, tacky patch that may deform under traffic. For best results, observe the patch after a few weeks. If it feels firm and you cannot dig a fingernail into it, the surface is ready for sealing.
For guidance on achieving proper compaction during installation to ensure a stable base for sealcoating, read our guide on Laying QPR Asphalt Patch: Best Compaction and Application Techniques.
What Happens If You Sealcoat a QPR Patch That Isn’t Fully Cured?
This is a common mistake that leads to patch failure. When a QPR 50-lb patch is sealed before the solvents have evaporated, the sealcoat forms an impermeable layer on top. The solvents trapped below try to escape but cannot, causing the patch to remain soft and pliable. In hot weather, this soft patch can become a sticky mess that tracks onto tires and shoes. In cold weather, the trapped moisture can freeze more readily, causing the patch to heave or crumble.
Additionally, the sealcoat may not adhere properly to a patch that is still gassing off, leading to peeling or blistering of the sealer within weeks. Always perform a simple touch test: press a piece of plastic wrap onto the patch for 24 hours. If condensation or an oily film appears, the patch is not ready for sealing.
Comparing Sealcoating Vs. Not Sealcoating a QPR Patch
The table below highlights the differences in performance and longevity between a sealed and unsealed QPR 50-lb patch.
| Factor | Patch with Sealcoat | Patch without Sealcoat |
|---|---|---|
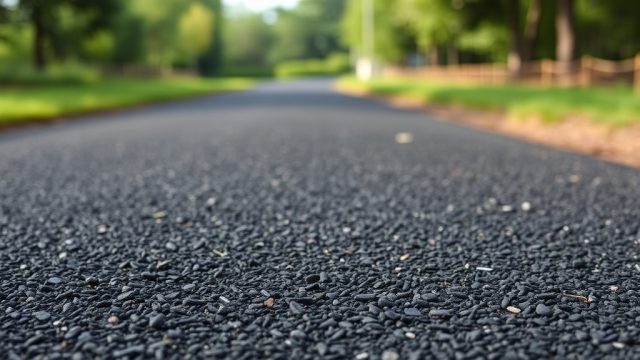
| Water resistance | High; sealcoat fills edge gaps | Moderate; relies on patch density |
| UV protection | Excellent; reflects sunlight | Poor; surface oxidises within 1-2 years |
| Freeze-thaw damage risk | Low; water cannot infiltrate | Medium to high; edges may wick water |
| Appearance | Uniform black, blends with driveway | Patch may appear grey or mismatched |
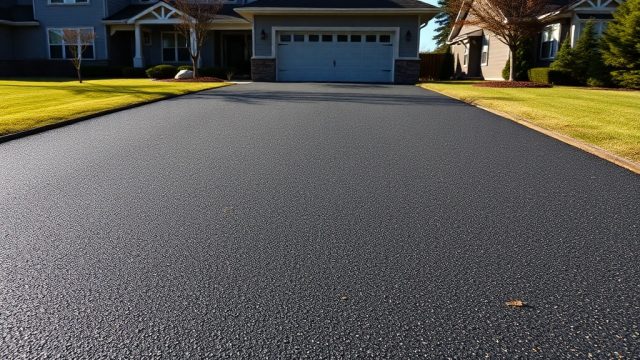
| Lifespan of repair | 3–5 years before patching again | 1–2 years before raveling or cracking |
| Cost of sealcoat material | Approximately £25–£40 per 20-litre bucket | N/A |
What Is the Best Type of Sealcoat for Use Over QPR Patch?
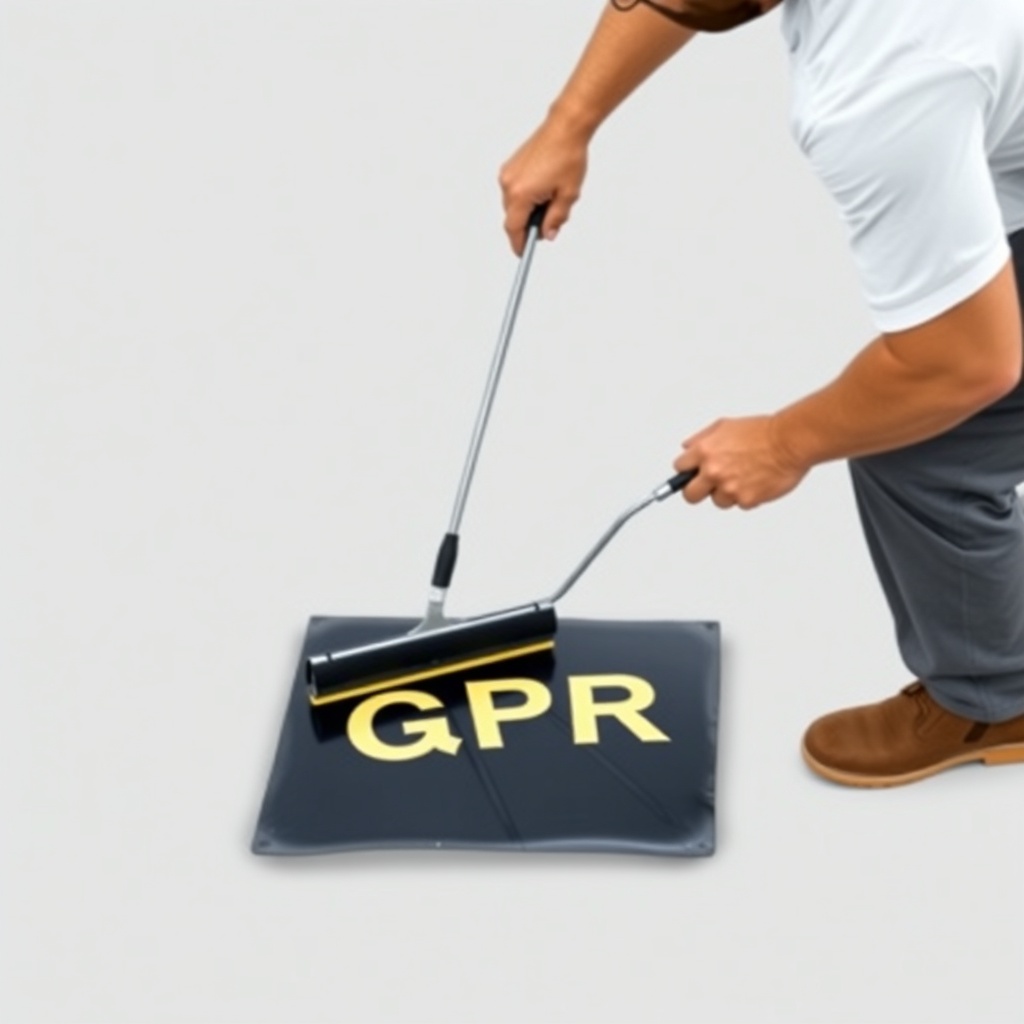
Not all sealcoats are created equal when used over a patch repair. For optimal adhesion and durability, choose a coal tar emulsion or an asphalt-based sealer that is specifically rated for high-traffic areas. These products bond well with the QPR patch material and cure to a flexible, crack-resistant film.
Begin by cleaning the patched area and the surrounding pavement thoroughly. Use a stiff broom or blower to remove all dust and debris. Apply the sealer using a squeegee or a brush, working it into the patch edges first. Two thin coats are superior to one thick coat, as thick coats can shrink and crack. Allow each coat to dry for at least 24 hours before applying the next.
If you are sealing a large area that includes multiple patches, consider using a commercial-grade sealer. Many contractors recommend applying a second coat only to the patch and its perimeter to conserve material. For a deeper dive into the sealing process, refer to our article on QPR 50-lb Asphalt Patch: Sealing After Patching for Better Durability.
What Owners Say About Sealing Their QPR Patch Repairs
Homeowners and property managers who have taken the extra step to sealcoat their QPR 50-lb patches report significantly better results. One driveway owner from Manchester noted: “I patched a pothole two winters ago and did not seal it. The patch looked fine for six months, but after one freeze, the edges started to lift. Last year I applied a sealcoat, and the same patch is still solid through another winter.”
A commercial parking lot manager in Birmingham stated: “We have a dozen QPR patches on our lot. The ones that were sealed last spring still look new. The unsealed patches are already showing hairline cracks. The cost of a £30 bucket of sealer saved us from re-patching twice as often.” Owners consistently note that the sealcoat also improves the overall appearance, making the black patch blend with the aged, grey asphalt.
Some owners warn about the importance of proper edge preparation. If the patch is not level with the surrounding pavement, the sealcoat may pool around the edges, creating a low spot that holds water. Ensure the patch is compacted flush before sealing. For troubleshooting edge issues, see Why Does My QPR Patch Keep Falling Out? Troubleshooting Tips.
Can You Apply Sealcoat Over a QPR Patch in Cold or Wet Weather?
Temperature and moisture conditions directly affect how well the sealcoat bonds to the patch. The ideal application temperature for most sealcoats is between 15°C and 27°C (59°F and 80°F). Do not apply sealcoat if rain is expected within 24 hours, as water can wash away the fresh sealer or cause it to blister.
For the patch itself, if it was applied in wet conditions, you must allow the water to fully evaporate before sealing. If you applied the QPR patch during damp weather, review QPR 50-lb Asphalt Patch: Can You Apply It in Wet Conditions? for post-installation curing tips. In general, cold temperatures (below 10°C) cause sealcoat to thicken and cure very slowly, leading to poor adhesion. Wait for a warmer, dry day to achieve the best results.
Frequently Asked Questions
Q: Can I sealcoat over a QPR 50-lb patch that is only one week old?
A: It is not recommended. Wait at least 30 days for the patch to fully cure and allow solvents to evaporate. Sealing too early can trap moisture and cause the patch to remain soft.
Q: How long does the sealcoat last over a QPR patch?
A: With proper preparation and two thin coats, the sealcoat typically lasts 2 to 3 years before needing reapplication. The patch itself may last 3 to 5 years if properly sealed.
Q: Will the sealcoat change the colour of my QPR patch?
A: No. Both the patch and the sealcoat are black. The sealcoat will make the entire repaired area appear uniform and dark. This actually improves the look of older, faded asphalt.
Q: Do I need to seal the entire driveway or just the patch?
A: For full protection of the repair, it is best to seal the entire driveway. If you only seal the patch, the surrounding pavement may still allow water to migrate to the patch edges. At minimum, seal a 1-metre radius around the patch.
Q: What tools do I need to apply sealcoat over a QPR patch?
A: You will need a stiff broom, a hose or blower for cleaning, a squeegee or brush, a mixing paddle, and a bucket. For larger areas, a sealer sprayer is more efficient.
Q: Can I apply sealcoat if there is a visible crack between the patch and the pavement?
A: Yes, but you should fill the crack with a hot pour filler or a crack sealant first. If the gap is wider than 3mm, sealcoat alone may not bridge it, and the crack will reappear. This step ensures the patch remains fully bonded. For more on crack preparation, read Using QPR 50-lb Patch for Pothole Repair: A Complete Guide.