Introduction: Why Sealcoating with AsphaltPavePro Demands a Flawless Application
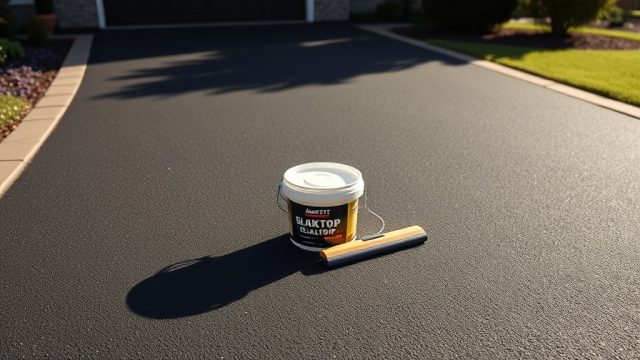
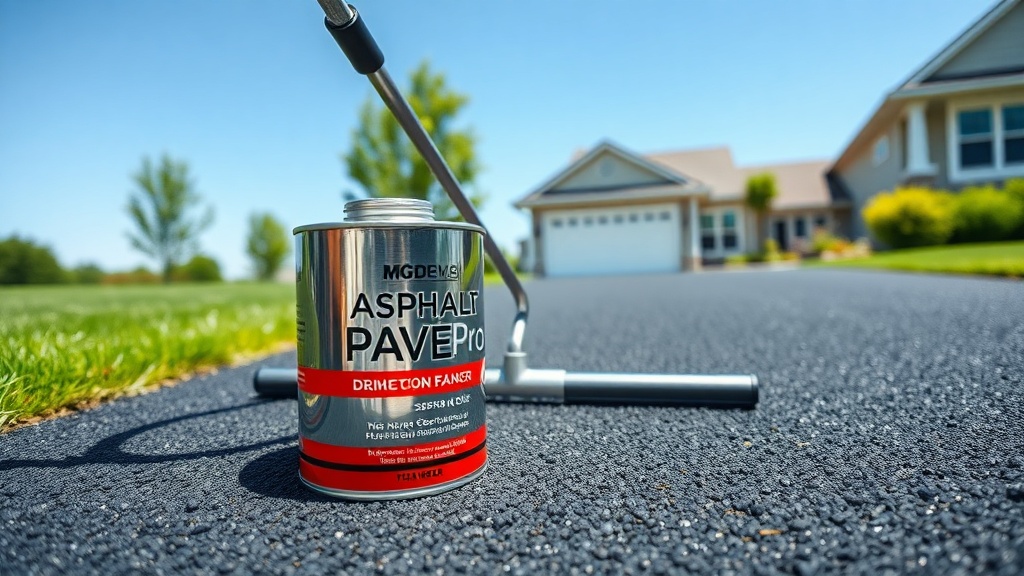
Sealcoating your driveway with AsphaltPavePro is one of the best ways to protect your asphalt investment from UV rays, water intrusion, and chemical spills. However, a poorly executed sealcoating job can lead to peeling, blotching, and reduced longevity—costing you both time and money. Avoiding common DIY mistakes ensures that your AsphaltPavePro sealcoat forms a durable, even barrier that extends the life of your pavement for years. This article walks you through the top five sealcoating mistakes homeowners make and how to steer clear of them using proper technique and product knowledge.
1. Why Is Proper Surface Preparation Critical Before Applying AsphaltPavePro Sealcoat?
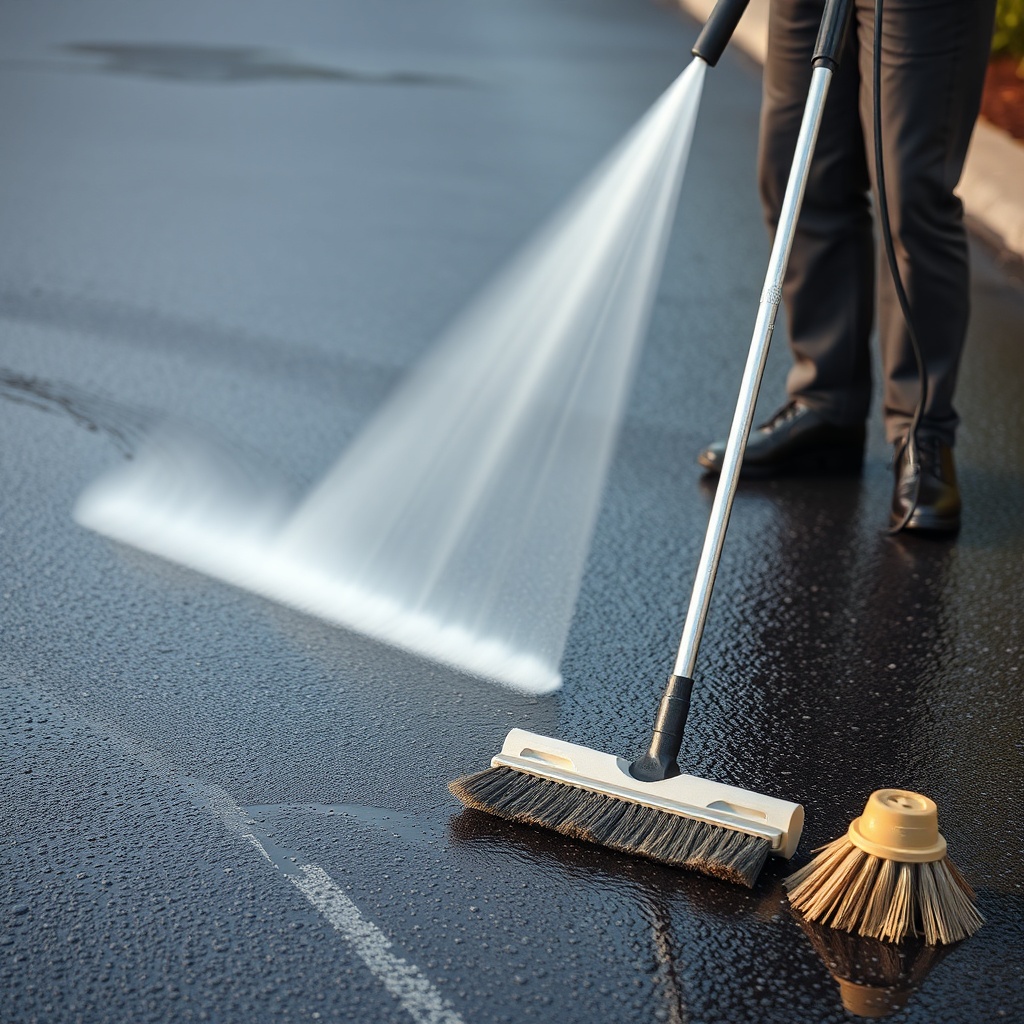
The most frequent mistake DIYers make is skipping thorough surface preparation. AsphaltPavePro sealcoat requires a clean, oil-free, and crack-free base to bond effectively. Applying sealant over dirt, vegetation, or loose debris causes adhesion failure within months.
- Clean with a stiff broom and pressure washer (1,500–2,000 psi) to remove all contaminants.
- Spot-treat oil stains with a degreaser and rinse thoroughly—sealcoat won’t adhere to oily surfaces.
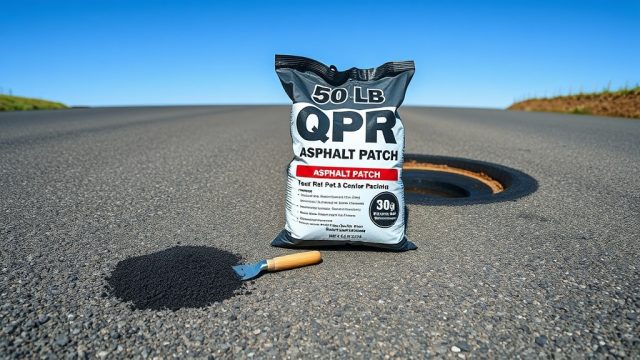
- Fill cracks and potholes using AsphaltPavePro Patching: Compaction and Moisture Tips for Long-Lasting Repairs before sealcoating begins.
Allow the prepared surface to dry completely for at least 24–48 hours depending on humidity. A moisture meter reading below 5% is ideal before application.
2. How Does Mixing and Dilution Affect AsphaltPavePro Sealcoat Performance?
Another common blunder is incorrect mixing—either adding too much water or not stirring enough. AsphaltPavePro is a high-solids formula designed for minimal dilution. Over-diluting reduces film thickness, leading to premature wear.
- Follow the label: typically no more than 1 gallon of water per 5 gallons of sealcoat.
- Mix mechanically using a paddle drill for 5 minutes until consistency is smooth and uniform.
- Do not thin with solvent or kerosene—this weakens the coal-tar or acrylic emulsion.
If you live in a cold climate, ensure the product temperature is above 50°F (10°C) at mixing time. Cold sealcoat thickens and is harder to spread evenly.
3. What Is the Ideal Temperature Window for Applying AsphaltPavePro Sealcoat?
Applying sealcoat in weather that is too hot, too cold, or too humid is a recipe for disaster. AsphaltPavePro requires a surface temperature between 55°F and 85°F (13°C–29°C) for optimal curing.
- Avoid direct midday sun in summer—surface temps can exceed 100°F, causing the sealcoat to skin over and trap moisture.
- Do not apply if rain is forecast within 24 hours—water droplets create pinholes and wash away fresh sealant.
- Check wind conditions: high wind accelerates drying unevenly and may blow debris onto the wet surface.
Plan sealcoating for early morning or late afternoon in spring or autumn for best results. Using a surface thermometer is non-negotiable.
4. Why Does Application Technique Matter for Even Coverage?
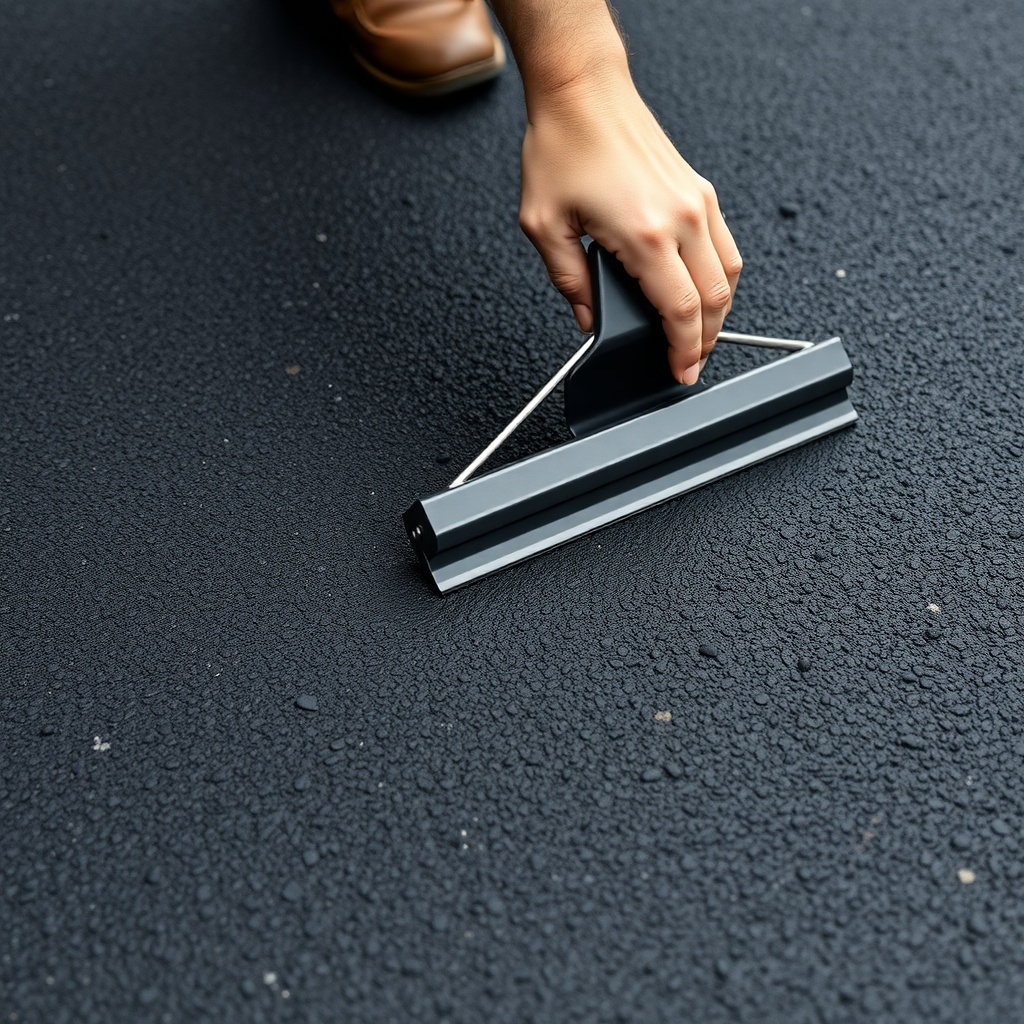
Even experienced DIYers often rush application, resulting in roller marks, lap lines, or thin spots. AsphaltPavePro should be applied in two thin, even coats rather than one thick layer.
- First coat: apply using a squeegee or roller in a north-south direction.
- Second coat: apply east-west after the first coat dries (4–6 hours in good conditions).
- Work in manageable sections (roughly 15 ft by 15 ft) to maintain wet edges and avoid lap marks.
Use a 4-inch roller for edges and a 36-inch squeegee for the main area. Keep a wet film thickness gauge handy to verify you’re applying at the recommended rate (typically 0.04–0.06 inches per coat).
5. How Can You Avoid Curing and Recoating Errors with AsphaltPavePro?
Rushing the drying process leads to sealcoat that never fully hardens. AsphaltPavePro needs 24–48 hours before light foot traffic and 72 hours before vehicle parking—even longer in humid or cool weather.
- Do not park cars on the driveway for at least 3 full days.
- Avoid sprinkler overspray—water droplets during initial cure cause whitish stains.
- Wait 12 months before applying a second coat unless the manufacturer specifies earlier recoatability.
If you must recoating early due to streaking, consult AsphaltPavePro’s technical sheet—most products require full cure before additional layers bond.
Severity and Cost Implications of Common Sealcoating Mistakes with AsphaltPavePro
Understanding the financial risk of each mistake helps prioritize prevention. Below is a table estimating repair costs (USD) for a standard 400 sq. ft. driveway.
| Mistake Category | Most Likely Cost | Time to Remediate | Severity (1–5) |
|---|---|---|---|
| Poor surface prep (dirt/oil) | $250–$450 | 2 full weekends | 5 (catastrophic) |
| Incorrect dilution | $150–$300 | 1–2 days | 4 (severe) |
| Wrong temperature/humidity | $100–$250 | 1–2 days | 3 (moderate) |
| Poor application technique | $200–$400 | 3 days–1 week | 4 (severe) |
| Rushing curing time | $300–$600 | 1–2 weeks | 5 (catastrophic) |
What Homeowners Say About AsphaltPavePro Sealcoat
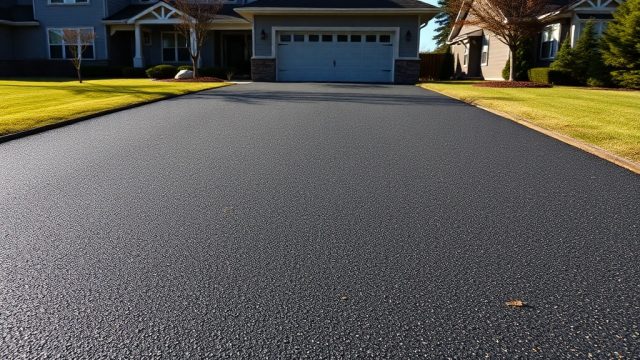
Actual user feedback highlights both pride and pitfalls. Many praise the product’s rich, dark finish when applied correctly: “Applied AsphaltPavePro last spring—still looks fresh after winter slush and salt” says Mike T. of Cincinnati. Others caution about mistakes: “I diluted too much water and got patchy color—had to redo it in fall.” Kevin in Denver notes: “The biggest lesson was surface prep; I skimped on cleaning and had peeling within six months. Follow the instructions to the letter.” Overall satisfaction remains high when homeowners respect the cure time and weather window.
Frequently Asked Questions About AsphaltPavePro Sealcoat
- Can I apply AsphaltPavePro sealcoat on a damp surface?
No. The surface must be dry to the touch and moisture meter reading below 5%. Damp asphalt traps moisture under the sealant, leading to bubbling. - How long should I wait between coats of AsphaltPavePro?
Typically 4–6 hours in warm, low-humidity conditions. Always check tack-free time by touch—if it feels sticky, wait longer. - What is the coverage rate per gallon of AsphaltPavePro?
One gallon covers approximately 70–80 sq. ft. per coat at recommended film thickness. For a 400 sq. ft. driveway, plan on 5–6 gallons per coat. - Will AsphaltPavePro sealcoat fill hairline cracks?
It bridges cracks up to 1/8 inch wide. Larger cracks require AsphaltPavePro Patching: Compaction and Moisture Tips for Long-Lasting Repairs first. - Is AsphaltPavePro safe for use near plants and grass?
It’s low-VOC but still contains chemicals. Protect vegetation with plastic sheeting and rinse accidental spills immediately with water. - Can I sealcoat over an existing layer of AsphaltPavePro?
Yes, but only if the previous coat is clean, fully cured (at least 12 months), and not peeling. If peeling exists, strip it before recoating.
For deeper guidance on asphalt longevity, explore AsphaltPavePro Subgrade Preparation: Preventing Frost Heave in Cold Climates and AsphaltPavePro Compaction: How Moisture Content Affects Density and Longevity. If comparing patching solutions, see AsphaltPavePro vs. Sakrete Blacktop: Subgrade Preparation Requirements Compared and AsphaltPavePro vs. QPR Patch: Durability Test for Driveway Repairs. For mix design insight, read AsphaltPavePro Mix Gradation: Why Aggregate Size Matters for a Durable Driveway.