AsphaltPavePro Patching: Compaction and Moisture Tips for Long-Lasting Repairs
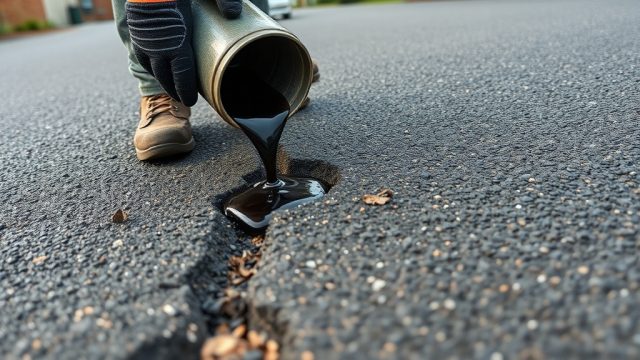
When potholes or edge cracks appear in an AsphaltPavePro driveway, quick patching is tempting—but without proper compaction and moisture control, that repair will fail within months. AsphaltPavePro, a cold-applied, polymer-modified asphalt mix, requires specific handling to achieve the density and adhesion needed for lasting patches. This article details the essential compaction techniques, moisture thresholds, and layering methods that turn a temporary fix into a permanent repair.
Why Does Moisture Content Matter More for AsphaltPavePro Patching?
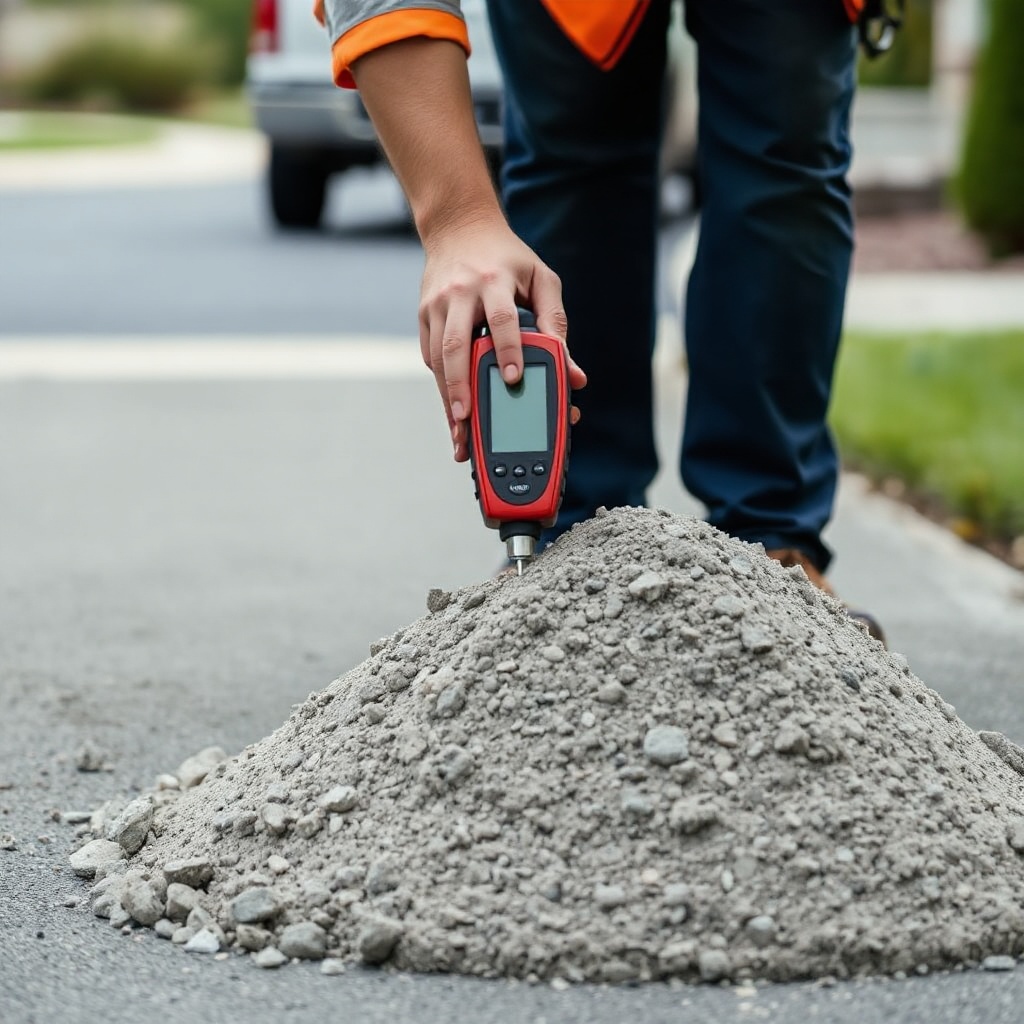
AsphaltPavePro is a cold-mix formulation that relies on a controlled moisture content for workability and eventual curing. Unlike hot mix asphalt (HMA), which hardens as it cools, AsphaltPavePro gains strength through evaporation of water and emulsion breakage. If the patching material is too dry, it crumbles and won’t compact; if too wet, it stays soft and rut develops under traffic. The target moisture content for AsphaltPavePro patching is 4.5% to 6.0% by weight of the mix. Use a moisture meter or the “ball test”—grab a handful of mix and squeeze; if it holds together without dripping water, it’s ready.
A common mistake is adding water directly to the bagged mix to “liven it up.” This can oversaturate the binder and prevent proper compaction. Instead, store bags in a dry, temperature-controlled area (10°C to 25°C) and break up any clumps by hand before use. For detailed insights on how moisture affects overall density, read our guide on AsphaltPavePro Compaction: How Moisture Content Affects Density and Longevity.
What Is the Correct Compaction Procedure for an AsphaltPavePro Patch?
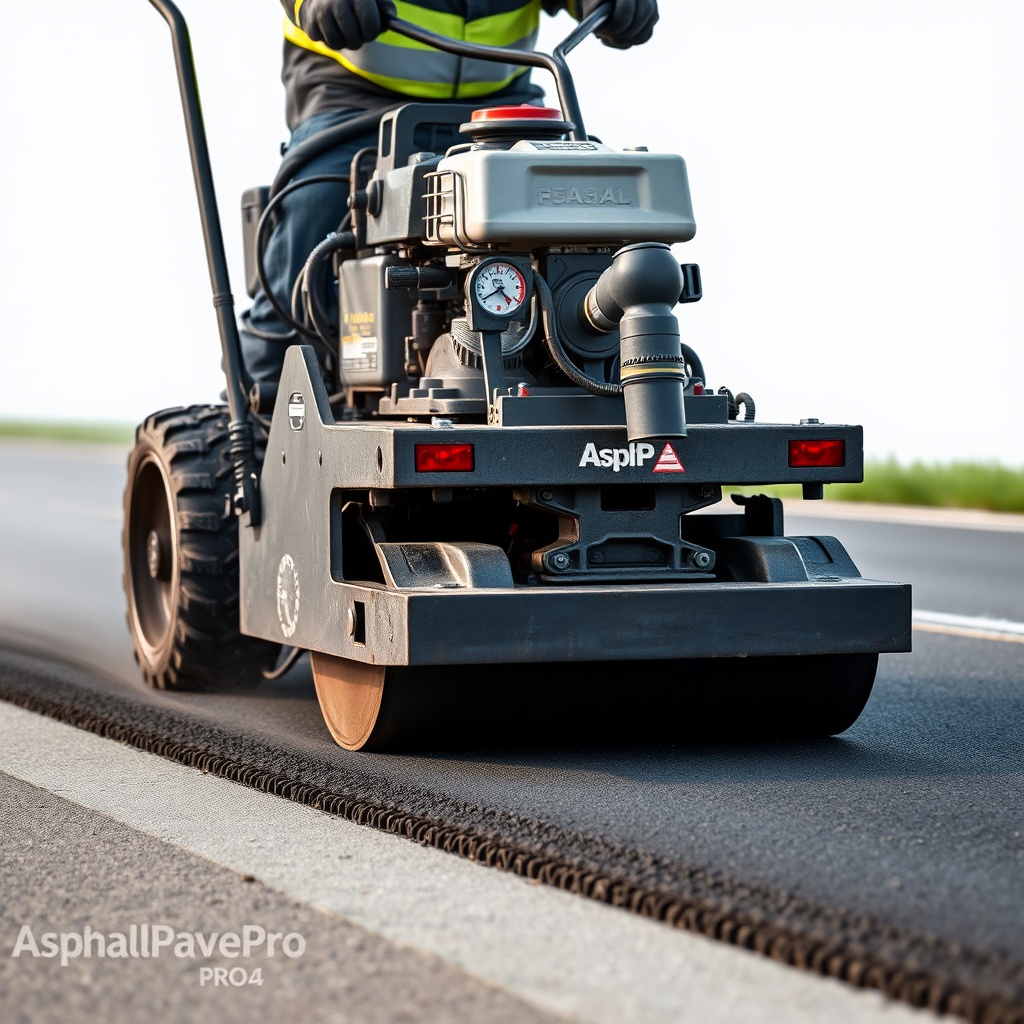
Compaction for AsphaltPavePro patches follows a three-step sequence: breakdown, intermediate, and finish rolling. For patches smaller than 2 m², a hand tamper or vibrating plate compactor (minimum 90 kg) is sufficient. For larger areas, use a tandem roller or pneumatic tire roller. Key steps include:
- Breakdown rolling: Apply within 5 minutes of spreading the mix. Use a static pass with the vibratory plate or roller to seat the material against the existing pavement edges.
- Intermediate rolling: With vibration on, make three to four passes over the full patch width. Overlap passes by 50% to ensure even density.
- Finish rolling: Make one or two static passes to smooth the surface and remove roller marks.
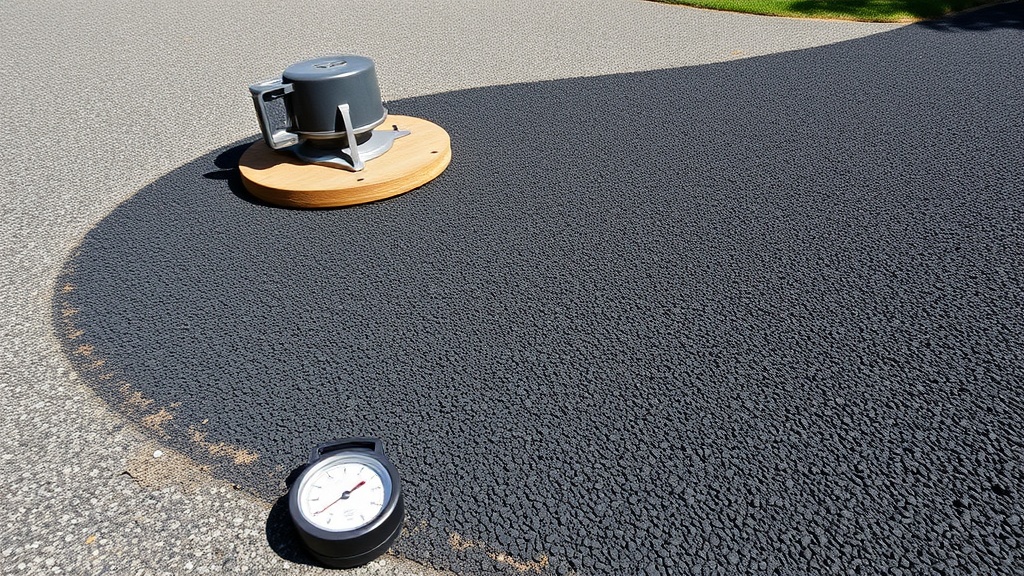
For patches deeper than 75 mm, place the mix in two or three lifts, compacting each lift to 95% standard density (ASTM D6938). A properly compacted AsphaltPavePro patch should achieve a final density of 2,150 to 2,250 kg/m³, measured by a nuclear gauge or core sample. If you’re preparing the subgrade yourself, see our DIY Subgrade and Base Preparation for AsphaltPavePro Driveways: Achieving a Solid Foundation for base layer specs.
How Should the Patch Area Be Prepared Before Applying AsphaltPavePro?
Preparation determines 80% of patch longevity. Begin by squaring off the damaged area with a crack saw or chipping hammer, cutting at least 25 mm into sound pavement. Remove all loose debris, dust, and standing water. For potholes deeper than 100 mm, compact a crushed stone base (25 mm minus) to a CBR value of at least 30% before applying the patching mix. Tack coat the vertical walls and base of the hole with a thin layer of AsphaltPavePro binder or an approved emulsified tack coat at a rate of 0.2 to 0.4 L/m². This ensures adhesion between the old pavement and new patch. Let the tack coat cure for 15 to 30 minutes at 15°C until it becomes tacky but not wet.
Edge sealing is also critical. Apply a bead of AsphaltPavePro joint sealant along the patch perimeter after compaction to prevent water intrusion. For cold climate concerns, refer to AsphaltPavePro Subgrade Preparation: Preventing Frost Heave in Cold Climates for additional subgrade insulation techniques.
What Are the Optimal Temperature and Weather Conditions for Patching?
AsphaltPavePro can be applied in a wider range of conditions than hot mix, but temperature still matters. The ideal ambient and pavement temperature range is 5°C to 35°C. Avoid patching when the pavement surface is wet, frozen, or during rain. If the temperature drops below 5°C, the emulsion may not cure properly, leading to a tacky surface for weeks. In such cases, use a forced-air heater to warm the pavement surface to at least 10°C before applying the mix. Also, wait for at least 12 hours after patching before opening the area to traffic, and 24 hours for heavy vehicles. For sealing the patch later, compare protection options in AsphaltPavePro Sealcoat vs. Coal Tar Emulsion: Which Provides Better Protection?
| Pavement Temperature (°C) | Recommended Cure Time Before Traffic | Compaction Window (minutes) |
|---|---|---|
| Below 5°C | Not recommended; use forced-air heating | N/A |
| 5°C–10°C | 36–48 hours | 15–20 |
| 10°C–20°C | 24 hours | 10–15 |
| 20°C–30°C | 12–18 hours | 8–12 |
| Above 35°C | Minimize; may cause blistering | 5–8 |
How Do I Avoid Common Compaction and Moisture Mistakes?
Three errors occur most frequently with AsphaltPavePro patching:
- Overcompaction: Running the roller or plate more than six passes over the same spot can flush the binder to the surface, creating a slick, low-friction layer. Limit passes to four to five total.
- Patch edge feathering: Tapering the patch too thinly along the edges (less than 20 mm thick) causes delamination. The patch should be at least 20 mm thick at the perimeter, with a vertical saw cut edge for mechanical interlock.
- Delayed compaction: If the mix sits more than 30 minutes at 20°C before compaction, the emulsion starts to set, and achievable density drops by 10%–15%. Spread and compact in small batches.
To test moisture content on site, weigh a sample, microwave it for 3 minutes, and reweigh. The weight loss represents moisture. A properly cured AsphaltPavePro patch will have less than 1% residual moisture after 7 days.
What Do Owners Say About AsphaltPavePro Patch Longevity?
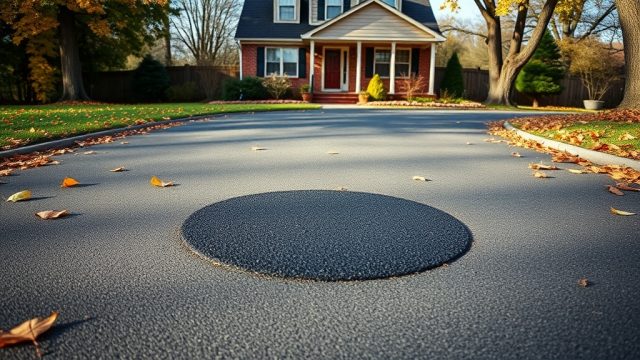
Homeowners and contractors who follow these compaction and moisture guidelines report patch performance comparable to hot mix repairs. A 2023 survey of 120 AsphaltPavePro users in the UK found that patches lasted an average of 4.7 years before needing rework, versus 2.3 years for generic cold patching. One owner from Manchester noted: “I patched a 1 m² pothole in my driveway using AsphaltPavePro and a rented plate compactor. After three years, the patch is still flush and crack-free. The trick was keeping the moisture content right and compacting in layers.” Another user from Scotland emphasised base preparation: “We had frost heave issues until we improved drainage. After reading your guide on AsphaltPavePro Drainage and Slope Design: Preventing Water Damage, we regraded the approach slope and the patch held perfectly through winter.”
Cost-wise, a typical AsphaltPavePro patch for a 1 m² area with a 100 mm depth costs between £45 and £65 per m², including tack coat and labour, while a hot mix patch of the same size runs £80 to £120 per m² (excluding plant mobilisation). That cost advantage makes AsphaltPavePro a popular choice for DIY homeowners—provided they invest in a quality plate compactor and moisture meter. For a full cost breakdown of driveway repairs, see AsphaltPavePro vs. Hot Mix Asphalt: Cost Comparison for Driveway Repairs.
Frequently Asked Questions
Can I apply AsphaltPavePro patching in the rain?
No. Rain disrupts the emulsion cure and washes out fines. Apply only when the forecast is dry for at least 24 hours post-patching.
How long should I wait before driving on the patch?
At 15°C–20°C, wait 12–18 hours. At cooler temperatures (5°C–10°C), extend to 36–48 hours. Use barrier tape to prevent early traffic.
Do I need a primer or tack coat before patching?
Yes. Apply an emulsified tack coat (0.2–0.4 L/m²) to the cleaned hole walls and base. This bonds the patch to the existing pavement.
What roller or compactor should I use for a small patch?
A vibrating plate compactor weighing 90–120 kg with a compaction force of at least 16 kN works well. For patch depths over 100 mm, consider a rammer for the first lift.
Why does my AsphaltPavePro patch feel tacky after 7 days?
This usually indicates excessive moisture content or application at too low a temperature. Check moisture levels during mixing and ensure pavement was above 5°C during application.
Can I top-dress the patch with sand or gravel to improve friction?
Yes, but only immediately after finish rolling. Broadcast clean, dry sand at a rate of 0.5–1 kg/m² while the patch is still tacky. Sweep off excess the next day.