AsphaltPavePro Sealcoat vs. Acrylic Sealer: Which Application Tools Work Best?
When maintaining a blacktop surface, the choice between AsphaltPavePro sealcoat and acrylic sealer often comes down to durability and finish. However, even the best formulation fails without correct application tools. This article compares the ideal equipment for each product, focusing on cost, coverage, and long-term protection for British driveways and car parks.
1. What Makes AsphaltPavePro Sealcoat Different from Acrylic Sealer?
AsphaltPavePro sealcoat is a coal-tar or refined-tar emulsion designed for deep penetration into porous asphalt. It bonds chemically with the bitumen, creating a flexible, oil-resistant layer. Acrylic sealer, in contrast, forms a plastic-like film on the surface. It dries faster and offers UV resistance, but it lacks the adhesion strength of tar-based products.
For heavy-traffic areas such as commercial forecourts, AsphaltPavePro sealcoat provides superior protection against fuel spills and oxidation. Acrylic sealer is better suited for decorative drives where colour consistency matters. The application tools must match these chemical differences: thick, tar-based sealers require heavy-duty spreaders, while acrylics work well with low-nap rollers.
2. Which Squeegee Works Best for AsphaltPavePro Sealcoat?
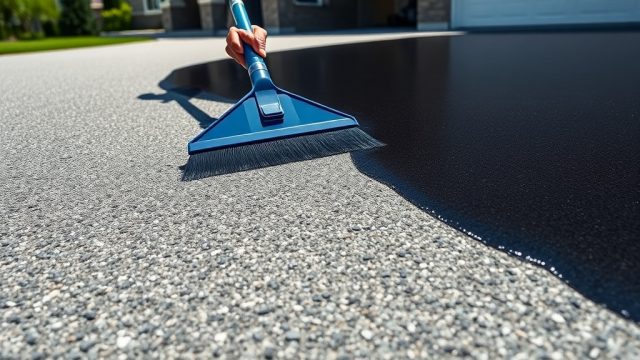
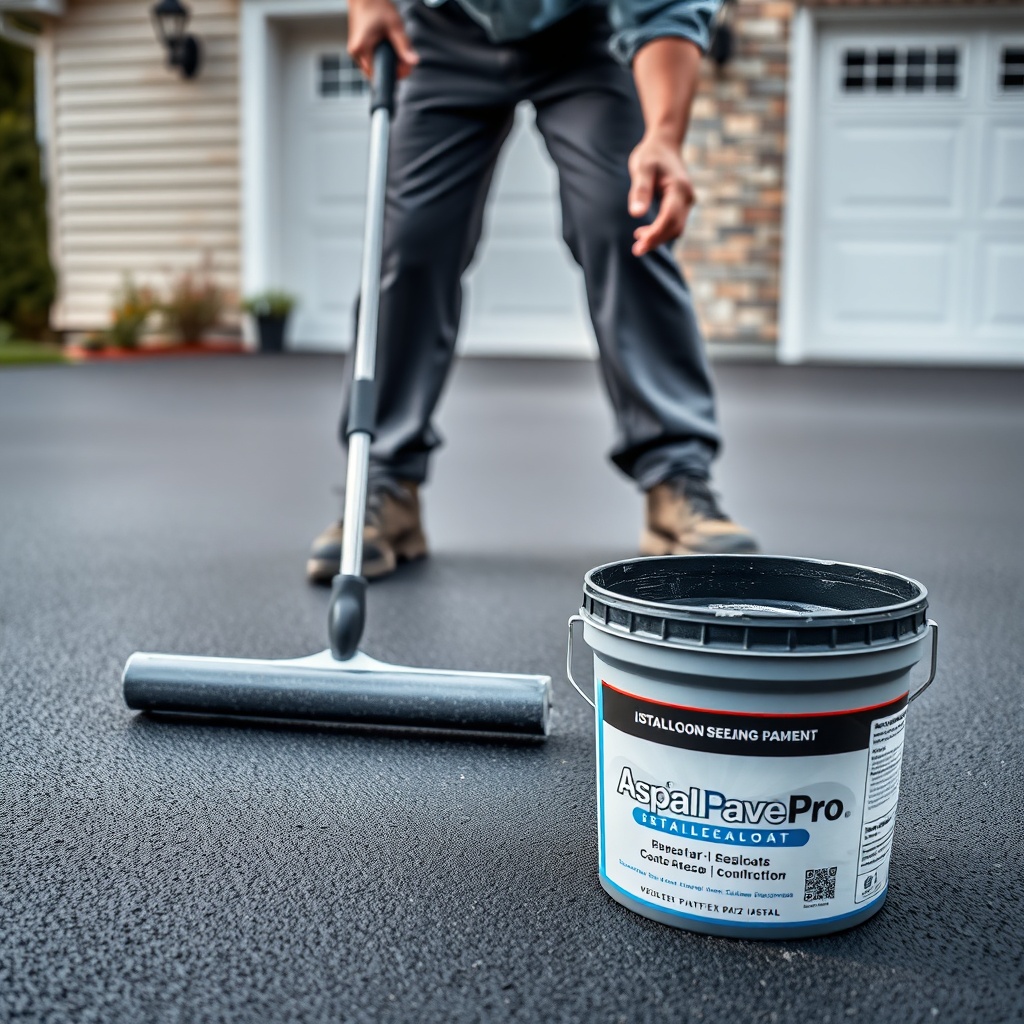
AsphaltPavePro sealcoat demands a rubber squeegee with a Shore A hardness of 55–65. Softer rubber (below 50) leaves ridges; harder rubber (above 70) skips over low spots. The ideal tool is a 36-inch (91 cm) wide floor squeegee with a reinforced aluminium handle. For driveways, a 24-inch model offers better control around edges.
Push-type squeegees are preferred over pull-types because they maintain even pressure across the blade. When applying AsphaltPavePro sealcoat at 0.5 litres per square metre per coat, a squeegee with a 3 mm edge radius spreads the material without dragging. Always use two coats, allowing 12–18 hours drying between them.
For small residential jobs, a 14-inch hand squeegee with a plastic handle reduces fatigue. However, commercial contractors should invest in a 48-inch brush-squeegee combo, which scrubs the sealer into cracks while smoothing the surface.
3. Is a Spray System Effective for Acrylic Sealer?
Yes, spray systems work excellently with acrylic sealer because of its lower viscosity. A high-volume, low-pressure (HVLP) sprayer or a piston pump sprayer with a 0.055-inch tip provides an even mist. Coverage rates reach approximately 3 square metres per litre, compared to 2 square metres per litre with a squeegee on the same acrylic product.
Spraying requires windless days below 25°C. Overspray onto grass or walls must be avoided—masking tape and plastic sheeting are mandatory. The cost of a quality sprayer starts at £220 for a handheld unit, while a professional skid-mounted system runs £1,800–£3,000. For a 100 m² driveway, renting a sprayer costs around £95 per day.
One key advantage: spray application reduces material waste by 15–20% because no sealer remains trapped in squeegee edges. However, acrylic sealer applied by spray produces a thinner coat (0.3–0.4 mm dry film thickness) than squeegee application (0.5–0.7 mm). Therefore, two spray coats are mandatory for adequate protection.
4. Which Tools Handle AsphaltPavePro Sealcoat on Cracks and Joints?
Cracks wider than 6 mm should be filled before sealcoating. For AsphaltPavePro sealcoat vs sand mix: which fills wide cracks better?, a squeegee alone cannot push enough material into deep fissures. A crack-filling wand or a pour pot with a 10 mm spout is essential. The tool should heat the sealcoat to 15–20°C for proper viscosity.
For joint edges, use a 4-inch brush with stiff nylon bristles. This tool “jams” the sealcoat into the crack while preventing overflow. After the joint is filled, a squeegee smooths the surface. Never use a broom on AsphaltPavePro sealcoat—the bristles lift the material and create pinholes.
Contractors who skip crack preparation often face failure within 6–8 months. The correct procedure: clean cracks with a wire brush, apply a sand-mix primer, then sealcoat over the entire surface. This method gives a 3–5 year protection cycle.
5. How Does Roller Application Compare for These Two Sealers?
Rollers are suitable for acrylic sealer but not for AsphaltPavePro sealcoat. A 12-inch medium-nap roller (12 mm) with a 3/8-inch core provides even acrylic coverage on smooth asphalt. The acrylic dries in 2–4 hours, allowing same-day recoating.
For AsphaltPavePro sealcoat, rollers create an uneven film because the tar emulsion is too thick to flow out of the nap. The result is a textured finish with reduced protection. AsphaltPavePro compaction vs. temperature principles show that cold sealer (below 10°C) becomes even more viscous, worsening roller issues.
If you must use a roller for AsphaltPavePro sealcoat (e.g., on vertical curbstones), choose a 6-inch foam roller and apply at half the normal rate. Expect to need three coats instead of two. The total cost increases by about 40% due to labour and material waste.
6. What Are the Cost Differences for Tooling Up?
A basic toolkit for AsphaltPavePro sealcoat includes: 36-inch rubber squeegee (£45), 5-gallon bucket (£8), mixing paddle drill attachment (£22), and crack wand (£18). Total: approximately £93. For acrylic sealer spray application, you need: HVLP sprayer (£220), 100-foot hose (£35), gun tip set (£25), and respirator mask (£12). Total: roughly £292.
However, the per-project tool cost is lower for sealcoat squeegees because they last 2–3 years (around 50–80 driveway applications). Sprayer tips wear every 15–20 jobs and cost £15 to replace. The table below summarises annual tool expenditure for a small business doing 30 driveways per year.
| Tool Category | AsphaltPavePro Sealcoat | Acrylic Sealer |
|---|---|---|
| Squeegee/blade annual cost | £90 (2 blades) | £0 (not used) |
| Sprayer maintenance per year | £0 | £85 (tip replacement + pump oil) |
| Brushes + rollers annual cost | £35 (crack brushes) | £110 (rollers + tray liners) |
| Bucket/pails (annual) | £24 (6 buckets) | £12 (3 buckets) |
| Mixing equipment annual | £15 (paddle drill bits) | £20 (sprayer strainers) |
| Total annual tool cost | £164 | £227 |
Note: Prices are based on UK suppliers in 2025. Tool life varies with cleaning and storage. Properly cleaned squeegees last 2x longer.
What Owners Say About Application Tool Choice
Owners of residential driveways in Sussex and commercial car parks in Manchester report distinct preferences. “I used a cheap £15 squeegee on AsphaltPavePro sealcoat and got streaks everywhere,” says Martin Ellis, a homeowner in Brighton. “After switching to a proper 36-inch rubber blade, the finish was mirror-smooth.”
Commercial manager Janice Ward of ParkRight Ltd. notes: “We tried acrylic spray on our 2,000 m² lot. It looked great for a year, but the edges peeled. Now we use AsphaltPavePro sealcoat with a brush-squeegee for edges and a large squeegee for the field. The coat lasts 4 years.”
DIY installer Tom Baker from Leeds shares: “For my 40 m² drive, I bought a 24-inch squeegee for £30. Applied two coats of AsphaltPavePro sealcoat. It took 6 hours total, but it’s been perfect for 18 months.” These real-world experiences highlight that tool quality directly impacts sealer longevity.
Frequently Asked Questions
Q1: Can I use the same squeegee for both AsphaltPavePro sealcoat and acrylic sealer?
A: No. Rubber squeegees used for tar-based sealcoat absorb acrylic thinners, causing swelling and uneven edges. Dedicate separate squeegees to each product. Label them clearly to avoid cross-contamination.
Q2: How often should I replace my sealcoat squeegee blade?
A: Replace the blade every 20–30 applications or when you notice streaking or skipping. Wash the blade with soapy water after each job to remove dried sealant. Store flat to prevent warping.
Q3: Is a sprayer always better for acrylic sealer?
A: Not always. For complex driveways with many edges and obstacles, a 12-inch roller gives better control. Sprayers are ideal for large, open areas over 200 m². Always test on a small patch first.
Q4: What subgrade conditions affect sealcoat application?
A: Poor subgrade compaction causes asphalt to flex, cracking the sealcoat. Follow our AsphaltPavePro subgrade compaction test to ensure base stability. Also, provide adequate subgrade drainage layer thickness to prevent water pooling under the seal.
Q5: Can I apply AsphaltPavePro sealcoat over old acrylic sealer?
A: Yes, but only if the acrylic is sound and well-bonded. Test adhesion by scoring a crosshatch and applying tape—if the tape pulls up any acrylic, remove it completely before resealing. Otherwise, the new tar sealcoat may delaminate.
Q6: What temperature is best for applying either product?
A: For AsphaltPavePro sealcoat, 10–27°C is ideal. Acrylic sealer works best at 15–30°C. Never apply below 7°C—poor film formation leads to subgrade load issues and premature failure. Check weather forecasts for 24 hours of dry conditions after application.