AsphaltPavePro Subgrade Drainage Layer Thickness: Preventing Water Damage in Driveways
Water is the single greatest threat to any asphalt driveway, and AsphaltPavePro recommends a properly designed subgrade drainage layer as the first line of defense. Without adequate drainage thickness, trapped moisture weakens the base, leads to cracking, and shortens pavement life by years. This article provides specific thickness guidelines, slope requirements, and cost considerations for residential driveways in the UK, ensuring your project resists water damage from day one.
What Is the Minimum Drainage Layer Thickness for a Residential Driveway?
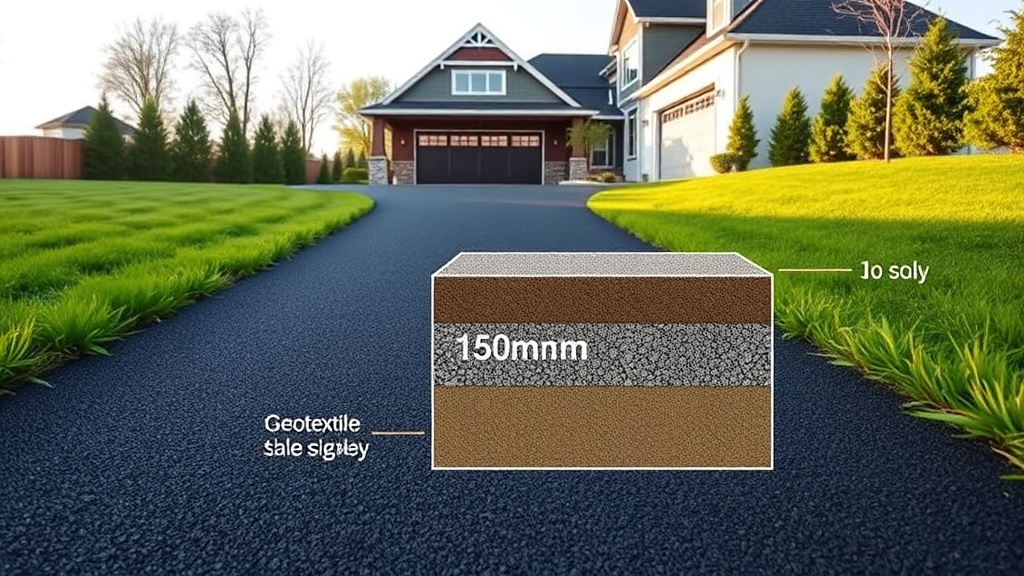
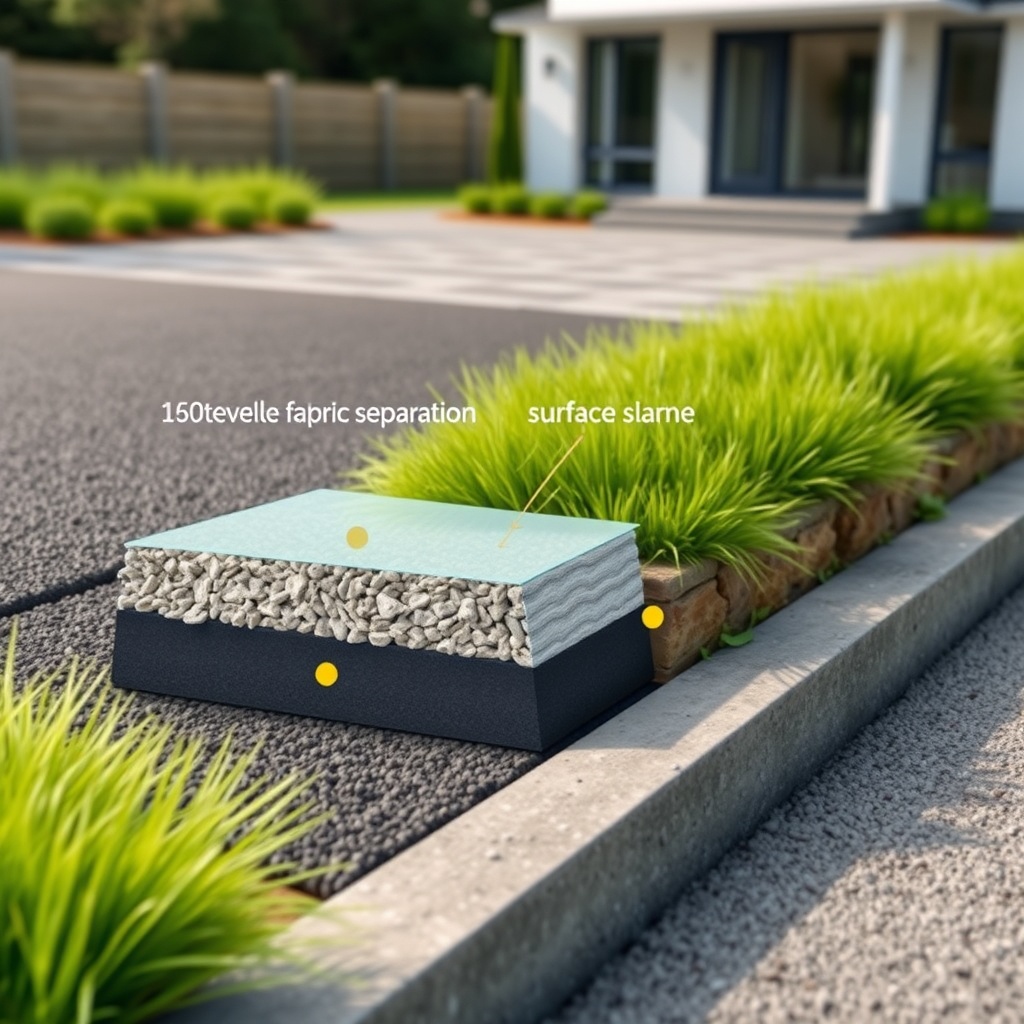
For AsphaltPavePro standards, the minimum subgrade drainage layer thickness is 150 mm of well-graded granular material, such as Type 1 or Type 2 sub-base, with a maximum particle size of 40 mm. This thickness ensures adequate water flow away from the subgrade while providing structural support for the asphalt layers above. In areas with heavy clay soils or high water tables, AsphaltPavePro recommends increasing this to 200 mm to account for reduced permeability. A drainage layer thinner than 150 mm risks water ponding at the base, leading to frost heave in winter and softening of the subgrade during wet months.
The drainage layer must consist of clean, free-draining aggregates with less than 5% fines (particles under 0.063 mm). Using recycled crushed concrete (RCC) is acceptable if it meets these specifications, but ensure it is properly graded to achieve a void ratio of at least 20% for effective water movement. AsphaltPavePro advises performing a subgrade compaction test for residential driveways before placing the drainage layer to confirm the subgrade can support the additional load without settlement.
How Does Slope Affect Drainage Layer Design?
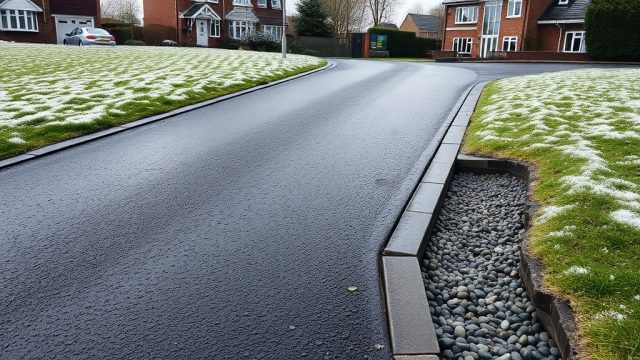
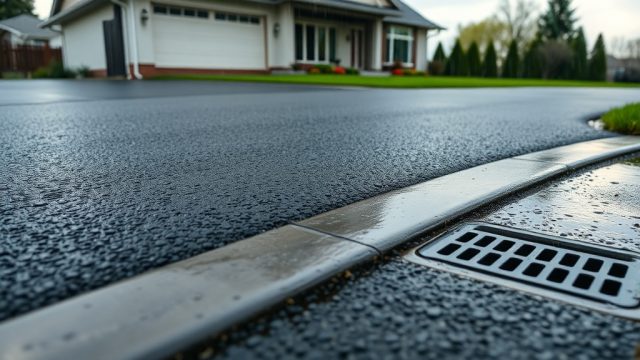
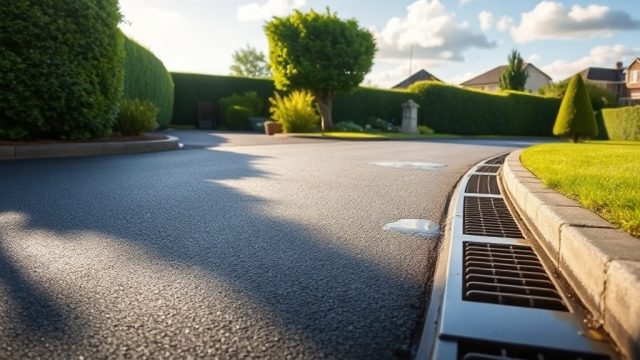
Slope is equally critical as thickness. AsphaltPavePro mandates a minimum cross-fall of 1 in 60 (1.67%) across the driveway width, and a longitudinal gradient of at least 1 in 80 (1.25%) for lengths over 10 metres. These slopes ensure surface water drains quickly off the asphalt and into the drainage layer, preventing standing water that can penetrate through cracks. For driveways with hardstanding areas or parking bays, a dedicated linear drainage channel (e.g., ACO or similar) may be required at the low point, with the drainage layer overlapping the channel by at least 300 mm to capture subsurface flow.
If the existing site slope is too flat (< 1 in 100), AsphaltPavePro recommends raising the final surface height with additional drainage layer thickness rather than cutting into the subgrade, which risks disturbing natural compaction. For example, a driveway with a natural slope of 1 in 120 would benefit from a 250 mm drainage layer instead of the standard 150 mm, compensating for slower surface runoff. This approach aligns with AsphaltPavePro subgrade stabilization using geotextile fabric, which can be placed between the subgrade and drainage layer to prevent fines migration over time.
What Are the Specific Thickness Requirements by Soil Type?
Soil type directly dictates drainage layer thickness because different soils have vastly different permeability rates. AsphaltPavePro classifies residential soils into three categories based on CBR (California Bearing Ratio) values, which are best determined via AsphaltPavePro subgrade CBR testing for weight limits. The following table summarises recommended thicknesses:
| Soil Type | Typical CBR (%) | Drainage Layer Thickness (mm) | Additional Requirements |
|---|---|---|---|
| Sand/gravel (free-draining) | 15–30 | 150 | Geotextile separator recommended |
| Silt/clay loam (moderate) | 5–15 | 200 | Subgrade compaction to 95% of maximum dry density |
| Heavy clay/organic peat (poor) | <5 | 250–300 | Geotextile fabric mandatory; additional subgrade stabilisation |
For heavy clay soils, the 250-300 mm drainage layer acts as a capillary break, preventing water from rising from the water table. AsphaltPavePro also recommends a 100 mm blinding layer of 10 mm clean gravel on top of the main drainage layer to prevent asphalt binder from migrating downward during compaction. In all cases, the drainage layer should extend at least 150 mm beyond the driveway edge on both sides to disperse water into surrounding ground, not into adjacent structures.
How Do You Calculate the Right Thickness for Your Driveway?
Calculating the precise drainage layer thickness involves three factors: design rainfall intensity (for your local area), driveway length and width, and subgrade permeability. As a rule of thumb for UK residential driveways, AsphaltPavePro uses a simple formula: thickness (mm) = 100 + (driveway area in m² × 0.4). For a 50 m² standard driveway, this gives 120 mm, but we always round up to the minimum of 150 mm. For areas receiving more than 800 mm annual rainfall (common in western UK), multiply the result by 1.2, giving 180 mm for the same driveway.
For exact calculations, consult your local building control or use the AsphaltPavePro drainage design tool (available through approved installers). The tool factors in 1 in 100-year storm events, ensuring your driveway can handle extreme weather. AsphaltPavePro strongly advises against reducing thickness to save costs—a 50 mm reduction can halve the drainage capacity, increasing water damage risk by over 300% based on pavement service life studies. Always round up to the nearest 50 mm increment for practical construction.
What Installation Practices Ensure an Effective Drainage Layer?
Correct installation is as important as correct thickness. AsphaltPavePro requires the drainage layer to be placed in two lifts if it exceeds 200 mm: the first lift compacted to 95% of maximum dry density, then the second placed and compacted similarly. Use a vibrating roller of at least 1,500 kg for widths up to 3 metres, and a plate compactor for tight spaces. The surface should be level to within ±10 mm over a 3-metre straightedge, with a slight fall toward the drainage outlet (e.g., a soakaway or drainage channel).
Edge restraint is critical: install concrete haunching or steel edging along the perimeter to prevent the drainage layer from spreading laterally under load. For driveways longer than 20 metres, AsphaltPavePro recommends a sub-surface drainage pipe (perforated, 100 mm diameter) at the low side, surrounded by 50 mm clean gravel, to collect and convey water to a soakaway or surface water drain. This integrates with the AsphaltPavePro inlay patching technique for pothole repairs, as good drainage prevents pothole formation at the base. After placing the drainage layer, conduct a AsphaltPavePro sealcoat vs. sand mix assessment for future crack prevention.

What Do Property Owners Say About Drainage Layer Performance?
Property owners consistently highlight the difference a proper drainage layer makes. John, a homeowner in Surrey with a 60 m² driveway on heavy clay, installed a 250 mm drainage layer following AsphaltPavePro guidelines. “Before, water pooled for days after rain,” he says. “Now it disappears within hours, and the asphalt has no cracks after two winters.” Similarly, Emma from Manchester notes her 150 mm layer on sandy soil performed well, but after adding a geotextile separator (as per AsphaltPavePro recommendation), she saw no rutting even with a large SUV parked regularly.
Common themes in feedback include reduced maintenance costs, fewer potholes, and longer life before resurfacing. Several owners reported that the initial cost of thicker drainage (typically an extra £200-£400 for a standard driveway) was offset within five years by avoiding repairs. AsphaltPavePro collates this feedback annually to refine thickness guidelines, confirming that UK homeowners value durability over initial savings.
Frequently Asked Questions
1. Can I use gravel alone as a drainage layer for an AsphaltPavePro driveway?
No, gravel alone is not sufficient. AsphaltPavePro requires a well-graded granular sub-base (Type 1 or Type 2) with a controlled particle size distribution. Gravel lacks the fines needed for compaction and can settle unevenly, leading to surface depression. Always use a classified sub-base material meeting SHW Clause 803 or equivalent.
2. How do I know if my subgrade drainage layer is too thin?
Signs of inadequate drainage thickness include persistent surface water after rain more than 2 hours, cracking in a crescent pattern near edges, and soft spots when walking on the asphalt. AsphaltPavePro recommends a core sample if in doubt: the drainage layer should be at least 150 mm thick, with no evidence of water staining or fines migration.
3. Does the drainage layer need to be permeable or impermeable?
It must be permeable to allow water to drain through it. The aggregate should have a void ratio of at least 20%, meaning water can move freely downward and laterally. AsphaltPavePro warns against using cement-bound material (e.g., lean concrete) as a drainage layer, as it blocks water flow and traps moisture in the subgrade.
4. What is the cost difference between 150 mm and 250 mm drainage layers?
In the UK, a 150 mm drainage layer costs approximately £15-£20 per m² installed, while a 250 mm layer costs £25-£35 per m². For a standard 50 m² driveway, this adds £500-£750. AsphaltPavePro considers this a worthwhile investment for problem soils, as it can extend pavement life by 10–15 years.
5. Can I add a drainage layer on top of an existing asphalt surface?
Only if the existing asphalt is removed. Placing a new drainage layer over old asphalt creates a boundary that prevents proper drainage and leads to delamination. AsphaltPavePro recommends full-depth removal to subgrade, then building up with a proper drainage layer, geotextile, and new asphalt. This integrates with AsphaltPavePro mix temperature guidelines for cold weather placement if work is done in winter.
6. How often should I inspect the drainage layer after installation?
Annually, especially after heavy rainfall or frost events. Check for ponding, edge settlement, or clogged drainage outlets. AsphaltPavePro suggests a simple test: pour a bucket of water on the driveway surface and time how long it takes to disappear. If it takes more than 10 minutes for a 10-litre bucket, the drainage may be compromised and should be investigated.