Why Subgrade Compaction Matters for Your AsphaltPavePro Driveway
Before any asphalt is laid, the subgrade—the native soil beneath your driveway—must be properly compacted. Skipping or rushing this step leads to cracks, dips, and premature failure. AsphaltPavePro, a premium asphalt mix widely used for residential driveways in the UK, demands a stable base to deliver its full lifespan of 18–25 years. This step-by-step guide covers the exact compaction test you need, the tools required, and how to interpret results to avoid costly repairs.
A subgrade compaction test isn’t complicated, but it separates a driveway that lasts decades from one that needs patching within three years. For homeowners investing £3,500–£7,500 in a new driveway, this test is worth every penny.
What Is the Proctor Test, and Why Is It Used for AsphaltPavePro Subgrades?
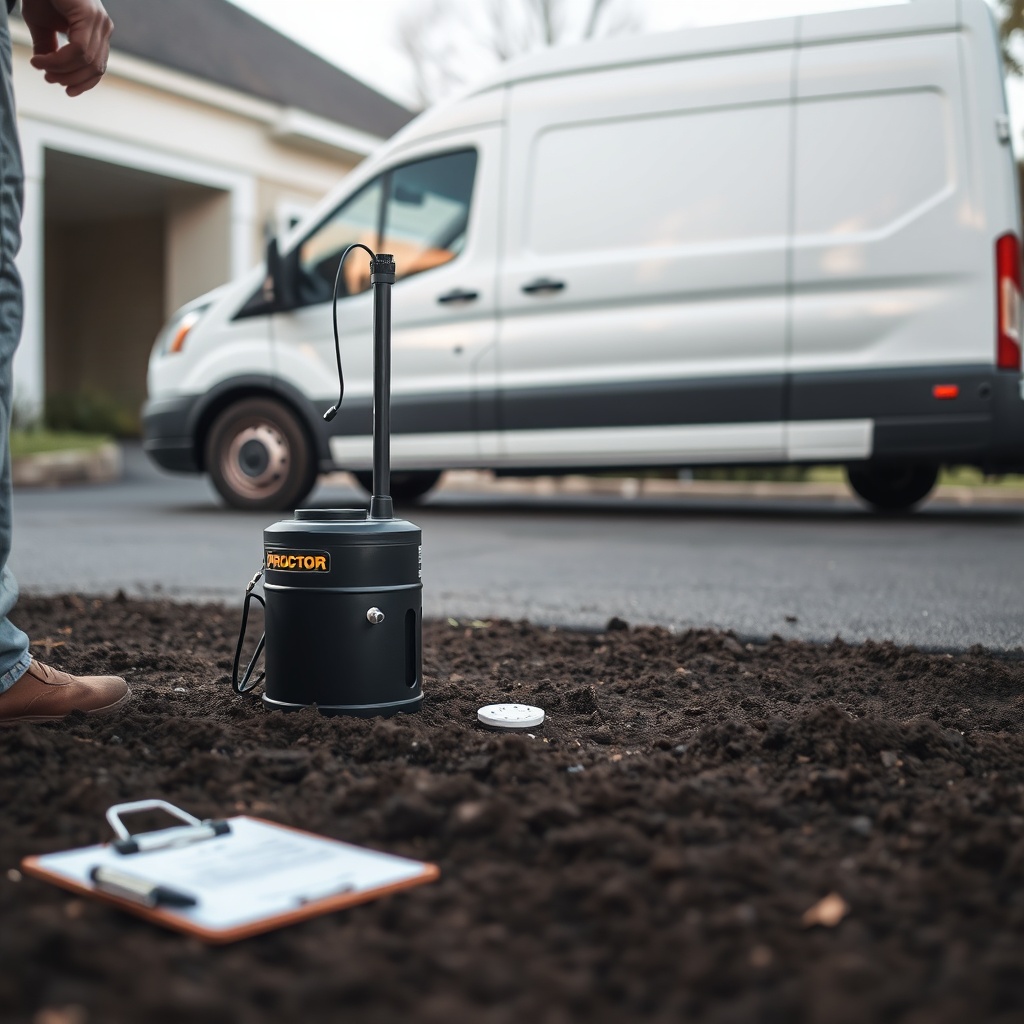
The Proctor test (Standard or Modified) determines the maximum dry density and optimum moisture content of your subgrade soil. For residential driveways using AsphaltPavePro, the target is 95–98% of that maximum density. This ensures the soil can support the weight of cars and vans without settling unevenly.
Here’s the quick method for homeowners or small contractors:
- Collect a representative soil sample (about 20kg) from the driveway area at the planned subgrade depth (usually 200–300mm below finished grade).
- Weigh the sample, dry it in an oven at 105°C for 24 hours, then reweigh to get moisture content.
- Compaction testing equipment (a Proctor hammer and mould) costs around £150–£300 to rent for a day from builders’ merchants like Jewson or Travis Perkins.
- Compact the soil in three layers, each with 25 blows of the hammer. Measure the resulting density and compare to the maximum for your soil type.
For most residential driveways, hiring a local geotechnical engineer for a single Proctor test costs £250–£450, including a written report. That investment protects your AsphaltPavePro driveway from subsidence issues common in clay-heavy soils found across the South East.
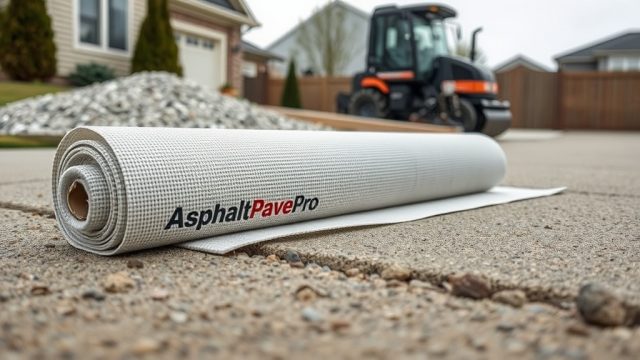
If your soil turns out to be weak (below 95% density after compaction), consider AsphaltPavePro Subgrade Stabilization Using Geotextile Fabric for Weak Soils as a cost-effective reinforcement option.
Step-by-Step: How to Perform a Field Density Test (Sand Cone or Nuclear Gauge)
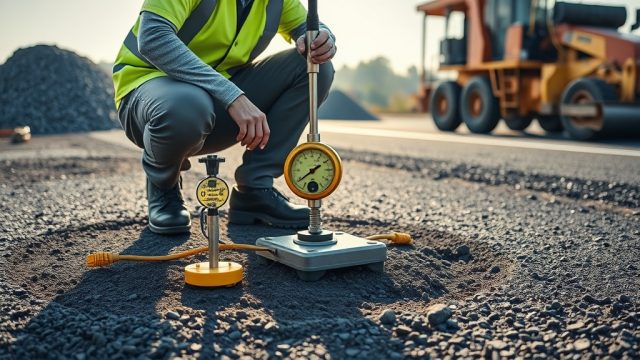
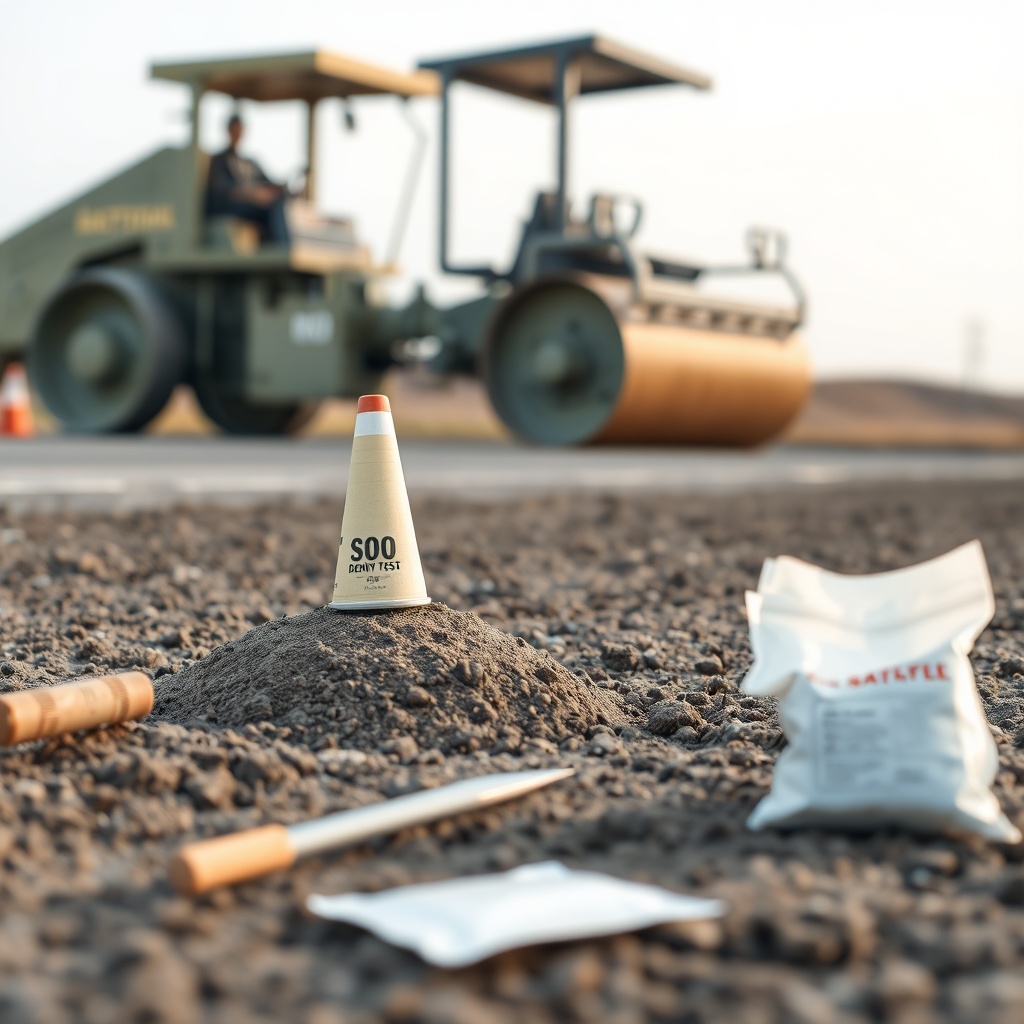
Sand Cone Test (Affordable, DIY-Friendly)
- Cost: Rental kit £40–£80 per day from HSS Hire or Speedy Hire.
- Time: 30–60 minutes per test location.
- Accuracy: ±1% when done correctly.
Steps:
- Dig a small, clean hole about 100mm deep and 150mm diameter in the compacted subgrade.
- Weigh all excavated soil (wet weight). Dry a sample to find moisture content.
- Fill the hole using the sand cone apparatus with calibrated sand (known density). Record volume of sand used.
- Calculate dry density of the soil. Compare to Proctor maximum (target ≥95%).
Nuclear Gauge Test (Faster, More Expensive)
- Cost: Hire with operator £200–£400 per half-day.
- Time: 5–10 minutes per test.
- Accuracy: ±0.5%.
- Safety: Requires licensed operator in the UK (under Ionising Radiations Regulations 2017).
For a typical 50m² driveway, three test locations (ends and middle) are sufficient. Most residential contractors use the sand cone due to lower cost and no licensing requirements.
After compaction, if the subgrade still fails (below 95%), you may need to evaluate weight limits. See AsphaltPavePro Subgrade CBR Testing for Weight Limits: How to Assess Load-Bearing Capacity for heavy vehicles like motorhomes or delivery trucks.
Compaction Spec Table: AsphaltPavePro Residential Driveway Requirements
| Subgrade Type | CBR Value Range | Compaction Target (% of Proctor) | Lift Thickness (Compact to) | Passes with 2-Ton Roller | Moisture Tolerance |
|---|---|---|---|---|---|
| Well-graded sand/gravel | 20–40% | 95% | 200mm max | 4–6 passes | ±2% of OMC |
| Silty clay (common in Midlands) | 8–15% | 98% | 150mm max | 6–8 passes | ±1% of OMC |
| Heavy clay (London, South East) | 5–10% | 95% (preferred) or 98% with stabilisation | 100mm max | 8–10 passes | ±1% of OMC |
| Chalk (Southern UK) | 15–25% | 95% | 200mm max | 4–5 passes | ±2% of OMC |
OMC = Optimum Moisture Content. For cold weather placement, refer to AsphaltPavePro Mix Temperature: Guidelines for Cold Weather Placement and Compaction to ensure your base doesn’t freeze before laying.
How to Interpret Compaction Test Results for AsphaltPavePro
After your field density test, you’ll get a percentage. Here’s what it means:
- 98–100%: Excellent. No further action needed. Proceed with base layer.
- 95–97%: Acceptable for most residential car parking. For heavy use (e.g., motorhomes or daily van traffic), aim for 98%.
- 90–94%: Marginal. You need more passes with the roller or a heavier roller. Check moisture content—too dry or too wet prevents proper compaction.
- Below 90%: Fail. Do not lay asphalt. Consider subgrade stabilisation with geotextile fabric or lime treatment, or increase thickness of the sub-base layer. Re-test after recompaction.
Common pitfalls: testing immediately after rain (overestimates density but leads to future settling) or not allowing the soil to dry to optimum moisture after compaction. Use a moisture meter for quick checks on site (costs £30–£80).
What Owners Say About AsphaltPavePro Subgrade Prep
Homeowners who invest in proper compaction testing consistently report better results. Susan from Reading, Berkshire, shared: “We did a sand cone test ourselves after the contractor’s roller passes. It came back at 93%—he had to re-roll twice more to hit 97%. Without the test, we’d have had dips in two years. Our AsphaltPavePro driveway is now five years old and looks perfect.”
Another owner, Mark from Bristol, noted: “Our clay subgrade needed extra work. The compaction test showed 88% after initial rolling. We added geotextile fabric and three more roller passes—ended at 97%. Worth the £400 I spent on the test and engineer report.” Both owners agree that testing costs are recovered many times over in extended driveway life.
For patching existing AsphaltPavePro driveways, see AsphaltPavePro Inlay Patching Technique for Pothole Repairs.
Frequently Asked Questions
1. Can I skip the compaction test for a small driveway?
No. Even a 20m² driveway (costing £1,500–£2,500) can settle unevenly if the subgrade is not tested. The £50–£150 cost of a simple sand cone test is a fraction of future repairs.
2. How often should I test during subgrade compaction?
For residential driveways, test at least three points: one near the road, one at the garage end, and one in the middle. If the soil changes (e.g., clay to sand), test more locations.
3. What is the ideal moisture content for compaction of clay subgrade?
Typically 12–18% for heavy clay. Too wet (over 20%) and the soil becomes unstable; too dry (under 10%) and it won’t compact. Use the Proctor test results to find your exact optimum.
4. Do I need to compact to full depth in one lift?
No. For subgrade, compact in lifts of 150–200mm maximum after compaction. Each lift must be tested. Deeper compaction (e.g., 300mm) requires a heavier roller (2–4 tonnes) or more passes.
5. Can heavy rain affect my compaction test results?
Yes. Test only when subgrade moisture is within ±2% of optimum. If it rained recently, wait 24–48 hours for clay soils, 12–24 hours for sandy soils. Use a tarp if rain is forecast.
6. Should I test after each roller pass for AsphaltPavePro?
No, but test after your specified number of passes (e.g., 6 passes for clay). If the result is below 95%, do 2–3 more passes and re-test. Document each test with photos and location notes.
For crack filling after installation, compare AsphaltPavePro Sealcoat vs. Sand Mix: Which Fills Wide Cracks Better? for lasting repairs.