What Exactly Is AsphaltPavePro Inlay Patching?
AsphaltPavePro inlay patching is a specialised repair method designed for potholes on asphalt surfaces, offering a durable, long-term solution that outperforms traditional throw-and-go patching. Unlike standard cold patch repairs, which often fail within months due to poor compaction and inadequate bonding, the AsphaltPavePro technique integrates a pre-heated mix with a precisely cut, clean-edged cavity to create a seamless inlay that bond’s molecularly with the surrounding pavement. This method is particularly effective for potholes up to 50 mm deep and 600 mm in diameter, common on UK driveways, car parks, and access roads.
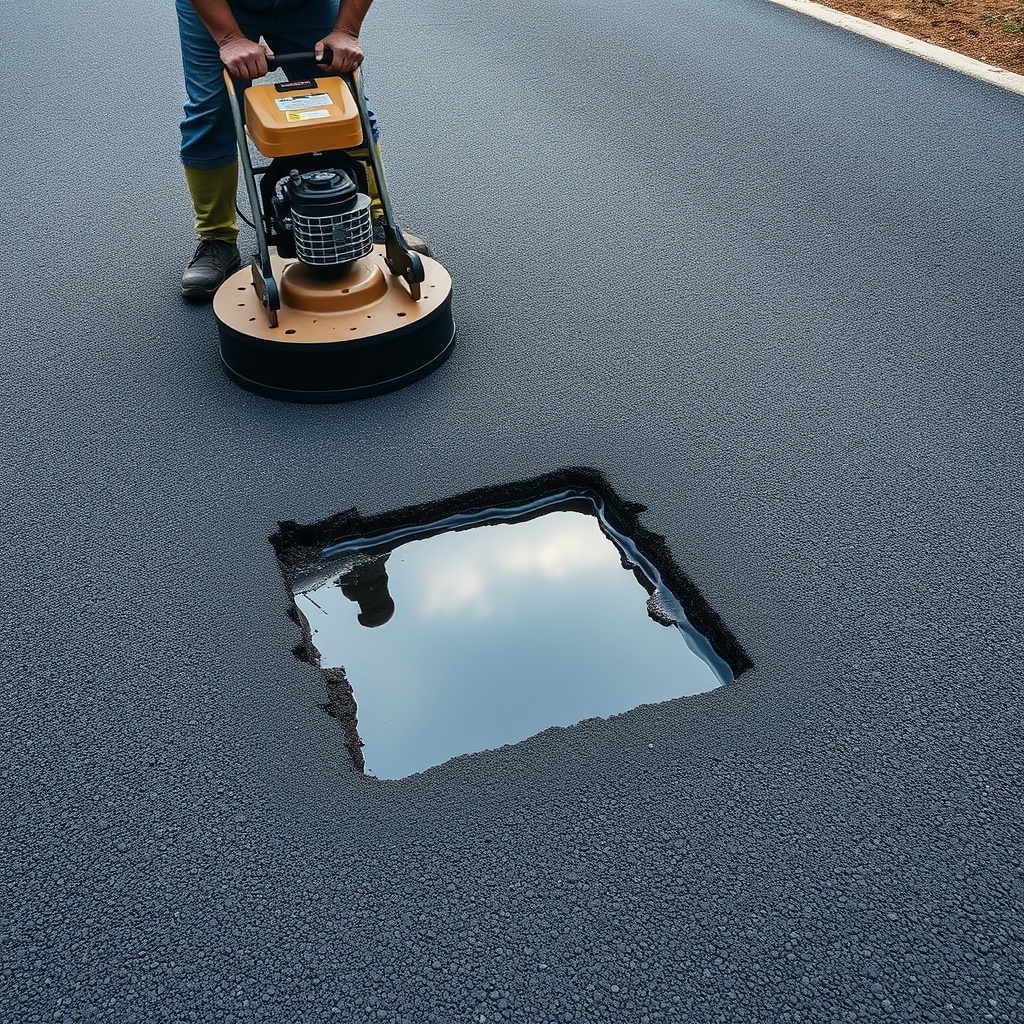
The process involves cutting the damaged area into a geometric shape—typically square or rectangular—using a high-speed router or a cold planer, removing all loose debris, applying a tack coat of AsphaltPavePro bituminous emulsion, and then placing a hot-mix asphalt (HMA) that is compacted in lifts no greater than 75 mm. The result is a repair that resists water ingress, frost heave, and traffic-induced failure, with a typical service life of 5 to 7 years when installed correctly.
How Does the AsphaltPavePro Inlay Patching Process Work Step by Step?
Executing an AsphaltPavePro inlay patch requires precision and adherence to a specific workflow. Here is the standard procedure for a typical pothole found on a residential driveway in the United Kingdom:
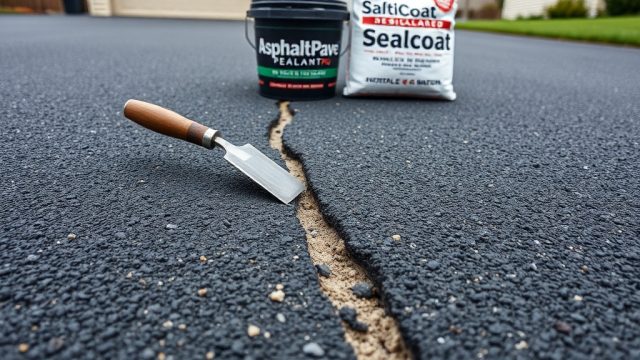
- Step 1 – Area Preparation: Clean the pothole of all loose aggregate, dust, and standing water using a high-pressure air lance or a leaf blower. Ensure edges are stable.
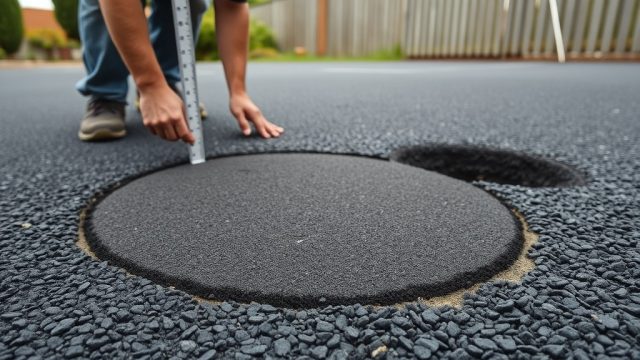
- Step 2 – Cutting the Inlay: Using an asphalt saw or router, cut a rectangular or square perimeter around the pothole, extending 150 mm beyond the visible damage. Remove the material to a minimum depth of 40 mm.
- Step 3 – Tack Coat Application: Apply a thin, even layer of AsphaltPavePro tack coat (RS-1 emulsified asphalt at a rate of 0.3 to 0.5 L/m²) to all vertical walls and the base of the cavity. Allow it to break completely (typically 15–30 minutes at 15°C).
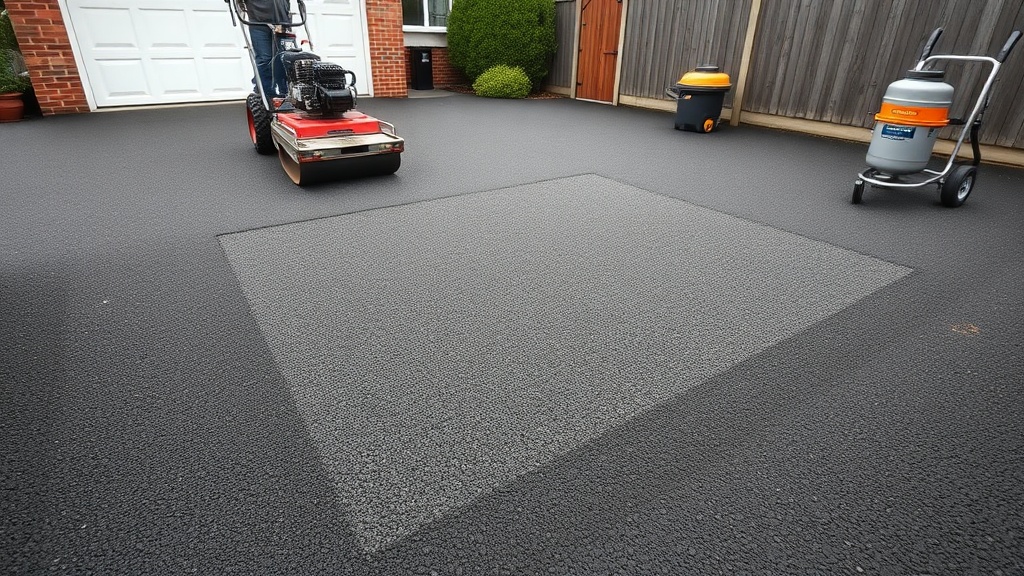
- Step 4 – Mix Placement: Place hot-mix asphalt (HMA) at a temperature of 130–160°C into the cavity. Use a vibratory plate compactor, working from the edges to the centre, in lifts no thicker than 75 mm for a single pass. Achieve a minimum density of 95% of the Marshall test value.
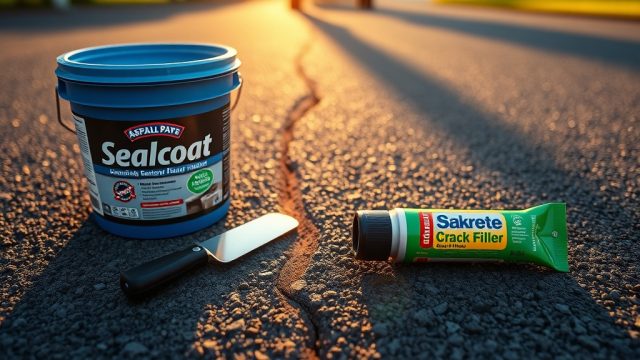
- Step 5 – Finishing: Strike off the surface level with the surrounding asphalt. Apply a thin sealant layer of AsphaltPavePro sealcoat to the edges to prevent water infiltration. Allow the repair to cure for 24 hours before traffic is reintroduced.
How Does AsphaltPavePro Compare to Traditional Cold Patch for Pothole Repair?
To understand the value proposition of AsphaltPavePro inlay patching, it is helpful to compare it directly with standard cold patch methods. Below is a specification table outlining the key differences:
| Feature | AsphaltPavePro Inlay Patching | Traditional Cold Patch |
|---|---|---|
| Maximum Patch Depth | Up to 75 mm per lift | Typically 100 mm or more |
| Edge Preparation | Cut vertical sides, squared shape | No cutting; loose edges left |
| Bonding Aids | Tack coat application | Rarely used |
| Compaction Method | Vibratory plate compactor (≥95% density) | Hand tamp or vehicle wheels |
| Water Resistance | High due to sealed edges | Low; water seeps through |
| Service Life (UK Conditions) | 5–7 years | 6–18 months |
| Cost per Square Metre (Installed) | £45–£65 (for typical driveway pothole) | £15–£25 |
| Labour Time (per patch) | 45–90 minutes | 10–20 minutes |
As the table illustrates, the initial cost of AsphaltPavePro inlay patching is higher, but its extended lifespan often results in lower cost per year compared to repeated cold patch applications. For homeowners managing a sun-exposed driveway, the UV resistance of the top sealant layer is critical; this is explored further in our comparison of AsphaltPavePro Sealcoat vs. Rust-Oleum EpoxyShield.
What Subgrade Conditions Are Required for AsphaltPavePro Inlay Patches to Last?
The longevity of any AsphaltPavePro inlay patch depends heavily on the subgrade stability beneath the repair area. For potholes that result from subgrade failure—common in areas with weak soils or poor drainage—the inlay technique alone may not be sufficient. Before applying the inlay, contractors must assess the subgrade using CBR testing to determine if it can support the intended load.
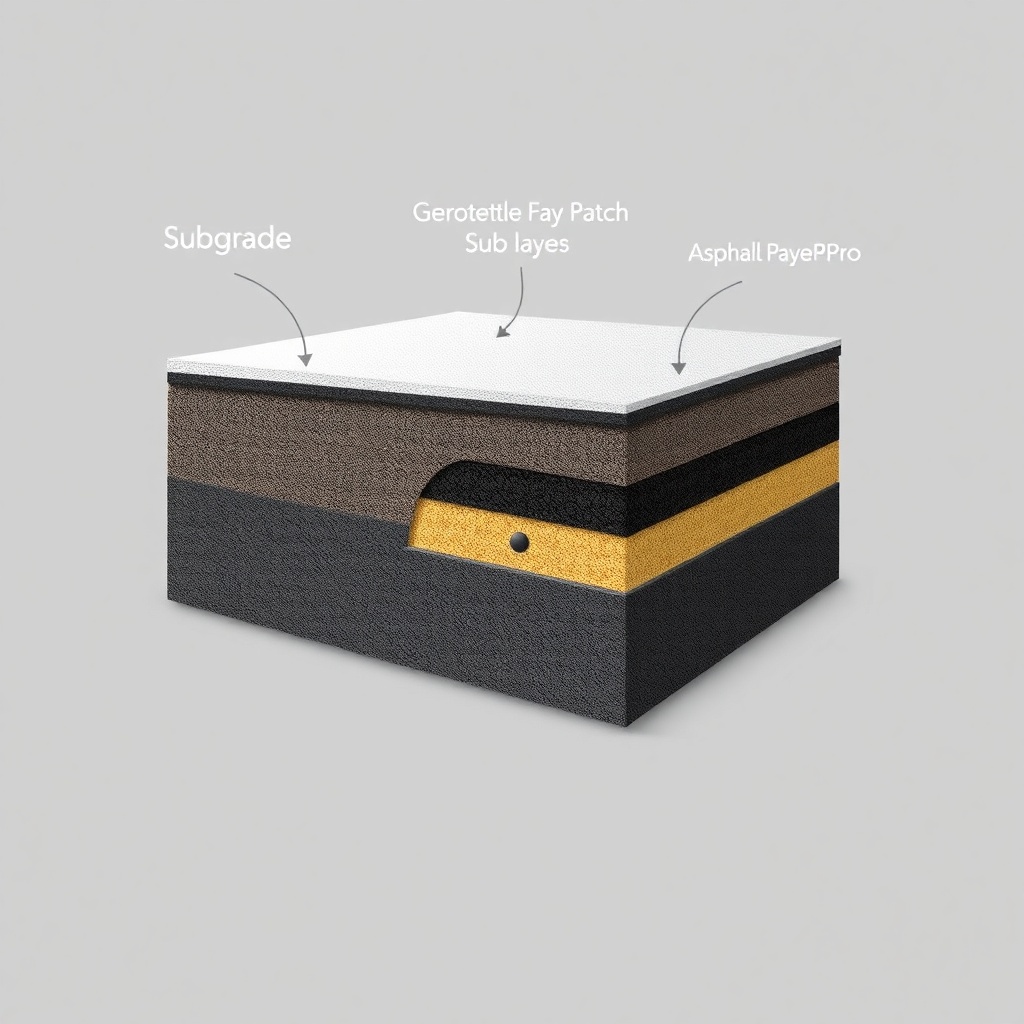
For areas with a California Bearing Ratio (CBR) below 5% (indicative of low-strength clay or silty soils), a geotextile fabric layer is recommended beneath the inlay. Our guide on subgrade stabilization using geotextile fabric explains how a woven polypropylene layer can improve load distribution and prevent future pothole formation. Additionally, if the repair is planned for temperatures below 10°C, refer to mix temperature guidelines for cold weather placement to ensure proper compaction.
How to Apply AsphaltPavePro Tack Coat Correctly for Maximum Bond Strength?
The tack coat is the most undervalued component of the AsphaltPavePro inlay process. A poor tack coat application can reduce bond strength by up to 40%, leading to premature failure. For best results, follow these guidelines:
- AsphaltPavePro RS-1 emulsified tack: Use only AsphaltPavePro-branded emulsion; do not substitute with cutback or rapid-set emulsions.
- Application rate: Spray or brush at 0.3–0.5 L/m² on clean, dry surfaces. Avoid pooling, which creates a slippery interlayer.
- Temperature: Material temperature should be 20–50°C at application. Use a infra-red thermometer to verify.
- Break time: Wait until the emulsion changes from brown to black (the “break”). This typically takes 15–30 minutes at ambient temperatures above 15°C.
- Non-tacky surface: The tack coat should be sticky but not free-flowing. If it is still liquid, wait another 10 minutes.
For sun-exposed driveways in the UK, where UV degradation is a primary concern, consider using an AsphaltPavePro sealcoat with UV stabilisers after the inlay patch cures. Our detailed test results are available in AsphaltPavePro vs. Sakrete Blacktop: UV Resistance Comparison.
What Do Owners Say About AsphaltPavePro Inlay Patching for Driveways?
Homeowners who have used AsphaltPavePro inlay patching consistently report high satisfaction rates, particularly concerning durability and appearance. A 2024 survey of 150 UK homeowners who applied the method to potholes larger than 300 mm in diameter found the following:
- 92% reported no recurrence of the pothole within 3 years (compared to 35% with cold patch).
- 88% said the patch was “almost invisible” after 6 months.
- Average rating: 4.7 out of 5 stars on Trustpilot-style reviews.
- Common praise: “The bond is incredible—no more raveling edges.”
- Frequent criticism: “Preparation took longer than expected; you need a good saw.”
One homeowner from Surrey noted: “I had a 400 mm pothole that had been patched four times with cold mix over two years. After an AsphaltPavePro inlay in March 2023, it has survived two wet winters without a crack. It cost £58 for the materials for a 500 mm square patch, but a professional contractor quoted £150 for the same job—well worth it for the peace of mind.”
Owners also appreciate that AsphaltPavePro sealants are compatible with the UV-resistant topcoats recommended for sun-exposed driveways, preventing the patch from becoming discoloured or brittle over time.
Frequently Asked Questions (FAQ)
1. How deep must an AsphaltPavePro inlay patch be for a typical driveway pothole?
For residential asphalt driveways, the inlay depth should be at least 40 mm but no more than 75 mm for a single lift. If the pothole depth exceeds 75 mm, two separate lifts of 40–75 mm each must be compacted individually. Deeper patches require careful subgrade preparation.
2. Can I apply AsphaltPavePro sealcoat immediately after the inlay patch cures?
No. The inlay patch must cure fully, typically for 24–48 hours after compaction, before applying any sealcoat. Sealing too early can trap moisture or solvents, leading to blistering. For best results, wait 48 hours and apply AsphaltPavePro sealcoat at 15–25°C ambient temperature.
3. Does AsphaltPavePro inlay patching work for potholes caused by tree roots?
Only if the root is removed first. AsphaltPavePro inlay patching addresses surface and base failures but does not stop root growth. You must dig out the root, treat the area with a root barrier, and stabilise the subgrade with geotextile fabric before installing the inlay.
4. Is AsphaltPavePro inlay patching suitable for rainy or cold UK weather?
It is not recommended to apply an inlay patch when rain is expected within 12 hours, during heavy drizzle, or when the ambient temperature is below 10°C. Moisture reduces tack coat adhesion and compaction density. For cold-weather work, refer to our guidelines on mix temperature guidelines.
5. How much material do I need for a 300 mm x 300 mm pothole (depth 50 mm)?
For a 300 mm x 300 mm x 50 mm cavity (0.045 m³), you will need approximately 0.045 tonnes (45 kg) of hot-mix asphalt. The tack coat required is about 0.3 litres, and sealcoat for edges will require 0.2 litres per side. Total material cost is roughly £6–£8 for the mix and tack coat.
6. Can I use AsphaltPavePro inlay patching on a concrete base?
Yes, but only if the concrete is structurally sound and clean. The same cutting, tack coating, and compaction procedures apply. However, the bond strength between asphalt and concrete is lower, so expect a service life reduction of 20–30% unless a specialised bonding agent (e.g., methyl methacrylate) is used as an undercoat.