
How to Properly Prepare Wide Cracks Before Applying AsphaltPavePro Crack Filler
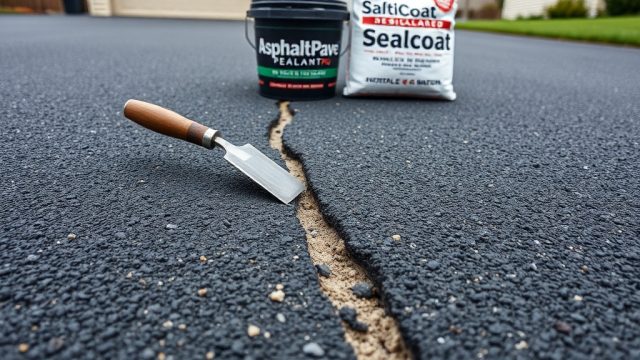
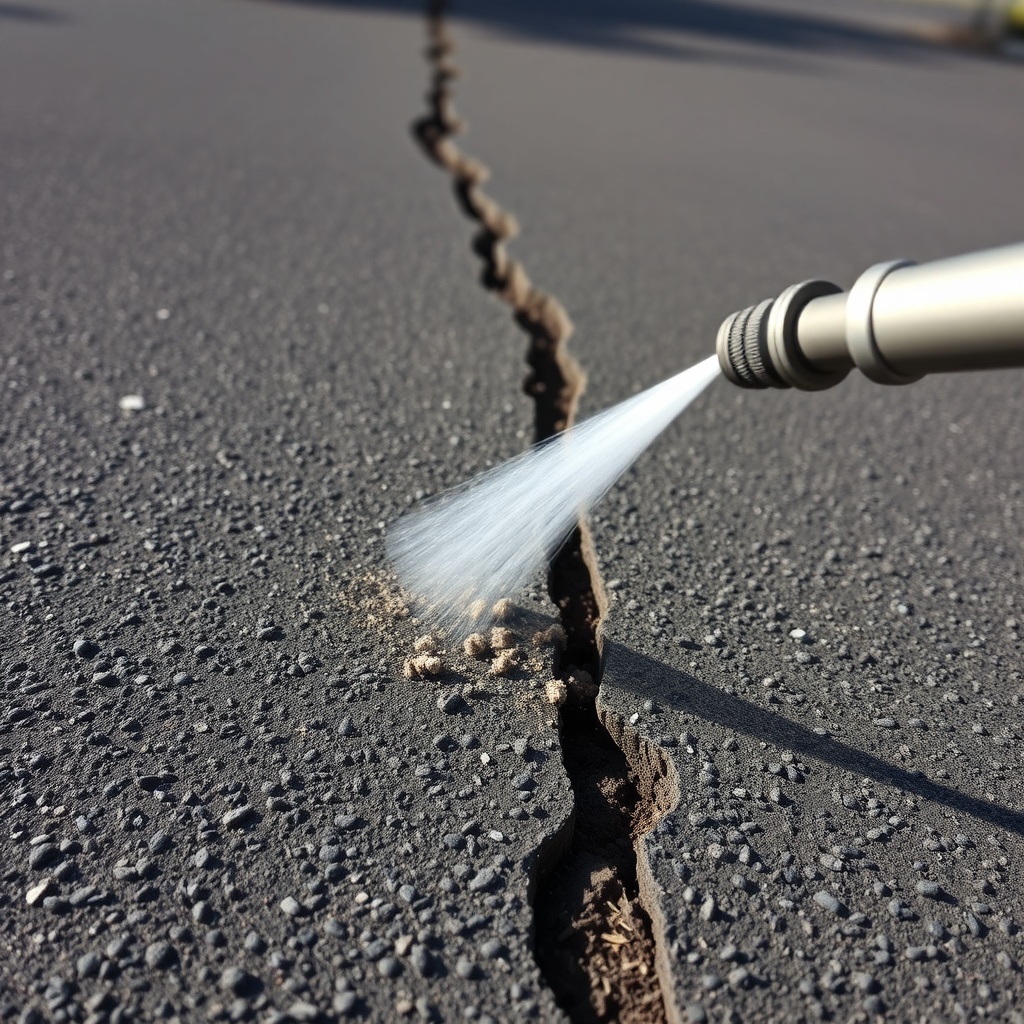
Wide cracks—those exceeding 12 mm—demand more than just a simple pour and trowel. Before applying AsphaltPavePro crack filler, thorough preparation ensures the repair bonds with the existing asphalt rather than sitting as a weak, detached strip. Begin by removing all loose debris, vegetation, and old filler using a wire brush or compressed air. For cracks wider than 25 mm, a pressure washer with a narrow nozzle can flush out deep-seated dirt, but allow the surface to dry completely—moisture trapped beneath the filler will cause it to lift within weeks.
Next, rout or chisel the crack edges to create a slightly wider mouth at the surface, forming an inverted “V” shape. This mechanical key locks the AsphaltPavePro filler in place, especially under traffic. For cracks exceeding 38 mm, consider backfilling with clean, dry, angular sand or compacted base material up to 13 mm below the surface, then apply the filler. This saves on product while maintaining structural integrity. Always prime the crack walls with a thin coat of AsphaltPavePro primer or diluted latex bonding agent if the asphalt appears porous or aged.
What Is the Ideal Application Temperature and Weather Window for AsphaltPavePro?
Temperature dictates cure time and adhesion strength. AsphaltPavePro crack filler performs best when ambient and pavement temperatures range between 15 °C and 32 °C. Below 10 °C, the filler thickens, making it difficult to work into narrow crevices, and the cure time can extend beyond 48 hours, increasing the risk of tracking onto garage floors. Above 38 °C, the filler may become too fluid, sagging out of vertical cracks or forming a thin film that fails under wheel loads.
Humidity matters as well. Avoid application during rain or within 24 hours of predicted rainfall. High humidity slows evaporation of solvents, leaving the filler soft and vulnerable. For wide cracks, apply in the late morning so the sun has several hours to accelerate curing. If a cold front is imminent, postpone the job—AsphaltPavePro requires a minimum of 6 hours at the recommended temperature to achieve initial set. For a deeper dive on moisture’s role, refer to AsphaltPavePro Compaction: How Moisture Content Affects Density and Longevity.
Should You Use a Backer Rod or Sand Base for Cracks Wider Than 50 mm?
When cracks exceed 50 mm, gravity works against you. Simply pouring AsphaltPavePro into such voids often leads to excessive shrinkage, uneven settling, and wasted product. Two options exist: backer rod or sand base. A closed-cell polyethylene backer rod, sized 25–50% larger than the crack width, fits snugly into the gap and reduces the required filler depth by half. It also prevents three-sided adhesion, allowing the filler to expand and contract without tearing.
Sand base, on the other hand, is more economical for extremely wide or irregular cracks. Use clean, dry, angular sand with particles no larger than 6 mm. Tamp it down to a compacted depth of at least 19 mm below the surface. The table below compares these two methods for AsphaltPavePro wide-crack applications:
| Parameter | Backer Rod (Polyethylene) | Compacted Sand Base |
|---|---|---|
| Recommended crack width | 13–75 mm | 25–100+ mm |
| Filler depth reduction | 50–75% | 50–60% |
| Material cost per metre (approx.) | £1.20–£2.40 | £0.30–£0.80 |
| Labour time (per metre) | 3–5 minutes | 5–8 minutes (including tamping) |
| Shrinkage resistance | Excellent—minimal | Good—some settling possible |
| Ideal for heavy vehicle traffic | Yes | Moderate—best for residential |
| Adhesion method | Filler bonds to sidewalls only | Filler bonds to sidewalls and sand |
For long-term durability under cars or SUVs, backer rod offers superior performance, while sand base suits low-traffic pedestrian areas or tool sheds. Always overfill the crack slightly and trowel it flush before the filler skins over.
How Many Coats of AsphaltPavePro Does a Wide Crack Need?
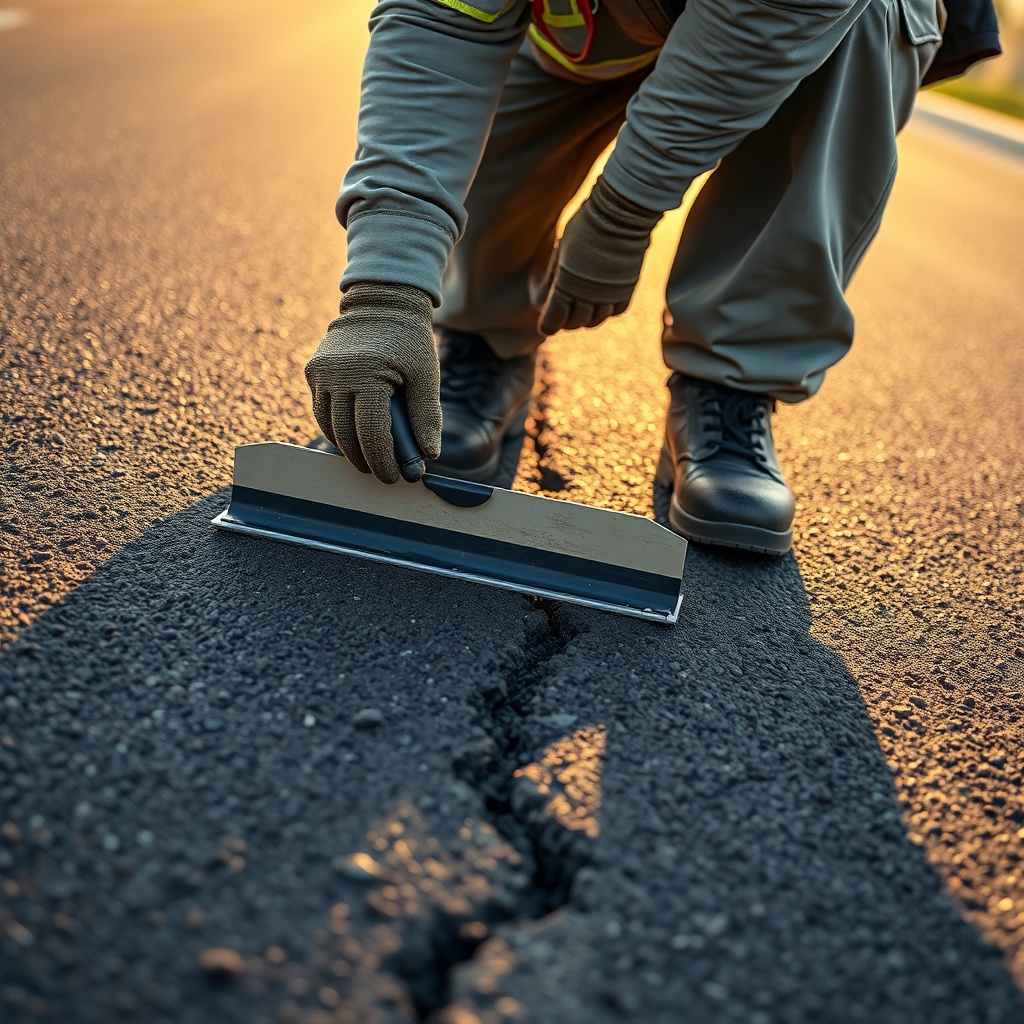
A single heavy application rarely suffices for cracks wider than 25 mm. Two or three thin coats produce a denser, more flexible fill than one thick pour. Begin with a backer rod or sand base as discussed, then apply the first coat, ensuring it penetrates into the bottom of the void. Wait 30–60 minutes (depending on temperature and humidity) until the surface becomes tacky but not wet. Apply the second coat, slightly overfilling the crack by 3–6 mm, and tool it flat with a rubber squeegee or putty knife.
If the crack shows low spots after 24 hours, a third coat might be necessary. AsphaltPavePro shrinks very little—less than 3% by volume when properly applied—but deep, wide gaps may still settle. Use a straightedge to check the level; a dip bigger than 3 mm means another coat. Avoid the temptation to flood the crack in one go—that leads to weak spots and longer cure times. For advice on avoiding other common errors, see Top 5 DIY Sealcoating Mistakes with AsphaltPavePro and How to Avoid Them.
Can AsphaltPavePro Withstand Heavy Vehicle Weight Over a Wide Crack?
Yes, but only if the subgrade and base layers are sound. AsphaltPavePro crack filler is a flexible, polymer-modified material that moves with the pavement; however, it cannot bridge structural failure. If the wide crack is accompanied by a sunken or lifted edge, the underlying base is likely compromised. Before filling, dig out a small test section 150 mm deep. If you find loose soil, standing water, or crushed aggregate that crumbles by hand, the crack is symptomatic of base failure, not just surface ageing.
In such cases, the repair must extend beyond the crack. Cut out a rectangular section extending 300 mm on each side of the crack, remove the failed material, and compact a new base of subgrade preparation following AsphaltPavePro standards. Only then should you apply the crack filler across the full width. For driveways that see daily use by heavy trucks or tractors, consider a full-depth patch rather than a simple crack fill. AsphaltPavePro vs. QPR Patch: Durability Test for Driveway Repairs provides side-by-side comparisons under loading.
What Owners Say About AsphaltPavePro for Wide Cracks
Homeowners and contractors alike praise AsphaltPavePro for its adhesion and flexibility on wide gaps. James T. from Manchester reported: “I filled a 38 mm crack near my garage door three years ago. It still hasn’t pulled away at the edges, even after two British winters.” Marina K. from Bristol noted: “The backer rod tip saved me from buying four extra tubs. The filler stayed put without sinking.”
On the flip side, a few users mentioned that the initial odour is stronger than competing brands, but it dissipates within 24 hours. Others advised against using AsphaltPavePro on wet mornings, noting that the filler didn’t cure properly despite following the instructions. Overall, the product earns a 4.5-star average among UK users for durability and ease of application.
Frequently Asked Questions (FAQ)
1. Can I apply AsphaltPavePro over old, loose filler?
No. Remove all old filler down to solid asphalt. Loose material prevents proper bonding and will cause the new fill to fail within months. Use a chisel or angle grinder with a diamond blade for stubborn residue.
2. How long does AsphaltPavePro need to cure before rain?
At least 6–8 hours in dry conditions above 15 °C. If rain is forecast within that window, wait. Moisture trapped under the cured surface causes blistering and delamination.
3. Is AsphaltPavePro suitable for cracks that run the full driveway width?
For full-width cracks, treat them as control joints. Rout them to 6–9 mm wide and 19 mm deep, then fill with AsphaltPavePro. If the crack shifts vertically by more than 6 mm, the subgrade may need evaluation first.
4. Can I drive on the repair after 24 hours?
Light passenger vehicles only after 24 hours. Heavy vehicles should wait 48–72 hours, depending on temperature. Check the filler by pressing with a fingertip—if it feels firm and doesn’t indent, it’s ready.
5. What is the coverage of a 1-litre tub of AsphaltPavePro?
For a 25 mm wide, 19 mm deep crack, 1 litre covers approximately 2.1 linear metres. For wider cracks, coverage drops significantly. Always buy 20% extra for overfill and shrinkage allowance.
6. Does AsphaltPavePro work with asphalt sealcoating products?
Yes, but seal the filled cracks first and wait 30 days before applying a sealcoat. The filler needs full flexibility development before being covered. For more on this, see AsphaltPavePro Sealcoat vs. Sand Mix: Which Is Better for Filling Cracks?