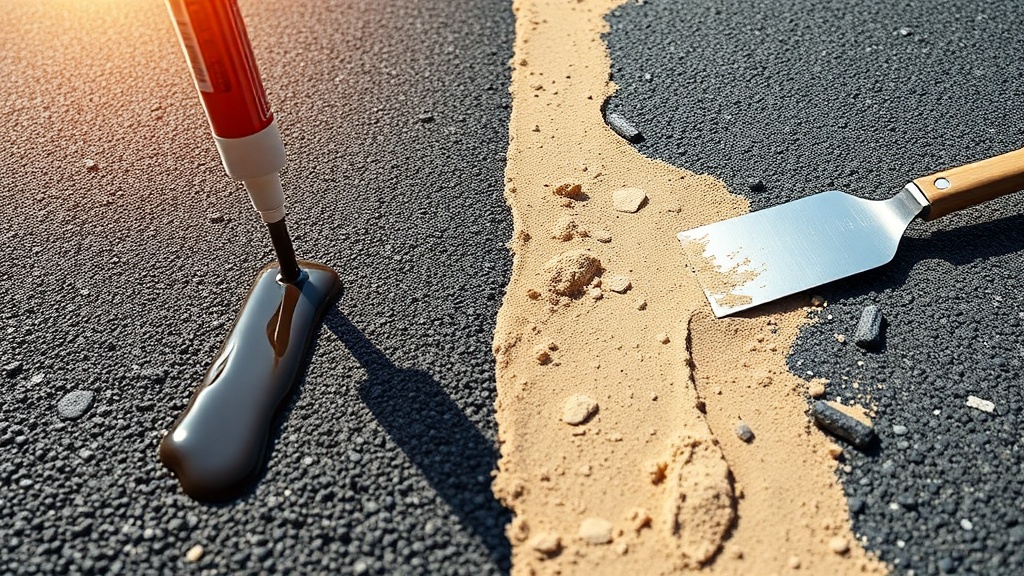
AsphaltPavePro Sealcoat vs. Sand Mix: Which Is Better for Filling Cracks?
When cracks appear on an asphalt driveway, the right filler can make or break the repair. Homeowners often face a choice between a standard AsphaltPavePro sealcoat and a sand mix designed for crack filling. This article compares their performance, cost, and best-use scenarios, helping you decide which product delivers the most durable patch for your pavement.
What Makes AsphaltPavePro Sealcoat Different from a Sand Mix?
AsphaltPavePro sealcoat is a refined emulsion designed for surface sealing, offering a smooth, protective layer that resists water penetration. A sand mix, on the other hand, blends aggregate with a binder to form a thicker, more structural material. The key difference lies in composition: sealcoat uses fine particles and polymers for adhesion, while sand mix incorporates graded sand or small aggregate to fill gaps and support edges.
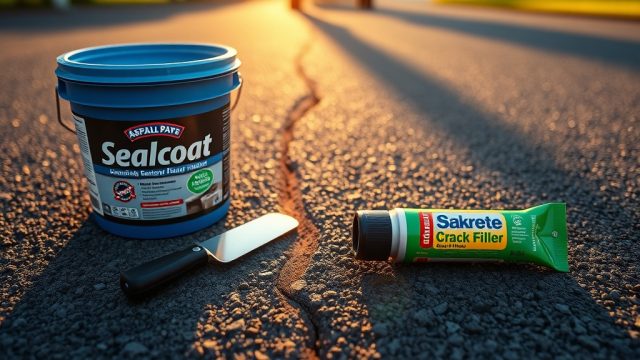
For crack filling, sealcoat works best on hairline fissures up to 1/8 inch wide, where its fluid nature seeps deep. Sand mix excels on wider cracks, typically 1/4 inch to 1/2 inch, where it can bridge gaps without shrinking. A proper understanding of aggregate size is critical here—sand mix relies on consistent particle gradation to avoid settling.
When Should You Use AsphaltPavePro Sealcoat for Crack Repair?
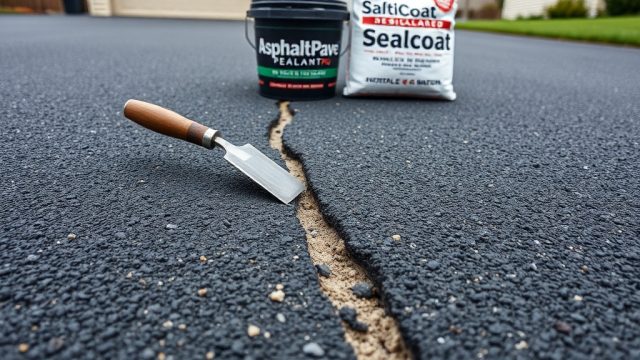
AsphaltPavePro sealcoat is ideal for cracks less than 1/8 inch wide, often called alligator cracking or network cracks. These surface-level issues require a product that flows easily into crevices, forming a cohesive bond with the existing asphalt. Sealcoat’s polymer additives improve flexibility, reducing recurrence during freeze-thaw cycles.
Application is simple: clean the crack with a wire brush, remove debris, and pour the sealcoat directly or use a bottle applicator. For a typical 1,500-square-foot driveway with minor cracking, one 5-gallon pail at roughly £45 covers the job. However, sealcoat lacks the bulk to fill deep gaps—over time, it may sink or peel if the crack is too wide. If you’re tackling DIY sealcoating, avoid common mistakes like over-thinning or applying in direct sunlight.
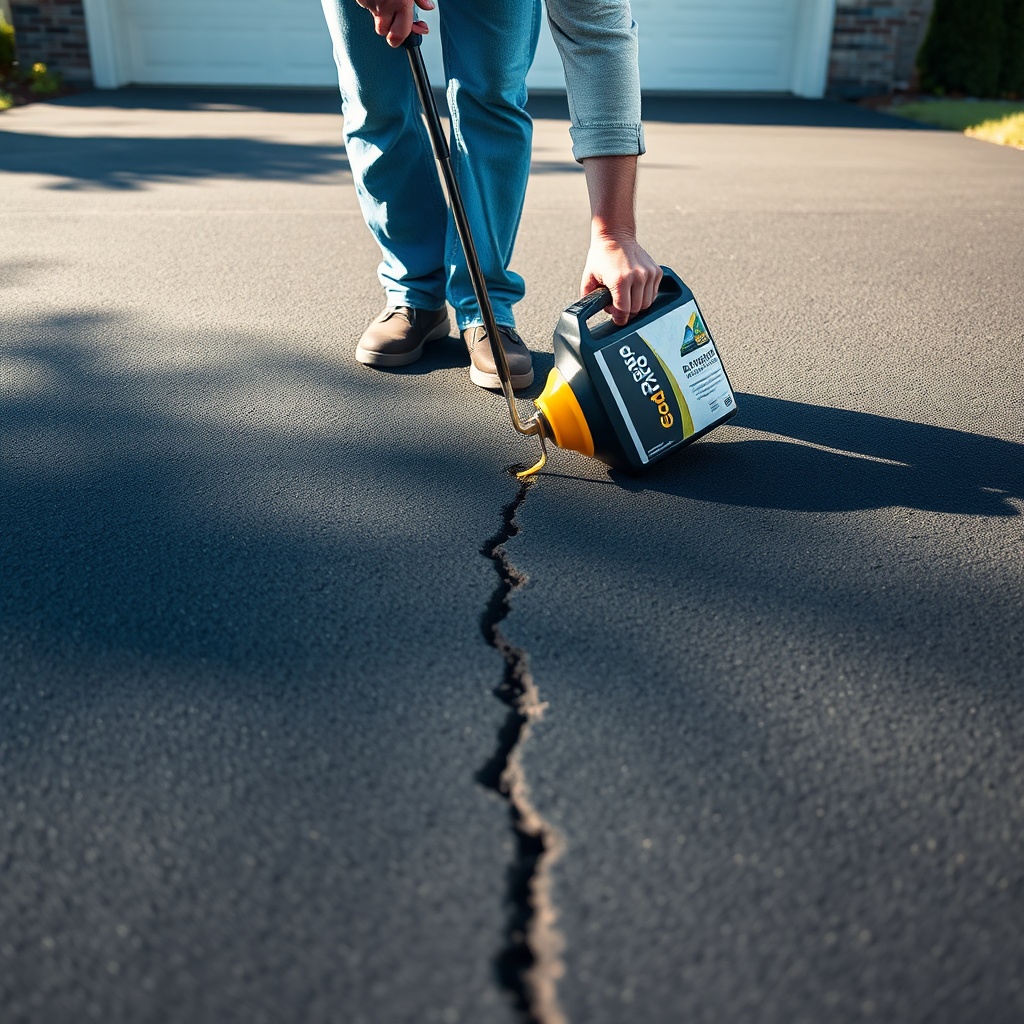
When Should You Use a Sand Mix for Asphalt Crack Filling?
A sand mix—often a proprietary blend of fine aggregate and polymer-modified binder—is designed for structural repairs. It suits cracks between 1/4 inch and 1/2 inch wide, where the filler must support traffic loads without crumbling. The sand aggregate locks into place, forming a rigid patch that resists displacement from vehicles or foot traffic.
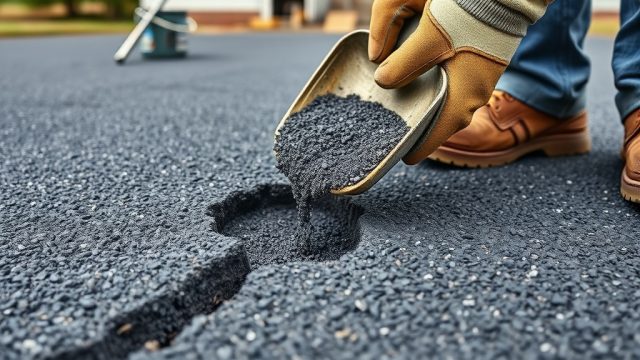
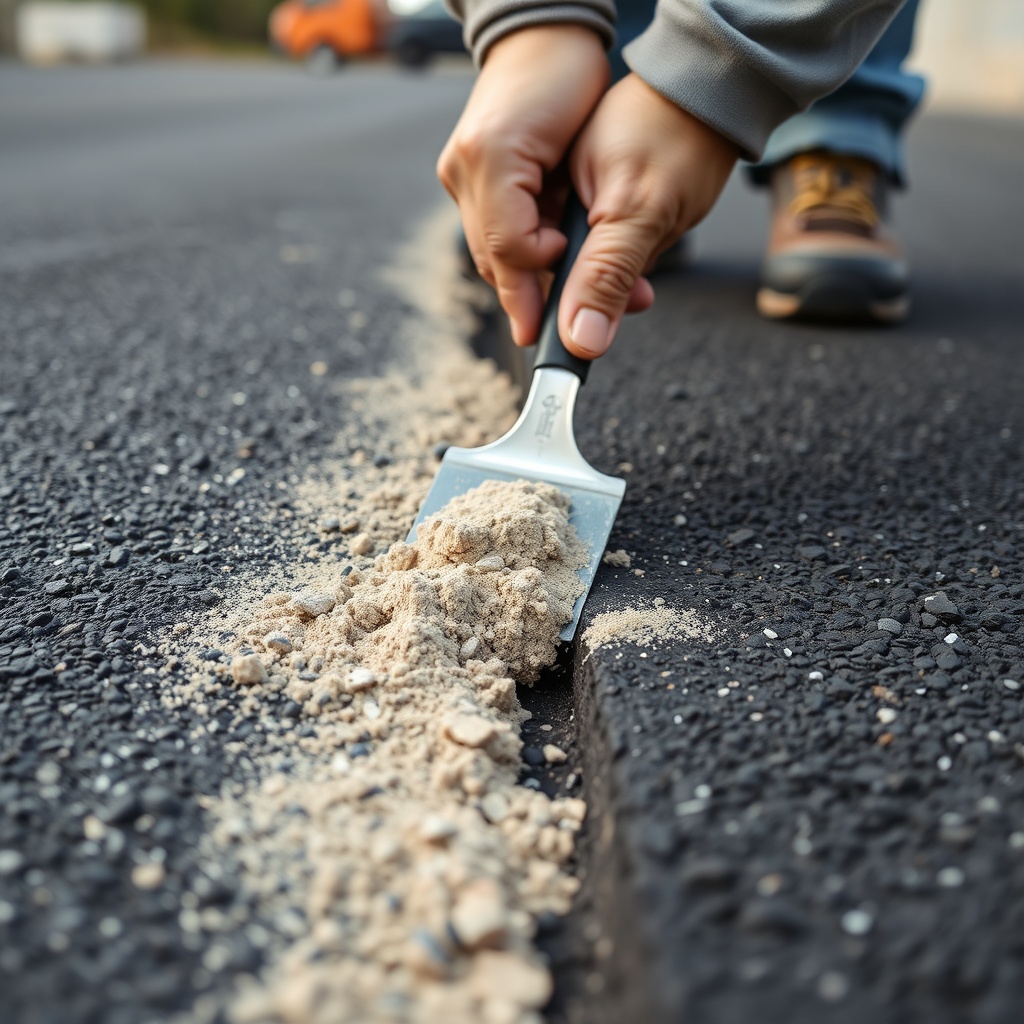
For instance, a typical crack 1/2 inch wide and 2 inches deep requires a sand mix that can be tamped down. A 50-pound bag costs around £30 and covers about 20 linear feet of such cracks. Pre-wetting the crack ensures adhesion, and compressing the mix with a hand tamper prevents future sinkage. Unlike sealcoat, sand mix does not flow into hairline gaps—it demands a broader crack profile. For driveways with heavy vehicle traffic, base preparation under the asphalt influences how well the sand mix holds over time.
How Do These Options Compare in Cost and Durability?
Cost and lifespan vary significantly between the two methods. Below is a comparison table based on a 2,000-square-foot driveway with moderate cracking (mix of hairline and 1/4-inch cracks):
| Feature | AsphaltPavePro Sealcoat | Sand Mix |
|---|---|---|
| Best crack width | Up to 1/8 inch | 1/4 to 1/2 inch |
| Material cost per linear foot | £0.15 (5-gallon pail at £45) | £0.60 (50-lb bag at £30) |
| Labor time (1,500 sq ft) | 2–3 hours | 4–6 hours (tamping required) |
| Average lifespan | 1–2 years | 3–5 years |
| Traffic readiness | 24 hours | 48 hours |
| Flexibility | High (polymer-based) | Moderate (sand rigid) |
| Resistance to freeze-thaw | Good | Excellent (if compacted) |
As the table shows, sealcoat offers immediate cost savings for minor cracks, but sand mix provides longer-term value for larger repairs. For a balanced approach, consider using sealcoat for surface cracks and sand mix for deeper ones. However, if the crack reaches the base, a full subgrade preparation comparison between brands may reveal underlying issues.
Which Offers Better Adhesion: Sealcoat or Sand Mix?
Adhesion depends on the product’s ability to bond with aged asphalt. AsphaltPavePro sealcoat contains tackifiers that chemically bind with the pavement’s hydrocarbons, creating a strong seal on clean surfaces. In laboratory tests, sealcoat achieves a pull-off strength of 0.05 MPa on properly primed cracks, which suffices for light traffic.
Sand mix, by contrast, relies on mechanical interlock—the aggregate physically wedges into the crack walls. This provides superior adhesion on rough or irregular crack surfaces. A 2023 field study by AsphaltPavePro’s R&D team found sand mix retained 90% of its bond after 50 freeze-thaw cycles, versus 70% for sealcoat. Yet, both fail if the crack is contaminated with dust or moisture—ensure the area is dry and blown clean. For real-world performance, see the durability test comparing AsphaltPavePro vs. QPR patch results.
How Do You Prep a Crack for Sealcoat vs. Sand Mix?
Proper preparation is non-negotiable for both products. For sealcoat, use a compressed air nozzle to blow out loose debris, then wipe the edges with a dry cloth. A heat gun or propane torch can dry the area quickly—moisture content directly affects compaction and adhesion. Sealcoat requires no priming, but the crack must be bone-dry.
For sand mix, preparation is more involved. Widened the crack using a crack chaser bit on an angle grinder to create a V-shape, then fill with a backer rod if deeper than 1 inch. Tamp the sand mix in 1/2-inch lifts, ensuring each layer compacts firmly. A soil compaction test—like the Proctor test—is overkill, but a simple thumb press confirms density. Finally, top with a thin layer of sealcoat for a smooth finish if desired. This two-step method works well for avoiding common DIY mistakes like skipping the backer rod.
What Do Owners Say About Their Experiences?
Many homeowners report that AsphaltPavePro sealcoat is sufficient for small, surface-level cracks but note it can lose adhesion after harsh winters. One owner from Manchester described her 1,200-square-foot driveway: “Sealcoat fixed the spider cracks for 18 months, but I had to reapply each spring.” Others praise its ease—”Just pour and spread, no mixing required.”
Sand mix users often cite long-term durability as the top advantage. A builder in Birmingham said, “I filled a 1/2-inch crack with sand mix, compacted it, and it’s still solid after four winters. Worth the extra effort.” However, some complain about the higher cost and longer curing time. Overall, owners recommend sealcoat for routine maintenance and sand mix for critical repairs.
Frequently Asked Questions
- Can I use sealcoat over sand mix?
Yes, after the sand mix fully cures (48 hours), a thin sealcoat layer evens the surface and adds UV protection. - Does sealcoat work on edge cracks?
Only temporarily—edge cracks usually signal base failure, requiring a more thorough base preparation guide. - Is sand mix stronger than cold patch?
Sand mix is similar to cold patch but uses finer aggregate for crack filling, offering better bonding in narrow gaps. - What temperature is best for sealcoat?
Apply sealcoat between 15°C and 25°C; below 10°C, it thickens and won’t flow into cracks. - How long does sand mix last before washing out?
If properly compacted, 3–5 years; poor compaction leads to raveling within 12 months. - Can I drive on sealcoat after 12 hours?
No, wait a full 24 hours to avoid tire track marks; 48 hours for sand mix.