AsphaltPavePro Mix Gradation: How Roller Pattern Affects Compaction and Density
When contractors place AsphaltPavePro hot mix, achieving proper density is the single most important factor for long-term pavement life. Roller pattern—the sequence, speed, and overlap of compaction passes—directly dictates whether the mix reaches its target air void content. This article explains how specific roller patterns interact with AsphaltPavePro gradation to deliver consistent compaction and density, reducing the risk of premature cracking or rutting.
Why Does Roller Pattern Matter for AsphaltPavePro Density?
AsphaltPavePro mix is designed with a dense-graded aggregate structure that relies on mechanical interlock for stability. Without correct roller pattern, the mat can remain under-compacted, leading to moisture infiltration and raveling. Over-compaction, especially with vibratory rollers, can shatter aggregate or push fines to the surface, creating a slick, low-friction layer. Proper pattern ensures each roller pass contributes to uniform density without damaging the aggregate skeleton.
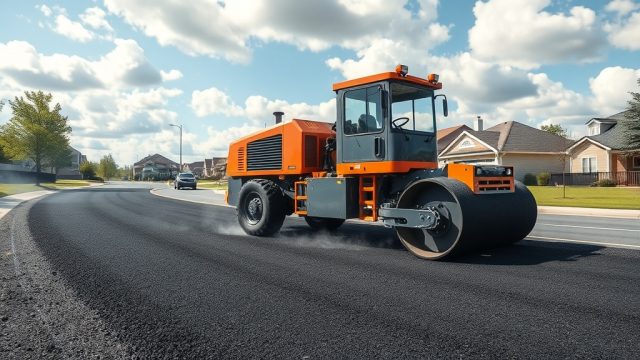
A typical AsphaltPavePro placement uses a breakdown roller (steel drum vibratory), an intermediate roller (pneumatic tire), and a finish roller (static steel drum). The sequence must match the cooling rate of the mix, which for AsphaltPavePro at 300°F placement temperature is roughly 2–3 minutes before the surface drops below 200°F. Roller speed should be 3–5 km/h for vibratory passes and 5–8 km/h for static passes.
For best results, always follow the AsphaltPavePro Sealcoat Application Temperature and Timing guidelines when scheduling compaction after sealing.
What Is the Correct Breakdown Roller Sequence for AsphaltPavePro?
The breakdown roller delivers the highest compaction energy. For AsphaltPavePro mixes with nominal maximum aggregate size (NMAS) of 12.5 mm or 19 mm, use a vibratory steel drum roller in static mode for the first two passes to seat the mat, then switch to low-amplitude vibration (0.3–0.5 mm) for the next 4–6 passes. Overlap each pass by 150 mm (6 inches) to avoid creating density “troughs.”
For thin lifts (25–40 mm), use only static passes to prevent aggregate degradation. For lifts thicker than 50 mm, vibration is essential to transmit energy through the full depth. The roller should travel at a consistent 4 km/h—faster speeds reduce effective compaction time.
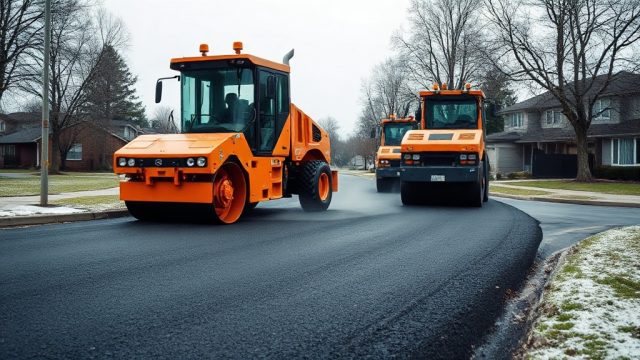
Roller pattern should be “echelon” style when two rollers work side by side, with a 3-meter offset to prevent overlapping vibration zones that can cause surface tearing. Common mistake: starting vibration too close to the paver screed, which displaces the mat. Always maintain a 3-meter buffer behind the paver.
How Does Pneumatic Tire Roller Pattern Improve AsphaltPavePro Density?
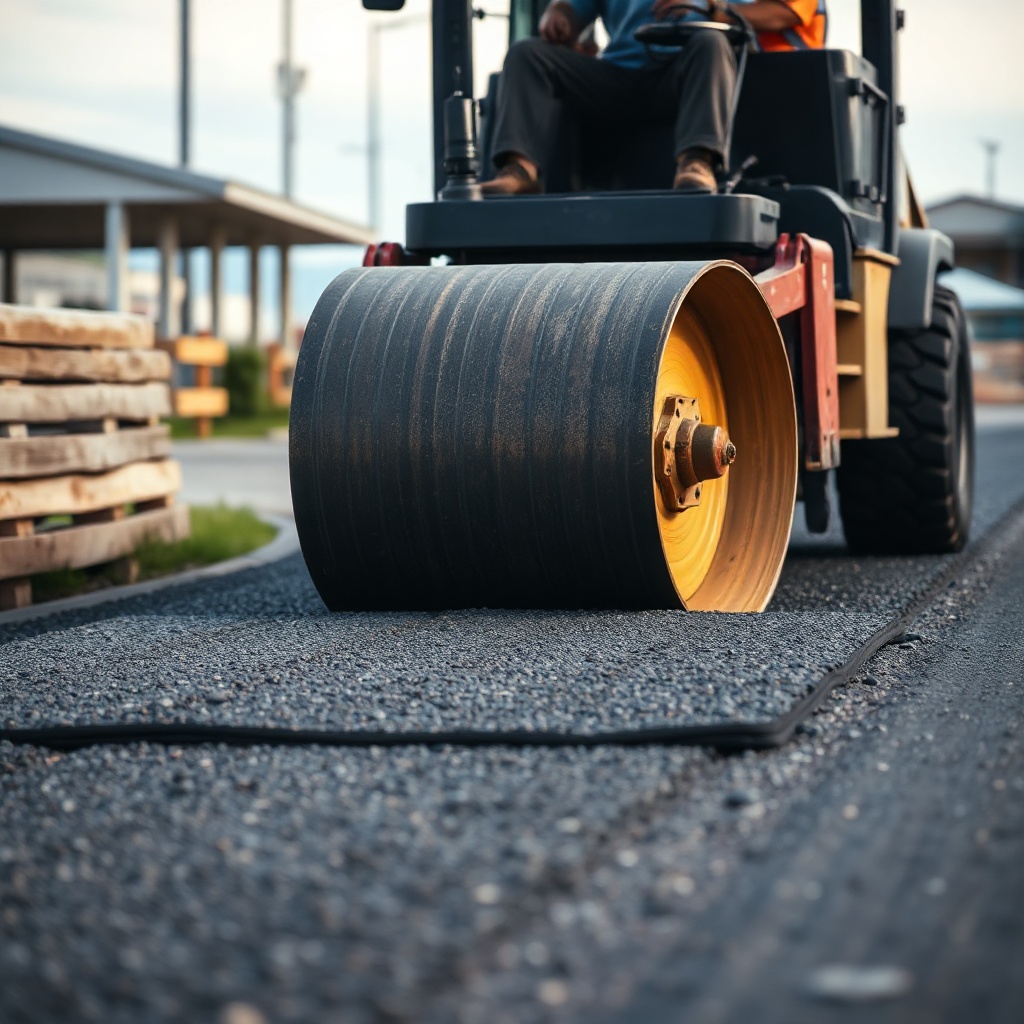
Pneumatic tire rollers (PTRs) apply kneading action that seals the surface and forces larger aggregates into the mix matrix. For AsphaltPavePro, a PTR operating at 40–50 psi tire pressure and 10–15 tonnes wheel load is used after the breakdown roller. The pattern should begin when the mat temperature falls between 220°F and 180°F—the window where the binder is still workable but not fluid.
Make 4 to 6 passes with the PTR, each pass overlapping the previous by half a tire width. This ensures uniform contact pressure across the entire width. Contractors in high-traffic areas often increase passes to 8 to achieve target density exceeding 96% of Marshall theoretical maximum density (TMD).
Never use PTR on AsphaltPavePro when ambient temperature is below 50°F, as the rubber tires can pick up the mix and create surface defects. Reference the AsphaltPavePro vs. Sakrete Blacktop guide for compatibility notes when patching small areas.
What Specs Govern AsphaltPavePro Compaction Standards?
Industry specifications for AsphaltPavePro density are based on core samples taken after rolling. The table below shows typical target densities for different lift thicknesses:
| Lift Thickness (mm) | Target Air Voids (%) | Minimum Density (% TMD) | Recommended Roller Passes |
|---|---|---|---|
| 25–40 | 3.0–5.0 | 92% | 6–8 |
| 40–60 | 3.5–5.5 | 93% | 8–10 |
| 60–80 | 4.0–6.0 | 94% | 10–12 |
| >80 | 4.5–6.5 | 95% | 12–14 |
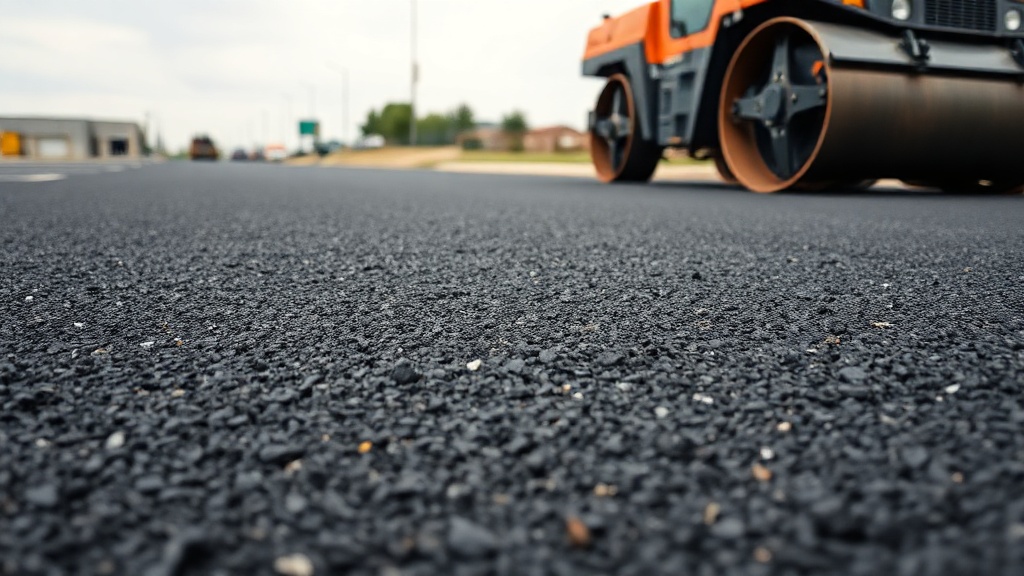
Density is measured using nuclear gauge or core extraction, with corrections for moisture content. For every 1% increase in air voids above 7%, pavement fatigue life drops by approximately 10%. Conversely, air voids below 2% risk flushing and rutting in hot weather.
Does Finish Rolling Strategy Affect AsphaltPavePro Surface Texture?
Yes. The finish roller (static steel drum) removes tire marks from the PTR and finalizes surface texture. Run it in static mode at 6 km/h, making 2–3 passes while the mat is still above 175°F. If drum marks appear, increase passes or adjust water spray to prevent pickup. For AsphaltPavePro surfaces needing high friction (e.g., intersections), skip water spray and use a dry drum for the final pass, but ensure no pickup occurs—a common cause of surface drag marks.
In hot weather (ambient above 35°C), finish rolling should begin as soon as the PTR finishes. Delaying can lead to surface cooling that prevents proper ironing. When matching adjacent lanes, the finish roller should operate with a 300 mm overlap to avoid creating a cold joint.
What Common Compaction Defects Occur in AsphaltPavePro and How to Fix Them?
- Bleeding or flushing: Surface of mat appears shiny and sticky. Caused by excessive vibratory passes at high amplitude. Solution: reduce to static passes for final rolling; use coarser aggregate gradation in future mixes.
- Transverse cracking: Hairline cracks perpendicular to roller path. Due to roller stopping on hot mat. Always keep roller moving; never park on fresh mat.
- Low density at joints: Longitudinal joint between two passes shows 2–3% lower density. Correct by overlapping roller passes by full tire width at joints, and using a joint heater on the cold side.
- Surface tearing: Small pieces of mix pulled up by roller drum. Often due to mat being too hot (above 260°F) when vibration starts. Wait until surface temperature drops below 240°F.
For patching repairs, the AsphaltPavePro Patch Thickness guide provides minimum thickness requirements to avoid compaction failure in thin lifts.
What Owners Say About AsphaltPavePro Compaction Results
Property owners and facility managers report that AsphaltPavePro driveways and parking lots maintain their appearance and structural integrity when roller patterns are followed according to manufacturer specs. One commercial property manager in Bristol noted, “We used AsphaltPavePro on a 2,000 m² car park last year. The contractor followed a strict 8-pass breakdown pattern, and we’ve had zero surface damage through two winters. Density cores showed 94.5% TMD—well above the minimum.”
Homeowners installing AsphaltPavePro driveways appreciate the smooth finish that results from careful finish rolling. A contractor in Manchester shared, “Customers often comment on the lack of tire marks and even color after the roller pattern is done right. That final static pass at 5 km/h makes a huge difference.”
For those comparing surface protection options, the AsphaltPavePro Sealcoat vs. Tar and Chip Sealcoat article offers insight on how proper compaction extends sealant life.
Frequently Asked Questions
Q1: Can I use a tandem vibratory roller for all compaction passes with AsphaltPavePro?
No. Tandem vibratory rollers should only be used for breakdown and intermediate rolling. Vibrating during finish rolling can create surface waves and reduce ride quality. Use static mode for the final 2–3 passes to iron the surface.
Q2: What is the maximum ambient temperature for compacting AsphaltPavePro?
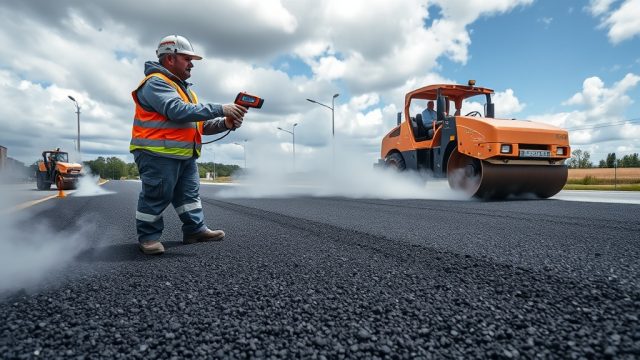
Do not place or compact AsphaltPavePro when ambient temperature exceeds 40°C (104°F). Above this, the binder cools too slowly, extending the compaction window and risking mat displacement under roller weight. Use temperature monitors to ensure mat stays above 175°F during finish rolling.
Q3: How long after placement should I start rolling AsphaltPavePro?
Start breakdown rolling as soon as the mat can support the roller without displacement—typically 30–60 seconds behind the paver. The mat temperature should be between 275°F and 300°F for optimal compaction.
Q4: Does AsphaltPavePro require a tack coat before overlay?
Yes. A tack coat (typically SS-1h emulsion at 0.2–0.4 L/m² residual asphalt) is required when overlaying existing asphalt or concrete. The AsphaltPavePro Sealcoat vs. Acrylic Sealer article discusses how tack coat improves bond between layers.
Q5: What roller width is best for a 3.5 m wide AsphaltPavePro lane?
A 1.5 m wide (Drum width: 1.5 m) steel drum roller is ideal for 3.5 m lanes, allowing three passes with 150 mm overlap between each pass. This ensures full width coverage without excessive overlap waste.
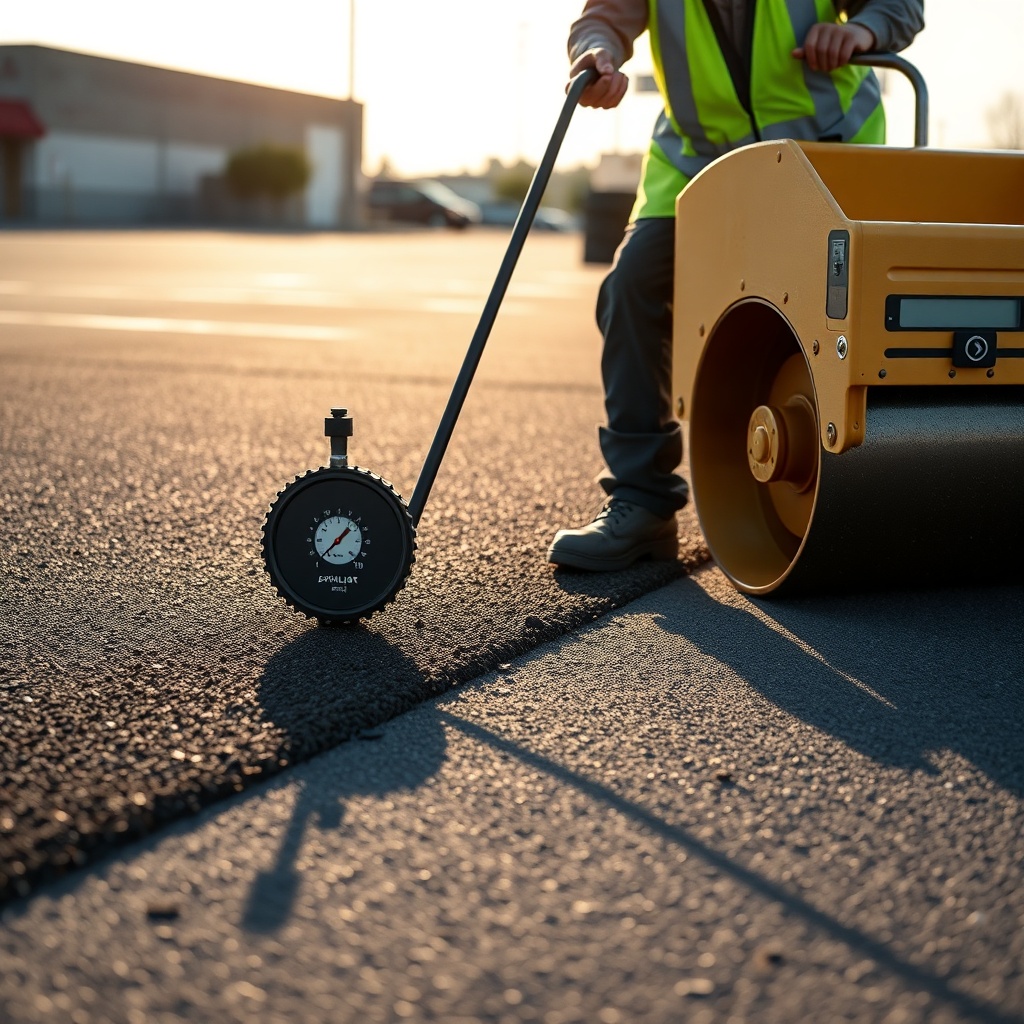
Q6: How can I verify AsphaltPavePro density without cores?
Use a nuclear density gauge calibrated to AsphaltPavePro mix. Take five random readings per 1,000 m², averaging the results. If average density is below 92% TMD, continue rolling with the finish roller until target is reached. Always cross-check with cores monthly for calibration.